Weed eaters are very versatile machines. Depending on the type of trimmer line you use, you can get totally different results. Also, the combined action of a powerful engine and the proper trimmer line can help you be more efficient at work.
Most people don’t give too much importance to the type of trimmer line they use. However, all lines available on the current market are different in resistance and performance. So, you must be wise when choosing the new line for your trimmer.
If you never changed the trimmer line of your weed eater and need help, you’re certainly in the right place. In this article, you’ll learn how to string a weed eater like a pro.
What is String?
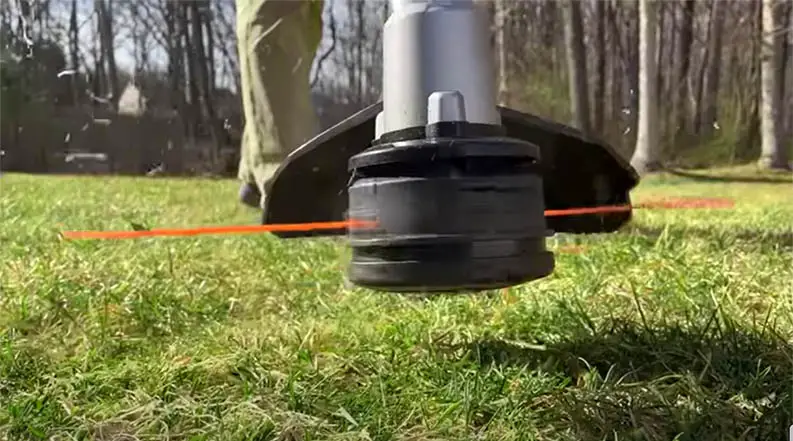
The trimmer line is a nylon string that serves to cut grass and weeds. The string comes rolled around a spool, which rotates inside the trimmer head. The centrifugal force pushes the free extremes of the string against the grass during rotation, causing the cutting effect.
There are many types of trimmer lines on the market, with different diameters, edge shapes and compositions. Some strings are reinforced with other materials to be more resistant to high impacts and abrasion.
Usually, the more powerful the weed eater, the wider the line diameter should be. That’s why not all kinds of trimmer lines are compatible with all trimmers. Therefore, it’s convenient to check out the recommendations on the user manual before replacing the line for the first time.
Before buying, it’s also convenient to check out the shape of the string edges. In these cases, the most common shapes are:
- Round
- Square
- Star
- Serrated
Round strings have no sharp edges, so they pluck the grass instead of cutting it. On the other hand, square and star shaped trimmer lines are most sharpened, allowing a straight and clean over cut of the grass surface.
On the other hand, serrated edges are better for cutting hard grass and weeds. For better results, it convenient to use this kind of string with a 4-cycle trimmer.
Step by Step Guide to String a Weed Eater
When using a weed eater, sooner or later you’ll have to replenish your string to continue working. Doing this job may be more complicated than it seems, so you must completely understand the string installation procedure to avoid delays. Below, you’ll find a step-by-step guide to learn how to string a bump feed and an auto feed weed eater.
On A Bump Feed
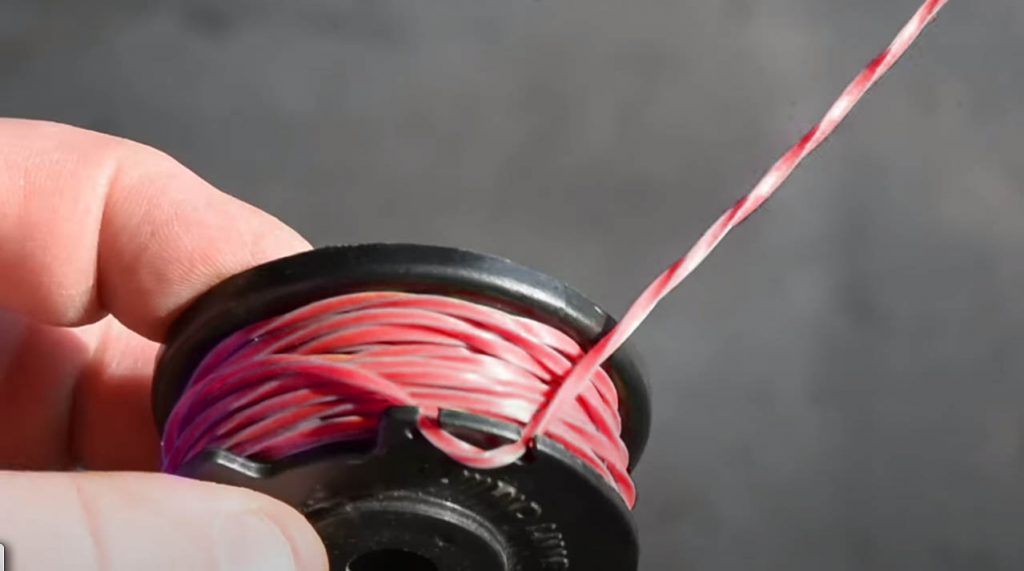
- First of all, place your string trimmer on a flat surface. Make sure the trimmer is turned off and completely clean. If not, use a damp cloth to carefully remove grass cuts, dirt and debris.
- Then, push the tabs around the trimmer head to remove the spool and the bump knob.
- After that, cut 10-20 feet of nylon trimmer line.
- Then, thread half of the trimmer line through the spool holes.
- Thread each extreme of the trimmer line through the eyelets of the trimmer head.
- Then, set the bump knob and spool in place.
- Apply pressure on the bump knob and then turn it in counterclockwise direction to roll the line over the spool.
- Leave at least 1 foot of the trimmer line unrolled.
On An Auto Feed
- First of all, place your string trimmer on a flat surface. Make sure the trimmer is turned off and completely clean. If not, use a damp cloth to carefully remove grass cuts, dirt and debris.
- Then, push the tabs around the trimmer head to remove the spool cap.
- After that, remove the old spool.
- Install a new auto feed line spool. To do this, thread both extremes of the line through the eyelets of the trimmer head. Then, locate the spool over the spindle and push it down.
- Release the trimmer line from the securing notches.
- Finally, install a new spool cap by snapping it on the trimmer head.
Conclusion
Whether you have a bump feed or an auto feed trimmer, changing the trimmer line is a piece of cake in both cases. You won’t need tools or someone else’s help to get the job done. Just make sure of choosing the right diameter and edge shape for your line considering the features of your trimmer and the hardness of the grass.
Certainly, if you carefully follow the tips on this step-by-step guide, you won’t spend too much time replenishing the line of your cutting tool.
Read more about – Learn How to Mix Gas and Oil for Weedeater?