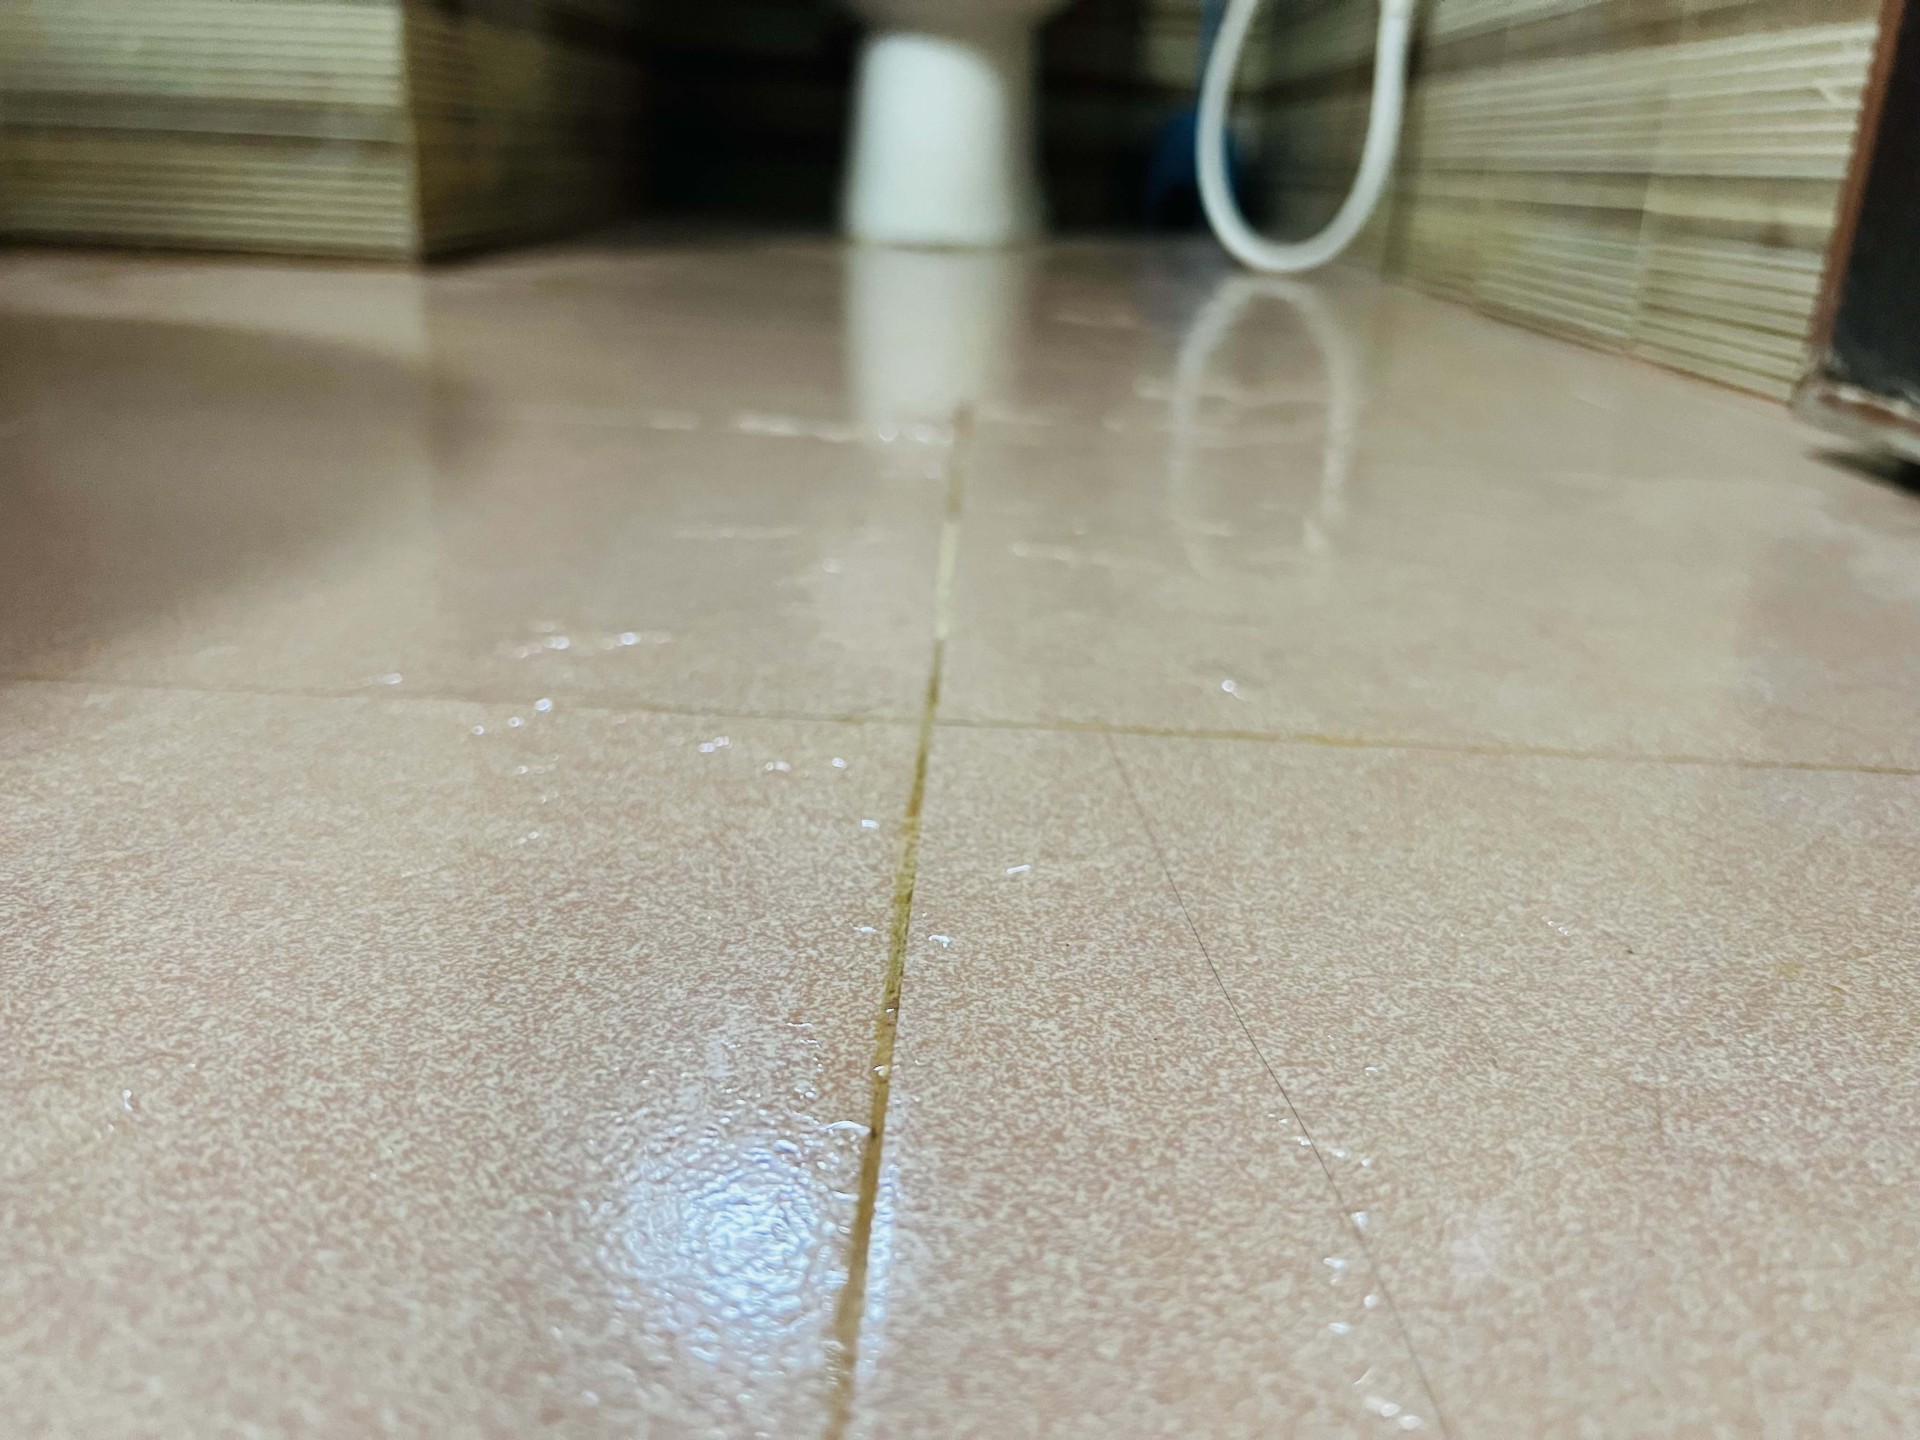
We’ve all been there. You’re about to wash away the day’s stress in the shower when you spot a small crack in the tile. It may be small, but it’s a big eyesore. And if you leave it unchecked, it can turn into a bigger problem down the road. But don’t worry. Fixing a hairline crack in a shower tile is easier than you might think. So, how do you deal with it?
There are two ways to deal with a tile’s hairline crack issue. One is to repair the tile cosmetically without replacing the tile; another is completely removing the cracked tile and replacing it with a new one.
So, let’s go over both options in detail. I will provide step-by-step instructions on repairing a hairline crack in a shower tile.
Common Causes Of Hairline Cracks In Shower Tiles
Shower tiles are meant to be durable and water-resistant, but sometimes they can develop hairline cracks that ruin their appearance and functionality. Cracked tiles can let moisture seep into the walls or floors, causing mold and damage. They can also pose a safety hazard if they break off or cut your feet.
So, what causes shower tiles to crack? Here are some of the most common reasons I found:
Poor Quality Tiles
One possible culprit is the quality of the tiles themselves. Some tiles may be low-grade or defective, making them more prone to cracking under stress or impact. To prevent this in the first place, you should always check the tiles’ quality before buying them.
Impact Damage
Another common cause of tile cracks is impact damage. This happens when something heavy or sharp falls on the tile, creating a dent or chip. These kinds of cracks usually affect only one or a few tiles and are easy to spot.
Heavy Loads
Tiles can withstand a certain amount of weight, but if you place something too heavy on them, they may crack over time. The problem is worse if the weight is not evenly distributed across the tile surface. Most floor tiles can resist breaking under the pressure of up to 250 pounds per square inch.
Faulty Installation
The way tiles are installed can also affect their durability and performance. If tiles are not properly adhered to the surface, they may develop gaps or voids that weaken their structure and make them more susceptible to cracking. Some common installation mistakes that can lead to cracked tiles are:
- Applying Adhesive Incorrectly
An adhesive is used to bond tiles to the surface. It should be applied evenly and uniformly on the back of each tile, leaving no air pockets or spaces between them and the substrate. If there are any gaps or cavities, they may create weak spots and, eventually, cracks in the tile.
- Using Unsuitable Adhesive
The adhesive should also have flexible properties that allow slight movements between hard tiles and the substrate without compromising the stability of the tile.
If the wrong type of adhesive is used, such as a cement-based mortar or a grout that is too rigid or too thin, it may cause cracks in the tile due to thermal expansion or contraction.
- Skipping A Flexible Membrane
A flexible membrane is a thin layer of material that goes between the substrate and the tile layer. It acts as a buffer that absorbs any stress or movement between them.
It also prevents moisture from seeping through the substrate and damaging the tile. A flexible membrane is especially important for substrates that are prone to cracking, such as concrete or wood.
Extreme Temperature Changes
Tiles are made of materials that expand and contract with temperature changes. This is normal and usually does not cause any problems if the temperature changes are gradual and moderate.
However, extreme temperature fluctuations in your home or outside environment may cause stress and strain on your tile layer. This can lead to cracking if your tiles are not designed for outdoor use or do not have frost-proof features.
Control Joint Issues
Control joints are intentional gaps or cuts in concrete substrates that allow them to expand and contract without cracking. They are usually placed in strategic locations where cracks are more likely to occur, such as along walls, corners, or columns. Control joints are essential for preventing concrete from cracking due to thermal or structural stress.
However, if tiles are installed over control joints, they may also crack along the same lines. This is because the tiles are rigid and do not have the same flexibility as the concrete. As the concrete moves, it pulls or pushes the tiles with it, causing them to break.
Joist Spacing Issues
Joists are horizontal beams that support the subfloor and everything above it, including the tile layer. They are usually spaced at regular intervals to provide adequate strength and stability for the floor.
However, if the joists are too far apart, they may cause the subfloor to sag or flex under the weight of the tile layer. This can result in tile deflection when tiles bend or warp due to stress or pressure. Tile deflection can lead to cracking, loosening, or popping of tiles.
Is Hairline Crack In Shower Tile an Issue?
A hairline crack in a shower tile can be an issue. However, the severity and significance of the crack depend on a few factors. Here’s why and how it can be a problem:
Water penetration
The primary concern with a crack in a shower tile is water penetration. If water or urine leaks through the crack and reaches the underlying surface, it can cause damage in the long run.
The moisture can lead to mold growth, deteriorate the structural integrity of the shower wall, and even result in water leakage to adjacent areas.
You may read another article on how to protect bathroom floor from urine if you are facing urine issues in your bathroom.
Weakening of tile structure
Even a hairline crack indicates a compromised tile structure even though it is thick enough. Over time, the crack may widen due to repeated exposure to moisture, pressure, or shifting of the underlying surface. This can further damage the tile, making it more prone to breaking or dislodging.
Unhygienic
From a hygiene standpoint, a cracked tile can be challenging to clean effectively. The crack provides a hiding place for dirt, soap scum, and other debris, making maintaining a clean and sanitary showering environment harder.
Aesthetic issue
While not a functional issue, a crack in a shower tile can be visually unappealing. It can disrupt the shower’s overall appearance, especially if the crack is noticeable or affects the alignment of surrounding tiles.
Ways To Repair Hairline Crack In Shower Tile
Now that you know the common causes of hairline cracks in shower tiles, let us get started with how to repair them:
Repairing Using Epoxy
You don’t have to remove the shower tile to repair a hairline crack. You can use epoxy resin to seal the crack and make it look like new. Here’s what you need:
- Epoxy resin
- Mixing rod
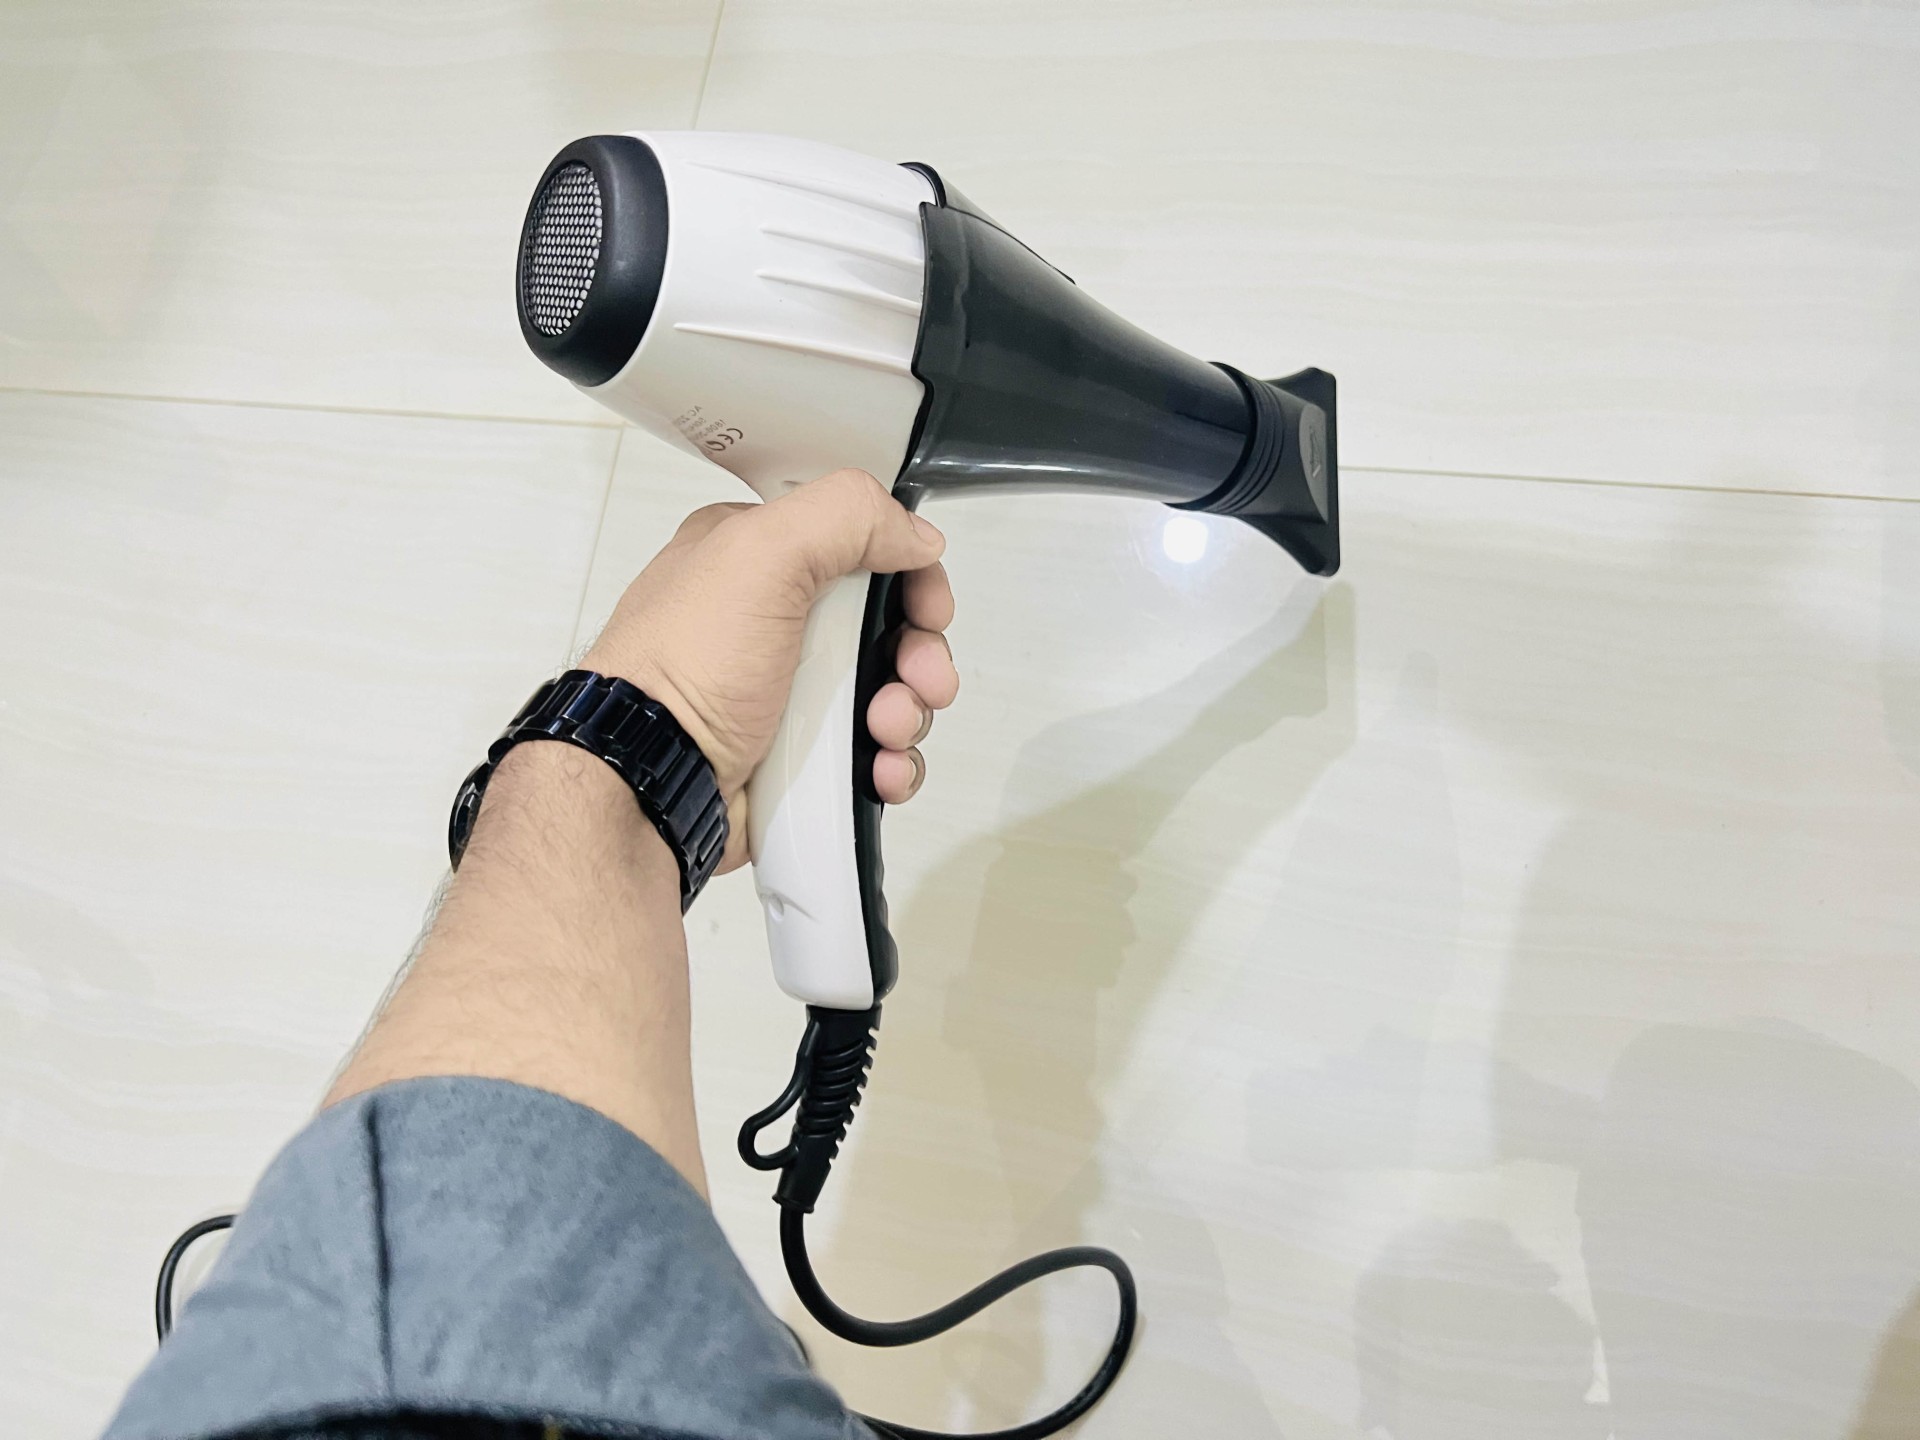
- A hairdryer
Follow these steps to fix the crack:
Step 1: Clean and dry the tile
First, clean the area around the crack with water and soap. If the tile is dirty, you can use rubbing alcohol to remove any grease or dirt. Then, use a hair dryer to blow hot air on the crack for 10 to 15 minutes. This will help dry the inside of the crack and make the epoxy stick better.
Step 2: Fill the crack with epoxy
The next step is to fill the crack with two-part clear epoxy. Use a small mixing rod to mix the epoxy components well on a disposable lid or a piece of cardboard. Then, apply a thin epoxy layer on the crack with a fine paintbrush or a toothpick. Make sure to cover the entire crack with epoxy and smooth out any excess.
Step 3: Let the epoxy cure
The final step is to let the epoxy cure for at least 24 hours. Do not touch or wet the repair during this time. After 24 hours, you can walk on the tile, but avoid getting it wet for another 72 hours. This will ensure that the epoxy is fully hardened and waterproof.
Repair Using Nail Polish
If you want to fix and waterproof the small cracks in your porcelain or ceramic shower tiles, you don’t need to call a professional. You can use a simple cosmetic product that you probably have at home: nail polish.
This method is worth trying, especially if you have a steady hand and some creativity. Choose a nail color that matches your cracked tile, then fill in the hairline cracks with a small brush. Wipe off any excess nail polish with a cloth before it dries or hardens.
You can also use waterproof paint instead of nail polish or nail paint to hide the hairline cracks in your kitchen or bathroom tiles.
Repair Using Superglue
If you don’t want to replace shower tiles with small hairline cracks, you can use superglue as another alternative. All you need is a toothpick and some super glue.
To ensure optimal adhesion, begin by preparing the cracked area. Use a small amount of rubbing alcohol to gently clean the region surrounding the cracks. This step helps to remove any residue and ensures a strong bond.
Next, carefully apply a dab of superglue to the crack using the toothpick. It’s important to exercise precision here, using just enough adhesive to fill the crack without allowing any excess to seep out and become noticeable.
Allow the superglue to cure for a full 24 hours before using the shower. This sufficient curing time ensures a robust and lasting repair.
Repair Using Waterproof Paint
Waterproof paints can be another good option when it comes to repairing those bothersome hairline cracks in your tiles. If you have a steady hand and attention to detail, this method can work wonders in restoring your tiles.
To begin, gather a fine brush that allows for precise application. If using nail polish, ensure it is waterproof and matches the color of your tile. Alternatively, opt for purpose-made waterproof paint for a reliable and durable solution.
With steady hands, carefully fill the crack using the brush and your chosen paint. Take care to achieve an even application, blending the paint seamlessly with the surrounding tile. Before the paint dries, promptly remove any excess by gently wiping the area. This step ensures a neat and unnoticeable finish.
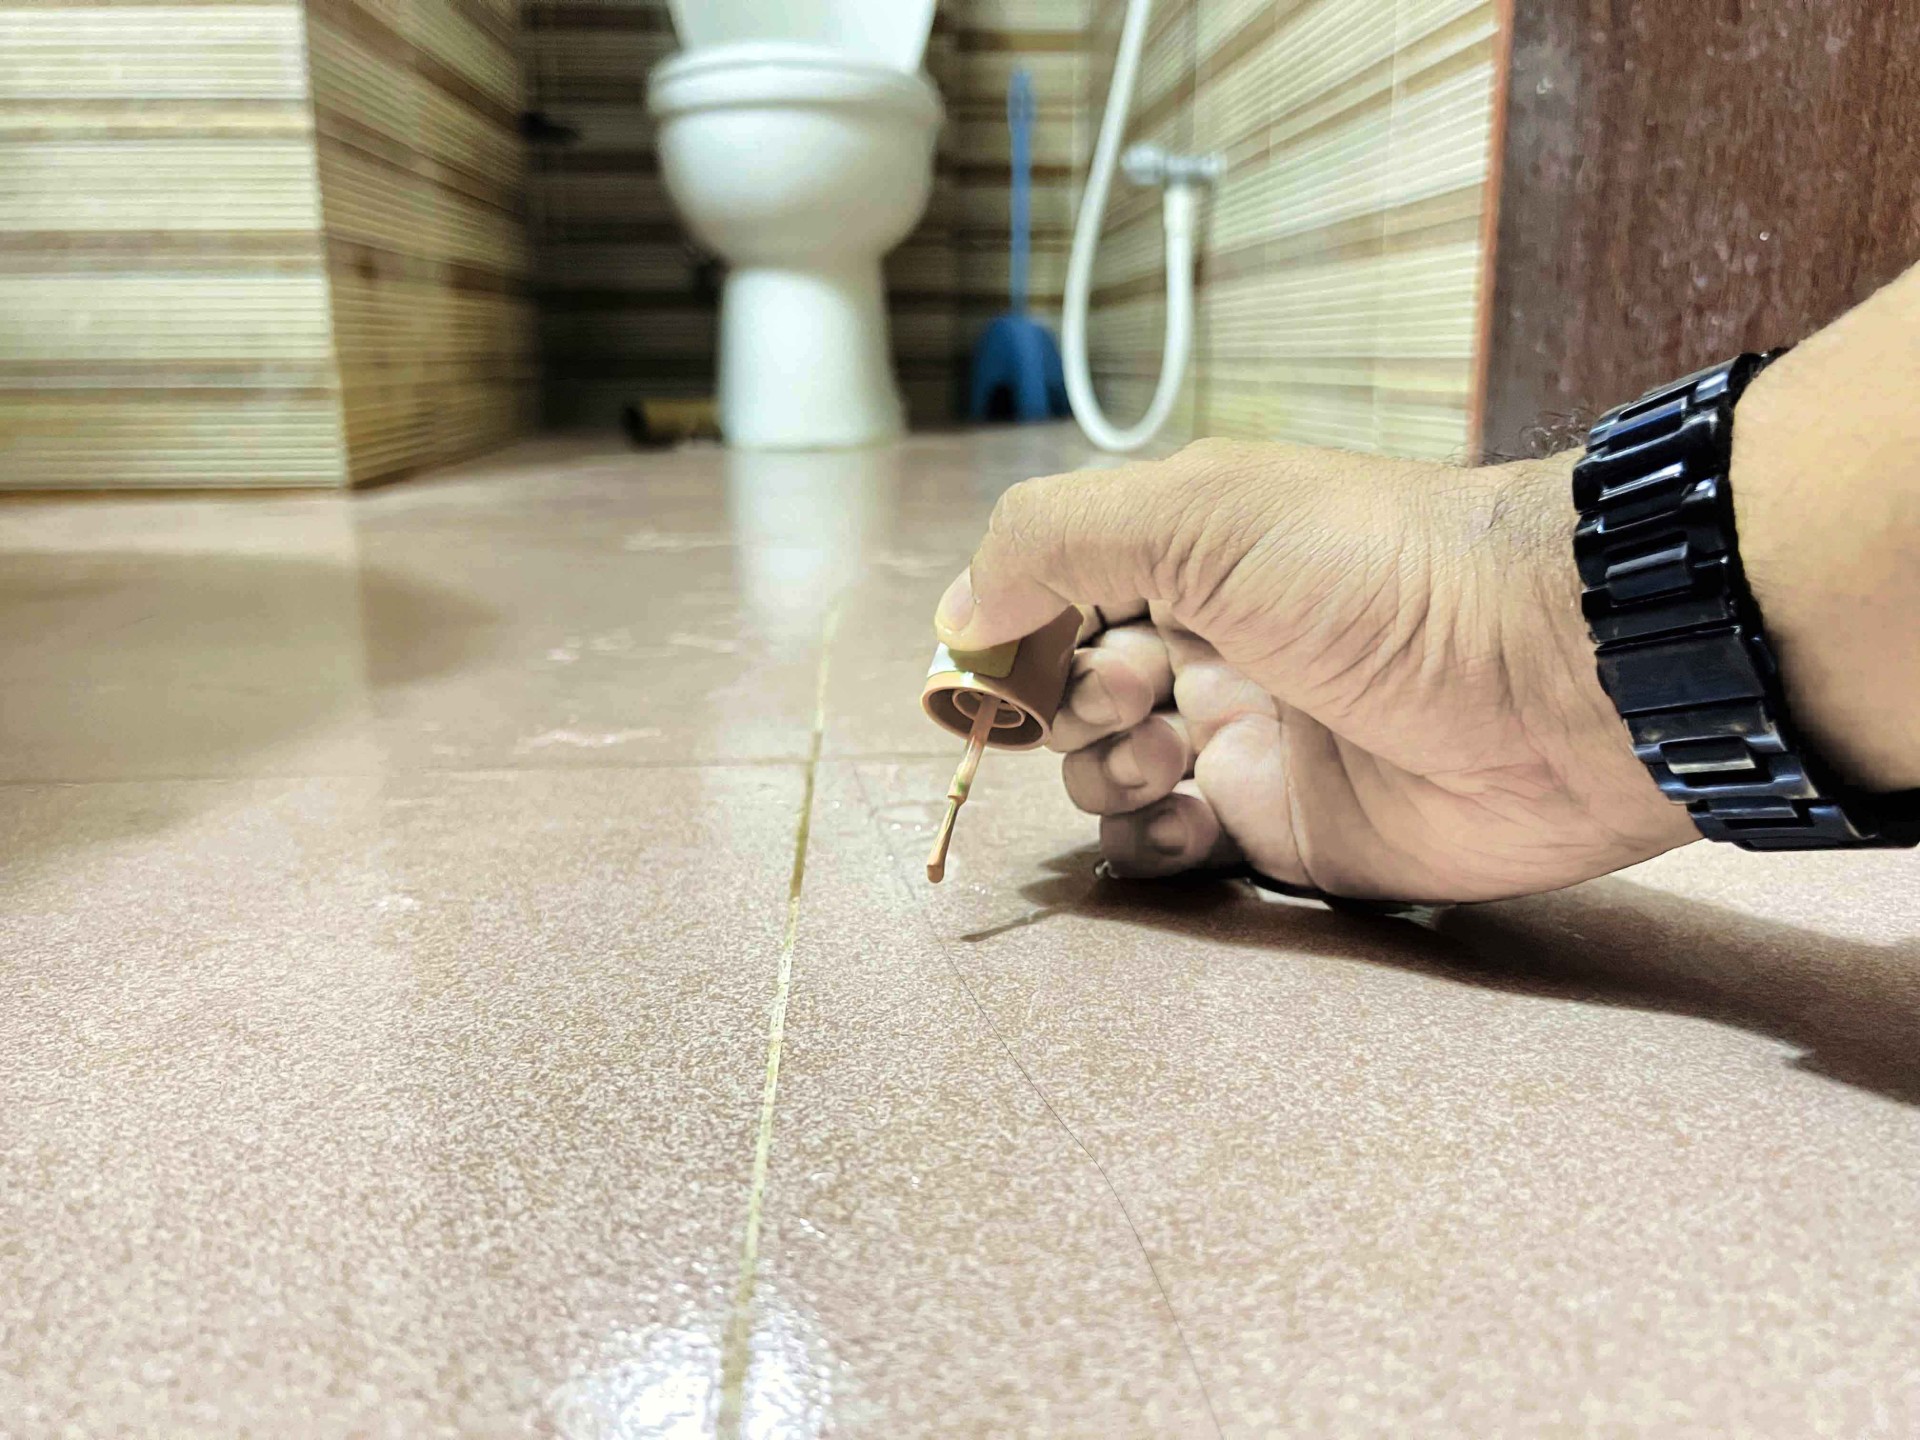
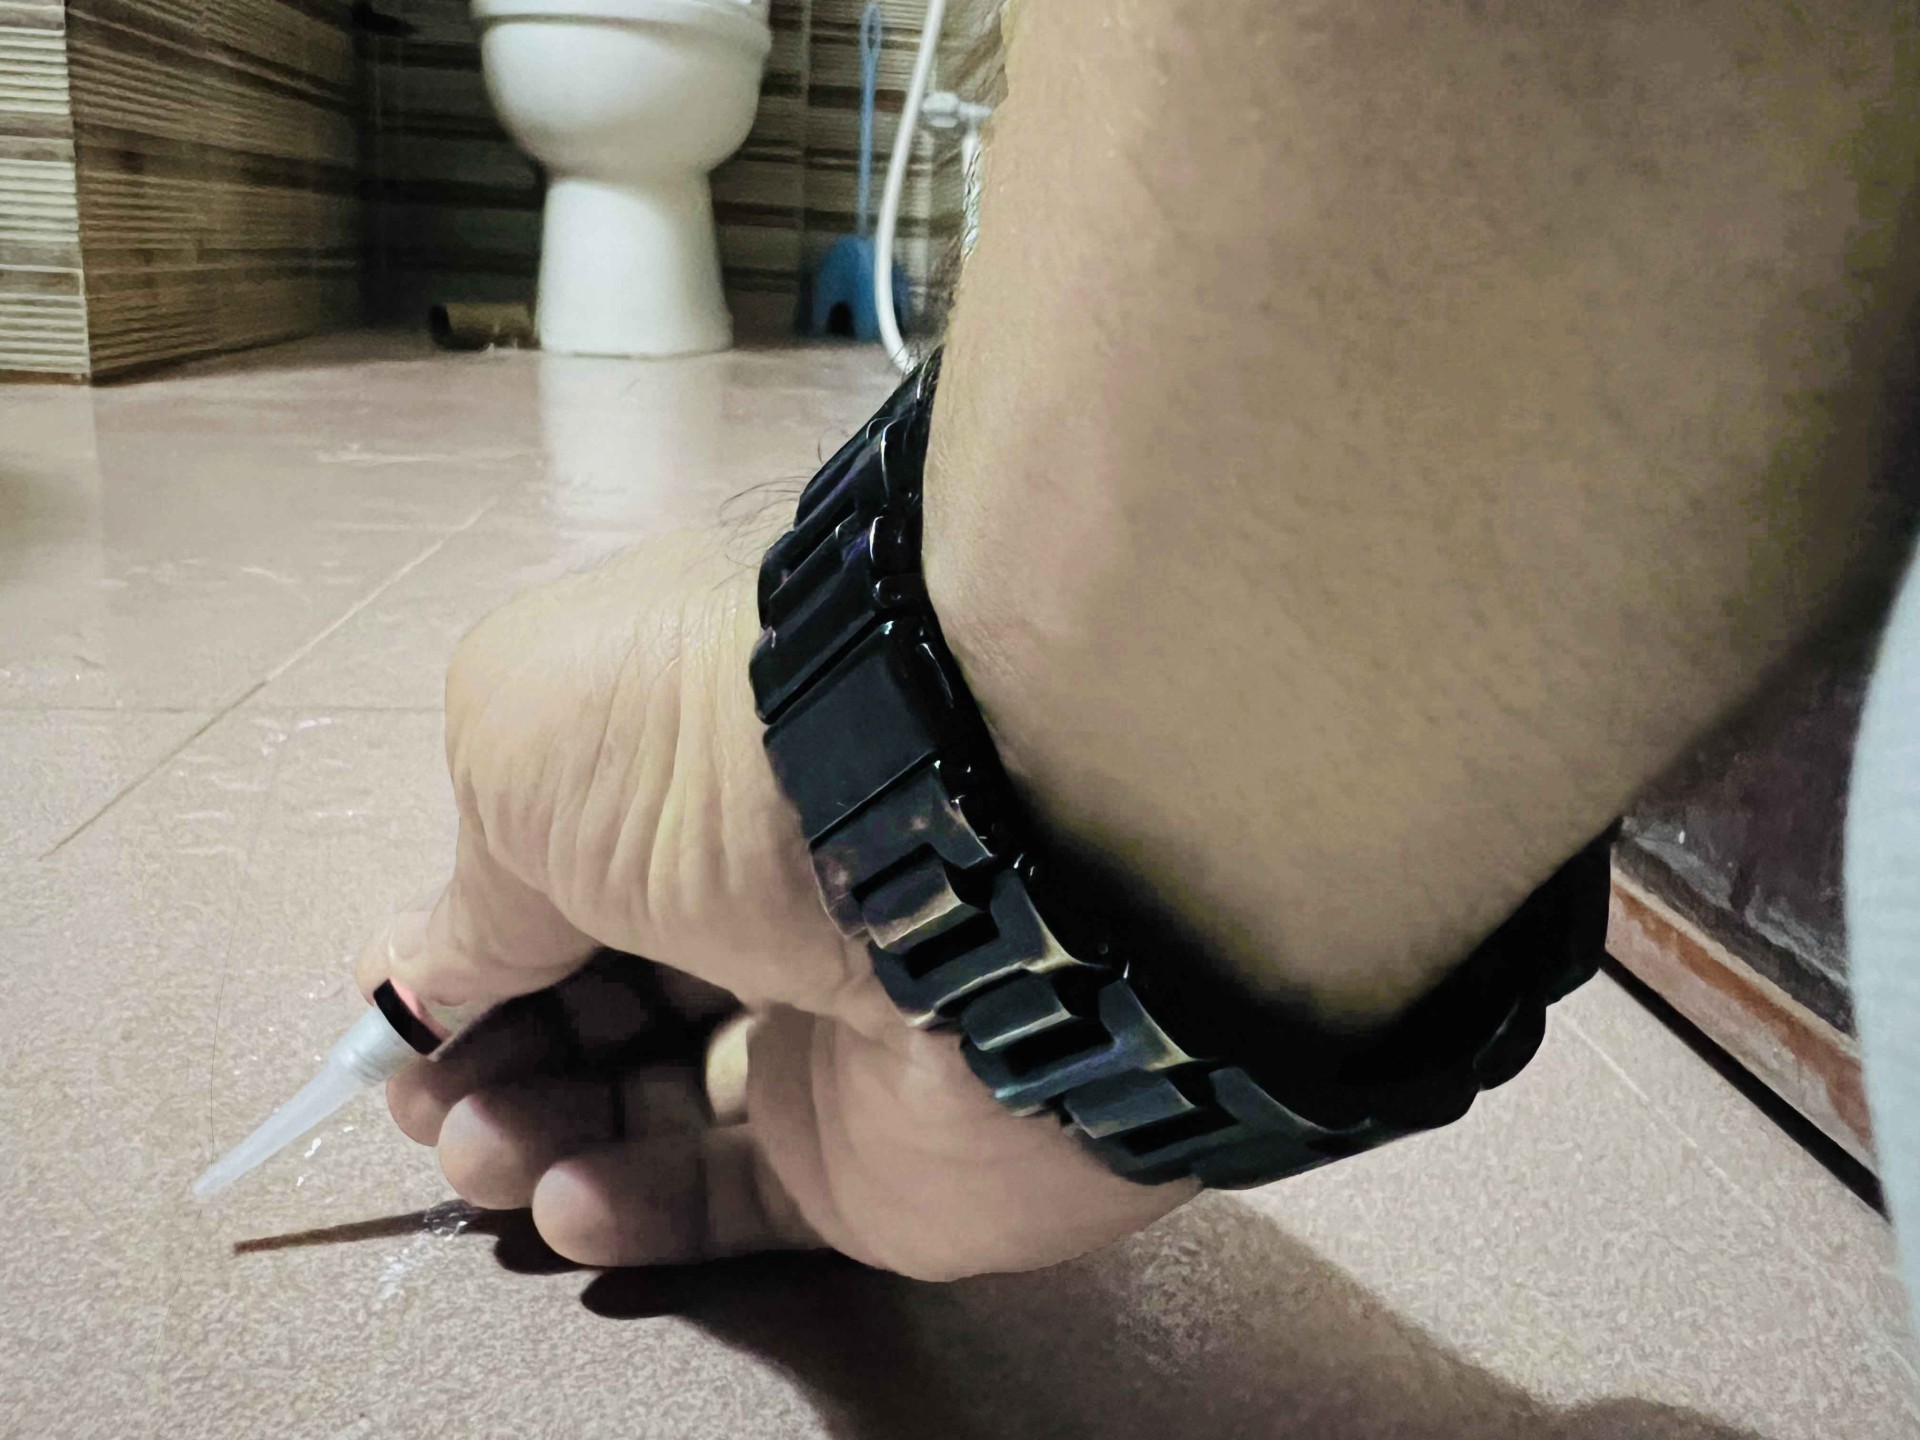
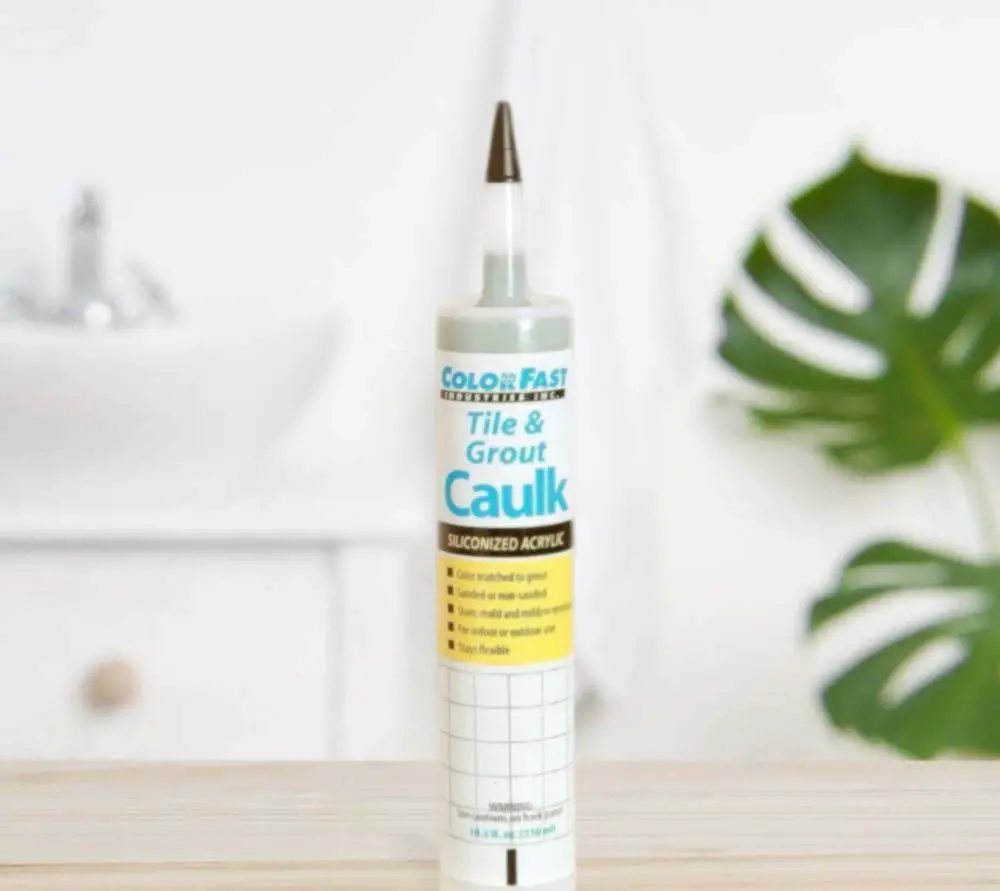
Repairing Using Ceramic Tile Caulk
One more option to fix the small cracks in your shower tiles is to use ceramic tile caulk. You need to follow these steps for this method:
- Clean the tile around the crack and let it dry completely.
- Squeeze some ceramic tile caulk into the crack. Make sure you fill it up completely. Scrap any excess caulk from the crack with a straight-edged tool, such as a putty knife. Make it level with the tile’s surface.
- Use a damp cloth to wipe off any caulk that has stuck to the tile around it. When the caulk is fully dry, sand it with 600-grit sandpaper.
- You can use white caulk without any pigment if your tile is white. If your tile has a different color, you need to use a color-matching kit to create a pigment that matches your tile’s color.
- Apply the pigment to the caulked crack as instructed in the color-matching kit. Let it dry completely. If your tile has a glossy surface, apply a weatherproof clearcoat to the painted caulk patch.
Repairing Hairline Crack Cosmetically Using Porcelain Glaze
You can try using ceramic tile caulk to repair hairline cracks in bathroom tiles. Follow these steps to achieve a seamless and long-lasting cosmetic fix:
- Start by thoroughly cleaning the tile surrounding the crack, ensuring it is free from any dirt or residue. Allow it to dry completely before proceeding.
- Next, fill the crack with ceramic tile caulk, making sure it is adequately filled to the brim. Use an amount that will completely seal the crack.
- With a straight-edged tool such as a putty knife, carefully scrape off any excess caulk, leveling it with the tile’s surface. This step guarantees a smooth and seamless finish.
- Use a moist towel to remove any caulk that may have collected on the tile surrounding the crack. This will leave the area clean and tidy.
- Once the caulk has fully dried, use 600-grit sandpaper to sand the caulk gently.
- If you are using a white caulk with white tile, there is no need for additional pigmentation. However, for different color combinations, utilize a shade-matching kit to create a pigment that matches the color of your tile.
- Consider applying a weather proof clear coat to the painted caulk patch if your tile has a glossy surface. This will provide added protection and maintain the glossy appearance of your tile.
Combining The Aforementioned Techniques
When dealing with larger or more noticeable tile cracks in your kitchen or bathroom, you can combine the techniques mentioned to achieve a pleasing repair. Here are two effective methods you can consider:
Epoxy and Nail Paint
Begin by filling the cracks with epoxy to create a secure and complete seal. Once the epoxy has cured, apply a matching nail paint or nail polish to color and conceal the repaired area. Ensure a seamless blend with the tile’s color.
Remove any excess nail paint before it dries or hardens to achieve a clean finish. This approach effectively seals the cracks, provides waterproofing, and minimizes their visibility.
Super Glue and Weatherproof Paint
Fill the cracks with super glue, ensuring a strong bond. After the super glue has cured, apply weatherproof paint to cover the repaired area. Choose a paint color that matches the tile, achieving a seamless appearance.
Consider applying a clear urethane sealant to enhance durability and prevent future cracks, particularly for glossy tiles. This additional step maintains the glossy finish and ensures long-lasting results.
Replace The Tile Entirely
If you want a more comprehensive solution to address the hairline crack in your shower, the option of replacing the entire tile is worth considering. You can successfully accomplish this task with the right tools and a dedicated weekend. Here’s what you’ll need:
- Substitute tiles
- Premixed adhesive for tiles
- Hammer
- Dust-catching sheet
- Safety glasses
- Chisel
- Gloves
- Notched trowel
- grout remover
- Tile spacers
- Grout float
- Sponge
- Grout
Once you have everything ready, follow these steps to replace the tile:
Step 1: Prepare the Area and Remove the Damaged Tile
Wear gloves and safety glasses and spread a drop cloth under the tile if it is on the wall. Be careful, as ceramic pieces can be very sharp. Start by removing the grout around the tile. You can use either a power or a manual grout removal tool for this.
Then, cover the cracked tile with a cloth and gently break it with a hammer from the center. Avoid hitting any adjacent tiles. Use your gloves and chisel to pry out the pieces after it has cracked more.
Step 2: Clean the Surface and Apply the Adhesive
Brush off any dust and scrape off as much of the old adhesive as possible. Apply adhesive to the floor or wall where the old tile was using a notched trowel. Cover the whole surface and wipe off any excess with a sponge.
Step 3: Add Spacers and Install the Tile
Add tile spacers to the edges of the area when the adhesive has dried. Use at least two on each side for a floor tile. You may only need to add spacers on the bottom edge for a wall tile, as gravity will hold the tile in place.
Place your tile in position and press it firmly. Make sure it is flush with the surrounding tiles. Remove the spacers after letting the adhesive dry for about 30 minutes. Then, let the adhesive cure completely according to the manufacturer’s instructions. Most tile adhesives need a full day to dry.
Step 4: Grout the Tile
Mix the grout according to the product’s directions on the next day. Make sure it is smooth and press it into every gap around the tile with the grout float.
If your bathroom has colored grout, try to buy the same brand and shade of grout. Use a damp sponge to wipe off any excess grout. In general, grout needs 24 hours to dry.
Preventing Hairline Cracks in Shower Tiles
Prevention is better than cure. So, if you can prevent the crack from occurring in the first place, you won’t have to think about repair. To prevent hairline cracks in shower tiles, you can follow my suggestions below:
Use high-quality tiles
Invest in good-quality tiles that are particularly designed for wet areas like showers. Choose tiles that are durable, strong, and less prone to cracking.
Look for tiles that meet the ASTM and ANSI standards for strength, water absorption, and resistance to chemicals and stains. You should also buy tiles from reputable sources, such as home improvement stores or trusted online retailers.
Allow for expansion and contraction
When installing tiles in a shower, it’s essential to leave a small gap between the tiles and any surrounding walls or fixtures. To prevent this problem, you should choose tiles that are suitable for your climate and location.
You should also avoid exposing your tiles to sudden or drastic temperature changes, such as using hot water or steam on cold tiles or leaving them uncovered in freezing weather.
Do not install tiles over a joint
Also, you should never install tiles directly over control joints. Instead, you should use a flexible membrane or a special joint filler that can accommodate the movement of the concrete without affecting the tiles. You should also leave a small gap between the tiles and the control joint to allow for expansion and contraction.
Use proper installation techniques
Ensure that the tiles are installed correctly using appropriate installation techniques. To avoid these installation errors, you should always follow the manufacturer’s instructions for applying adhesive and using a flexible membrane. You should also hire a professional tile installer with experience and expertise in correctly laying tiles.
Avoid excessive weight or impact
Be cautious when placing heavy objects or applying excessive weight or force on the tiled surface. The best way to avoid impact damage is to be careful when handling or moving items that could damage the tile. You should also use mats or rugs in areas with more likely impact damage, such as near sinks, stoves, or doors.
Proper Joist Spacing
To avoid this problem, you should ensure that your joists are spaced according to your area’s building codes and standards. You should also use a sturdy and rigid subfloor material that can support the weight of your tile layer without flexing or sagging.
You may also need to reinforce your joists or subfloor with additional supports or braces if they are not strong enough for your tile installation.
FAQs
You already know how you can repair a hairline crack in your shower tile. The following questions will aid you regarding the issue:
How To Tell If You Should Fix Or Replace A Tile
If only one (or a few) tiles have hairline cracks, fixing them will be worth the effort. But if water is seeping through them or you have many visible cracks, it’s time to replace your tiles completely.
It will be much easier to buy new tiles rather than spend the time, money, and effort to repair or touch up the small cracks you see on more than five or six tiles across the whole area.
Will the hairline crack in the tile get worse?
Cracked tiles are common. When tiles are exposed to a lot of force, they can get weaker over time due to wear and tear. Tiles will eventually develop bigger cracks as small fractures widen with time.
When should I be concerned about cracked tiles?
If you see long and consistent cracks across multiple tiles, it could mean that the concrete below them has also cracked. This can compromise the structural integrity of your floor or wall. That’s what you should be concerned about.
Conclusion
So, you now know how to repair hairline cracks in shower tiles. Whether it is just repairing or replacing the entire tile, you know how to do it. To help you out, I have mentioned everything in detail.
Always try to find the reason behind the crack prior to the repair or the replacement. Knowing the reason will help you maintain crack-free tiles in your home.
Also Read – How To Remove Urine Smell From Bathroom Tiles?