I am always conscious of my oral hygiene and use various methods to clean my toothbrush. One day, a friend surprised me by mentioning that he sterilized his toothbrush in the microwave.
This got me thinking – is it actually safe to sterilize a toothbrush in the microwave, considering the high temperature? And if not, what are some alternative methods that are safe and effective?
Today, I’ll share my personal experience of sterilizing a toothbrush in the microwave, talk about its safety and provide you with other safe options to keep your toothbrush clean.
Is It Safe To Sterilize A Toothbrush In The Microwave?
Before we delve into the process, addressing the safety concerns associated with sterilizing a toothbrush in the microwave is important.
After some research, I’ve discovered that microwaving a toothbrush is not typically recommended for several reasons. Let’s delve into them further:
1. Damage to the toothbrush
Many toothbrushes are made of plastic, which can melt or become deformed if exposed to high temperatures inside a microwave. This can release harmful chemicals into the air, rendering the toothbrush ineffective or unsafe.
2. Reduced Effectiveness
While microwaves can kill many types of bacteria, they might not be able to eliminate all the bacteria on a toothbrush. The effectiveness of a microwave in sterilizing an item depends on its ability to heat every part evenly.
If any part of the toothbrush doesn’t get hot enough, it could still harbor bacteria, defeating the purpose of sterilization.
3. Safety hazards
If your toothbrush has metal parts, microwaving it can be dangerous. Metal can cause sparks and potentially start a fire in your microwave.
It’s important to note that many toothbrushes have small metal pieces, such as in the bristles or the base, which could pose a risk if exposed to microwaves.
Step By Step Guide To Sterilize A Toothbrush In The Microwave
Although sterilizing your toothbrush using a microwave is not 100% safe, it is possible. Now, I will walk you through the process of sterilizing a toothbrush in the microwave. Here is how you do it:
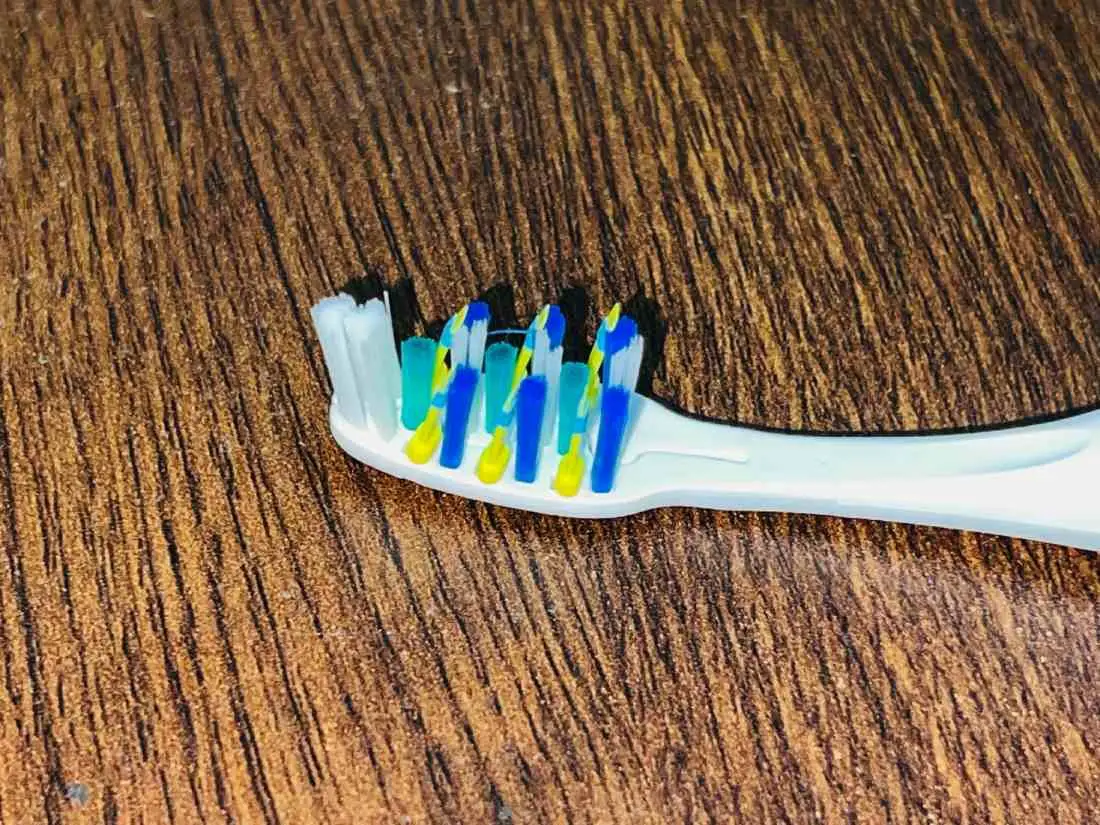
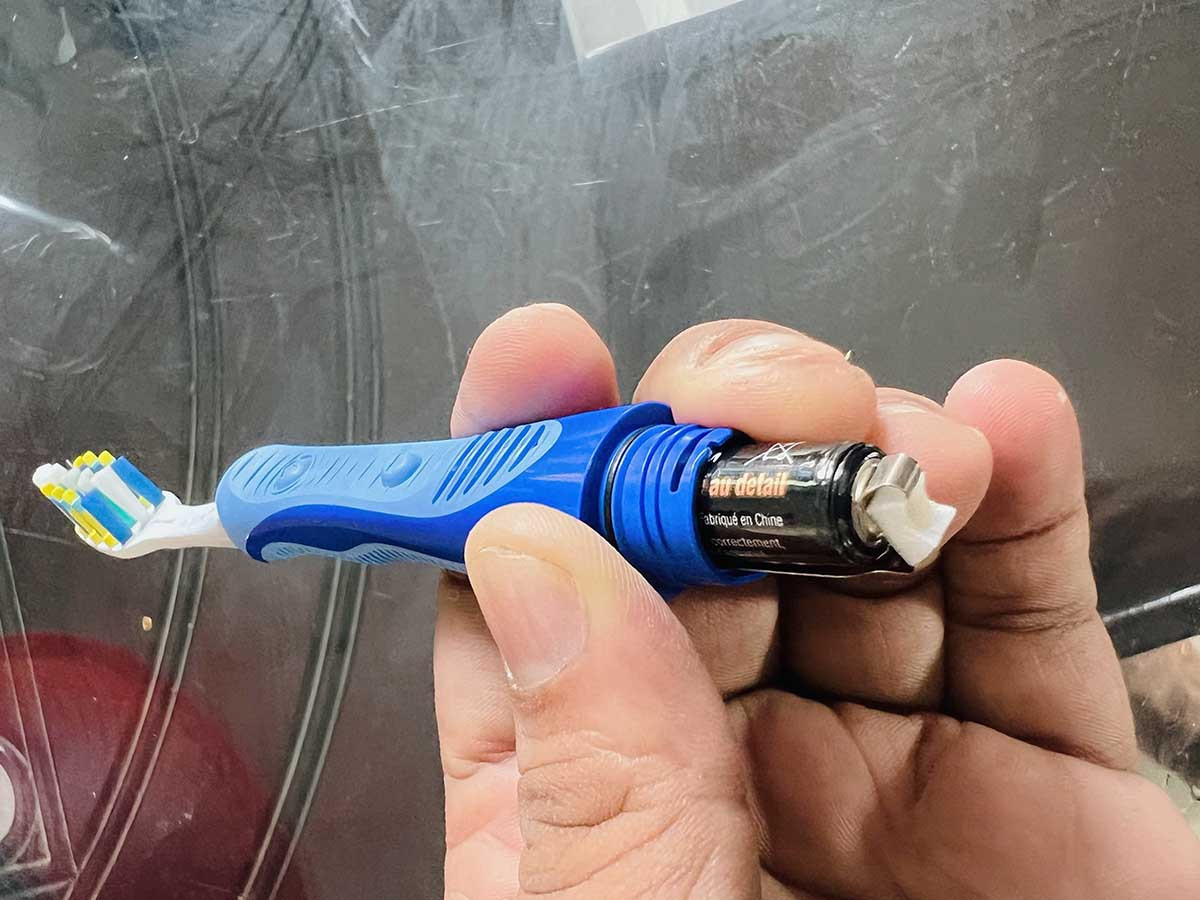
Step 1: Check For Metal
Before proceeding with the microwave sterilization method, checking your toothbrush for any metal components is crucial. Start by removing the plastic protective cap if your toothbrush has one.
Suppose you notice a significant amount of metal in your toothbrush. In that case, it is recommended to consider alternate sterilization methods, as metal can cause sparks or damage in the microwave. However, if your toothbrush has only a bit of metal, you can still proceed with microwave sterilization.
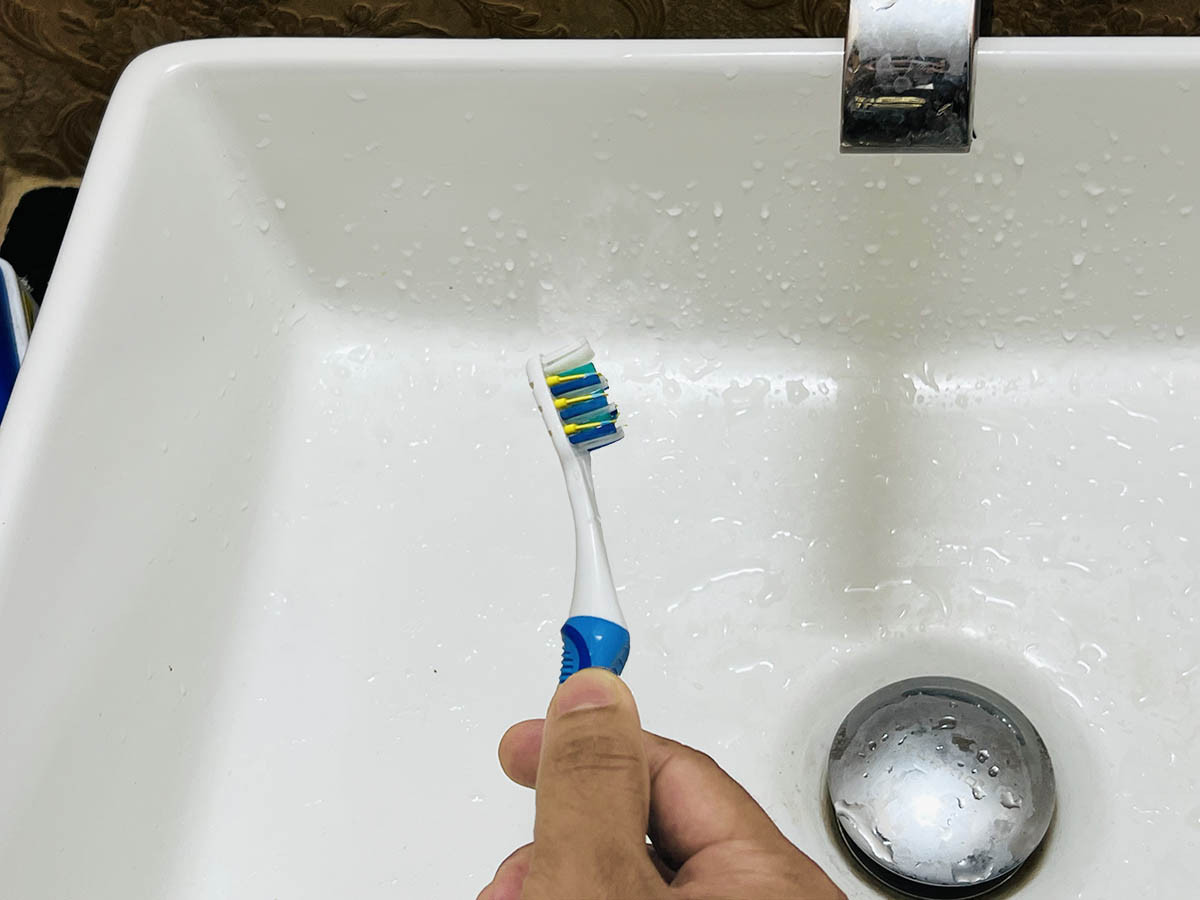
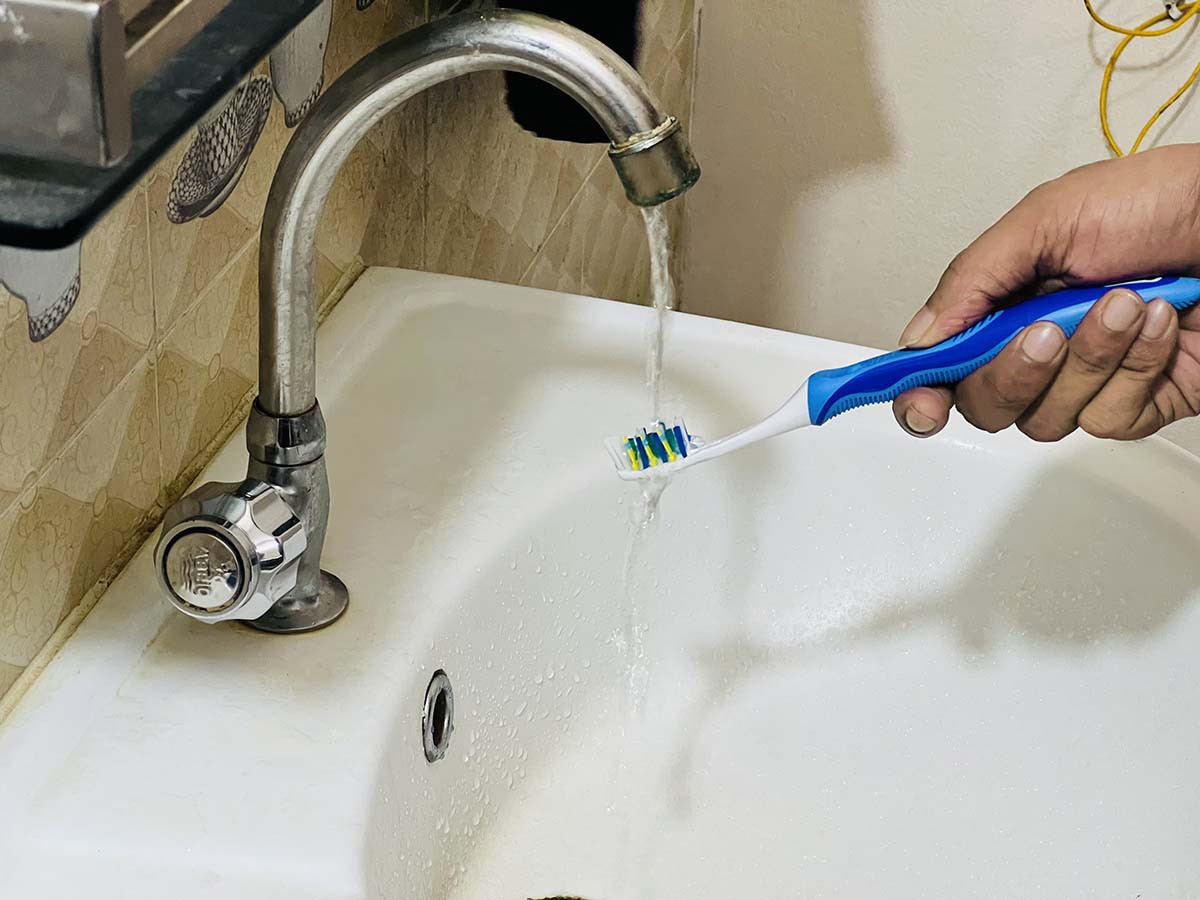
Step 2: Thoroughly Rinse The Toothbrush
To ensure efficient sterilization, it is important to rinse your toothbrush under running water. This will help remove any dirt, toothpaste residue, or food particles that may be present on the bristles. A clean toothbrush will ensure better sterilization results.
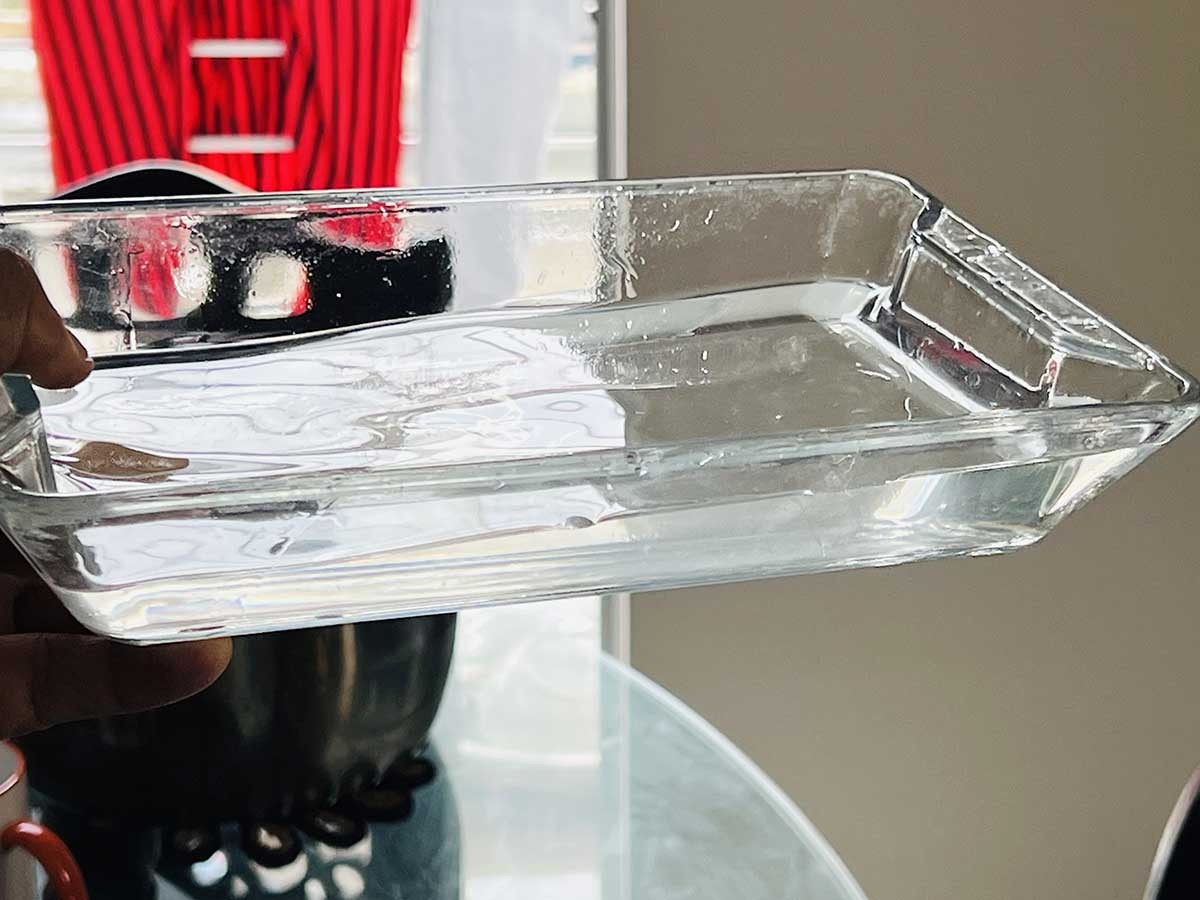
Step 3: Prepare A Microwave-Safe Container
To hold the toothbrush during sterilization, you will need a container or cup that can withstand the microwave.
Before placing the toothbrush in the container, verify its size to ensure that the toothbrush can be fully immersed in the water without touching the walls of the microwave.
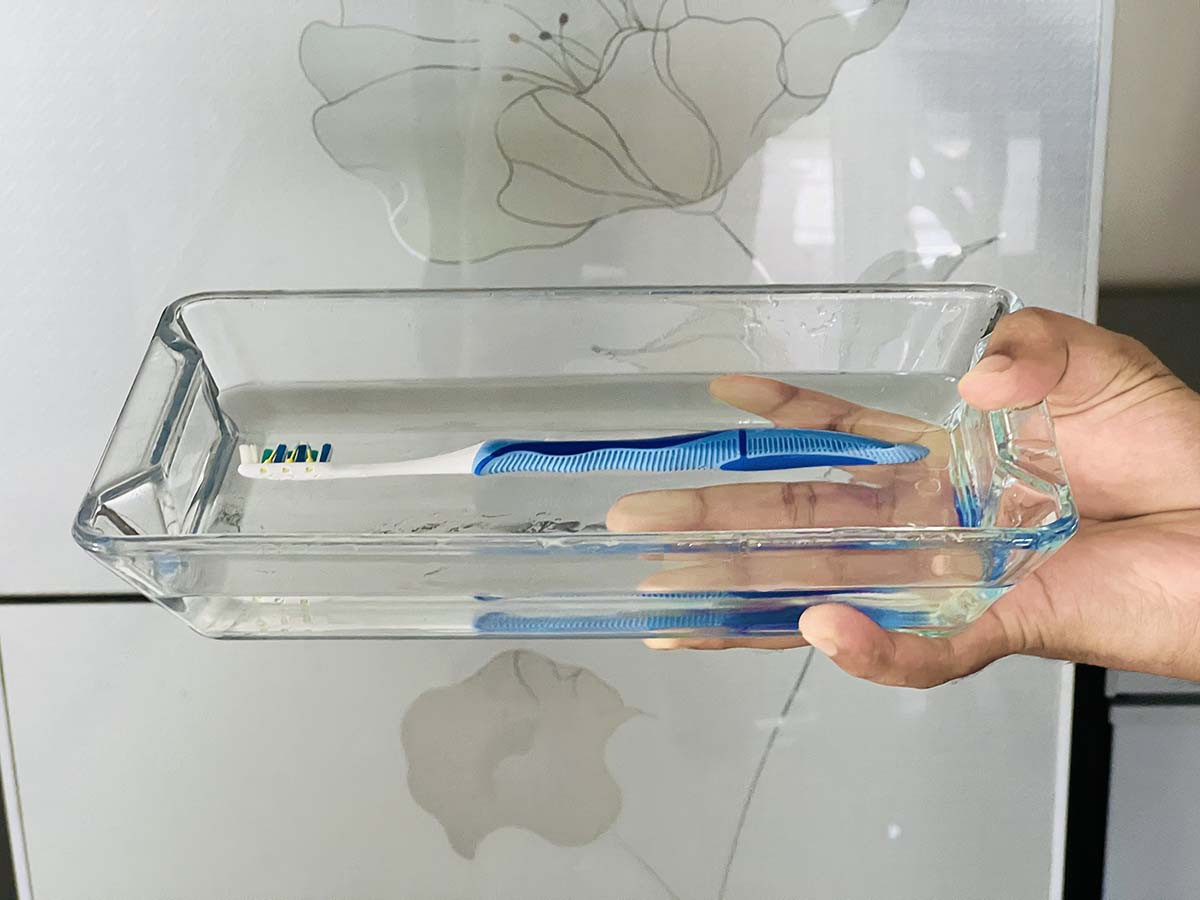
Place the toothbrush in the container, bristle side down, ensuring that the bristle head is completely immersed in the water.
Step 4: Add Water And Account For Evaporation
When using the microwave for sterilization, it is crucial to have enough water to keep the bristles of the toothbrush fully immersed at all times.
Add water to the container, making sure to include a little extra to account for any evaporation that may occur during the process.
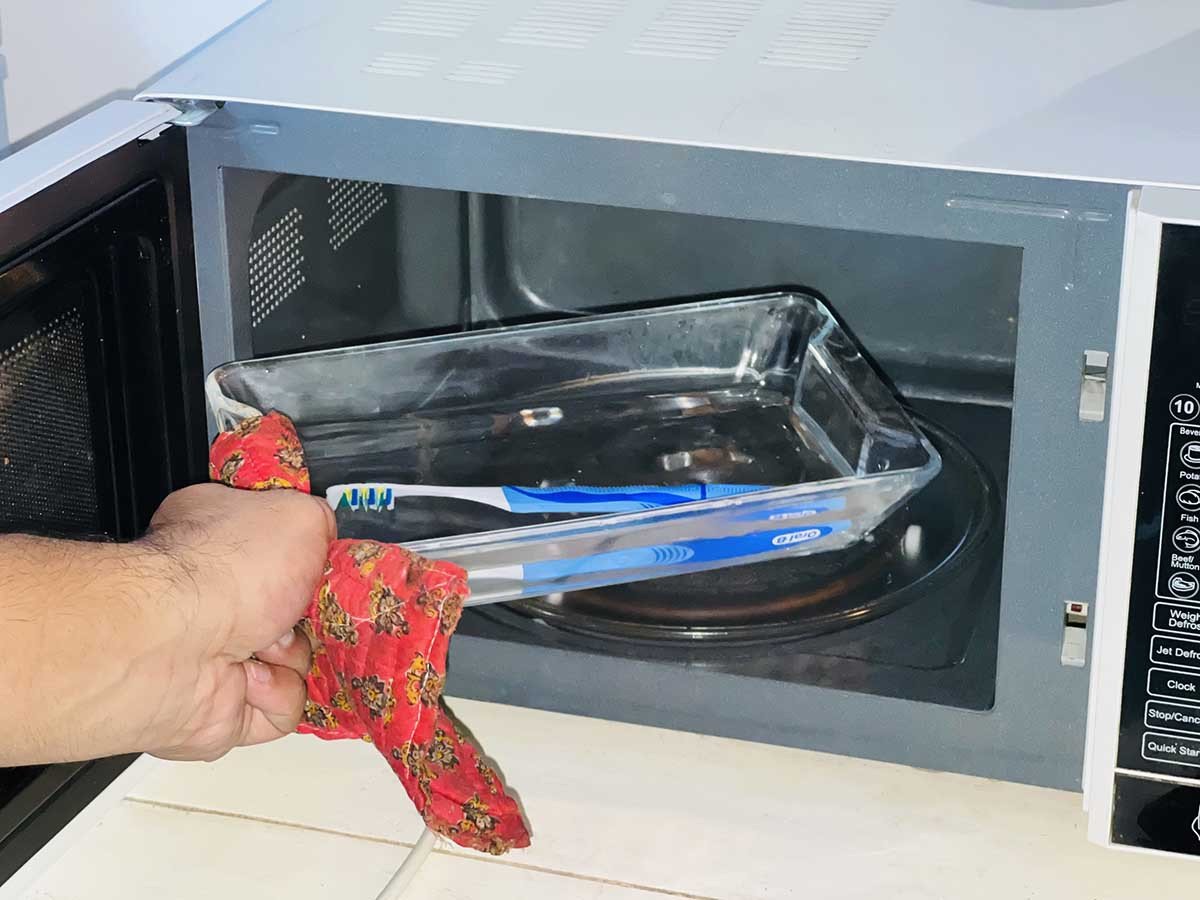
Step 5: Microwave Sterilization
The time it takes for the water to start boiling will depend on your microwave and its temperature settings.
Place the container with the toothbrush and water in the microwave and heat it on high until the water starts to boil. Once the water reaches its boiling point, maintain it for two to three minutes to ensure proper sterilization.
Step 6: Allow It To Cool
After heating the container in the microwave, it is important to use oven gloves or a cloth to gently remove it.
Before touching the toothbrush or the water, give them some time to cool down. Safety should always be a priority.
Step 7: Rinse Once More
Once the container and the toothbrush have cooled down, carefully remove the toothbrush from the container. Rinse it under running water once more to remove any lingering germs or sterilizing residue.
Step 8: Let The Toothbrush Air-Dry
Shake off any excess moisture from the toothbrush and let it air dry in an upright position. Avoid using a towel or tissue to dry the toothbrush, as they may introduce new germs. Allowing the toothbrush to air dry will ensure that it is completely dry before its next use.
Other Effective Methods To Sterilize A Toothbrush
When it comes to maintaining good oral hygiene, it’s not just about brushing your teeth regularly. It’s equally important to keep your toothbrush clean and free from bacteria. After all, your toothbrush helps you maintain a healthy and beautiful smile. In this blog post, I will share with you some effective methods to sterilize your toothbrush and keep it germ-free.
Hydrogen Peroxide (Best Method)
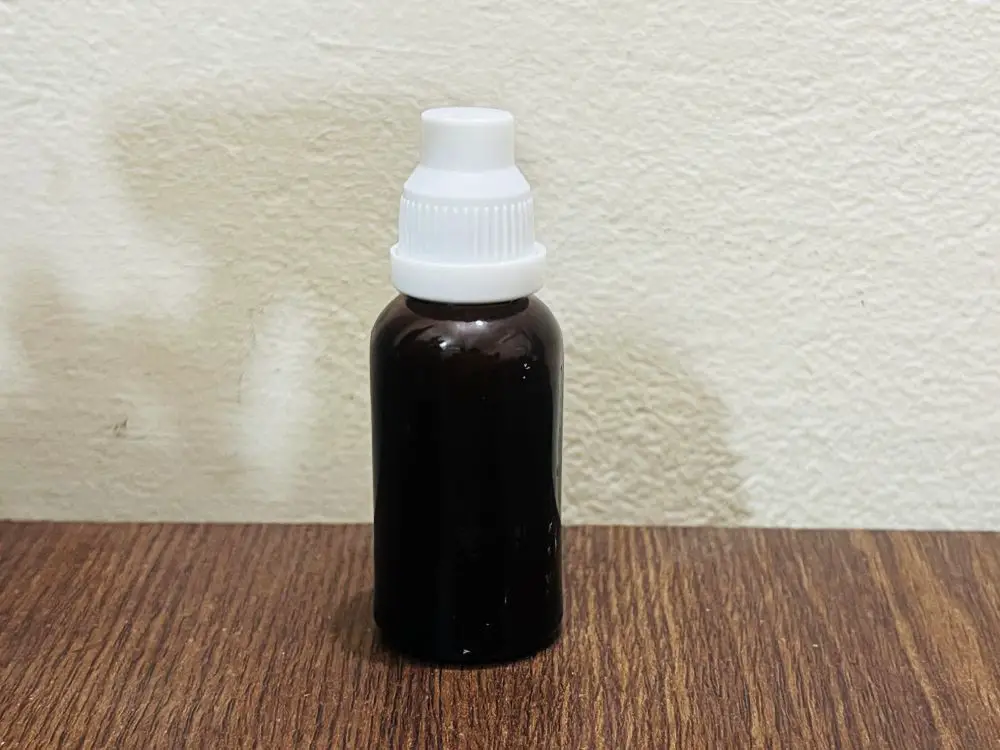
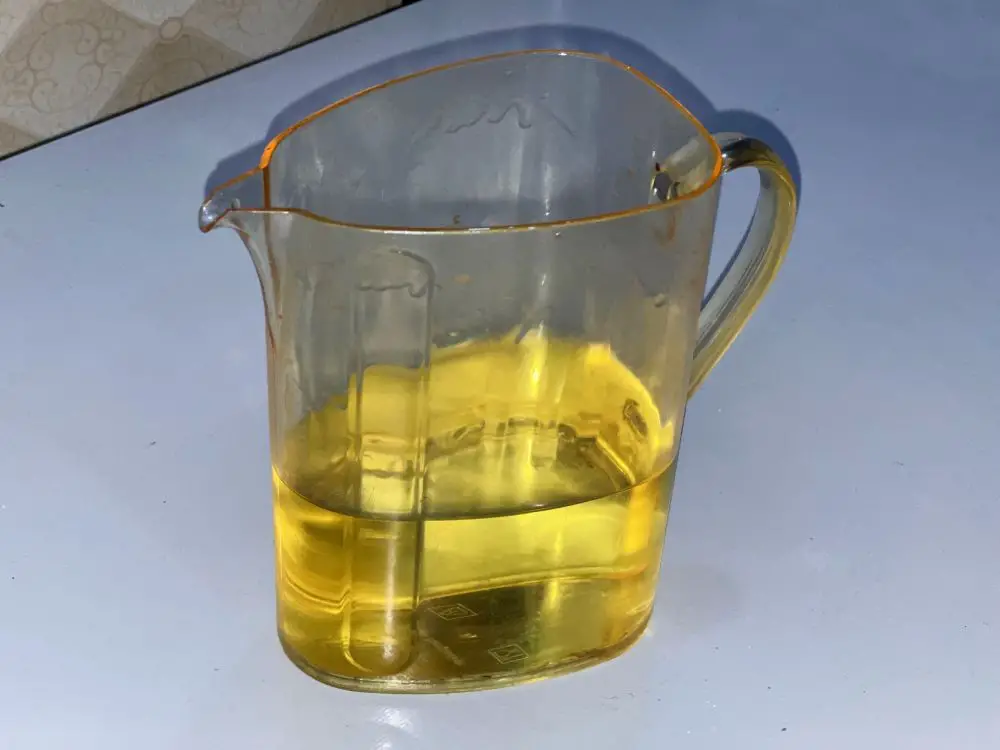
The method that I use most often is hydrogen peroxide. It’s the best method because it’s inexpensive and effective. Hydrogen peroxide is a disinfectant that can kill most of the bacteria on your toothbrush. Here’s how I do it:
- I fill a glass with one cup of water and add one teaspoon of 3% hydrogen peroxide.
- After that, I soak the toothbrush in the solution, ensuring it is thoroughly soaked.
- After a few minutes, I remove the toothbrush from the solution and rinse it thoroughly before brushing my teeth.
Vinegar
Another natural cleanser that I use to clean my toothbrush is vinegar. Vinegar is acidic and can help remove plaque and bacteria from your toothbrush. Here’s what I do:
- I pour white vinegar into a small glass, enough to cover the bristle end of the toothbrush.
- After that, I let the toothbrush soak overnight to kill bacteria.
- Before using the toothbrush again, I rinse it thoroughly.
Baking Soda
Baking soda is another substance that I use to disinfect my toothbrush. Baking soda has cleaning properties and can neutralize odors and stains on your toothbrush. Here’s what you need to do:
- Dissolve two tablespoons of baking soda in one cup of warm water.
- Rinse your toothbrush under running water to remove any visible dirt.
- Soak your toothbrush in the baking soda solution for about an hour.
- Clean the brush completely and allow it to air dry.
Antibacterial Mouthwash
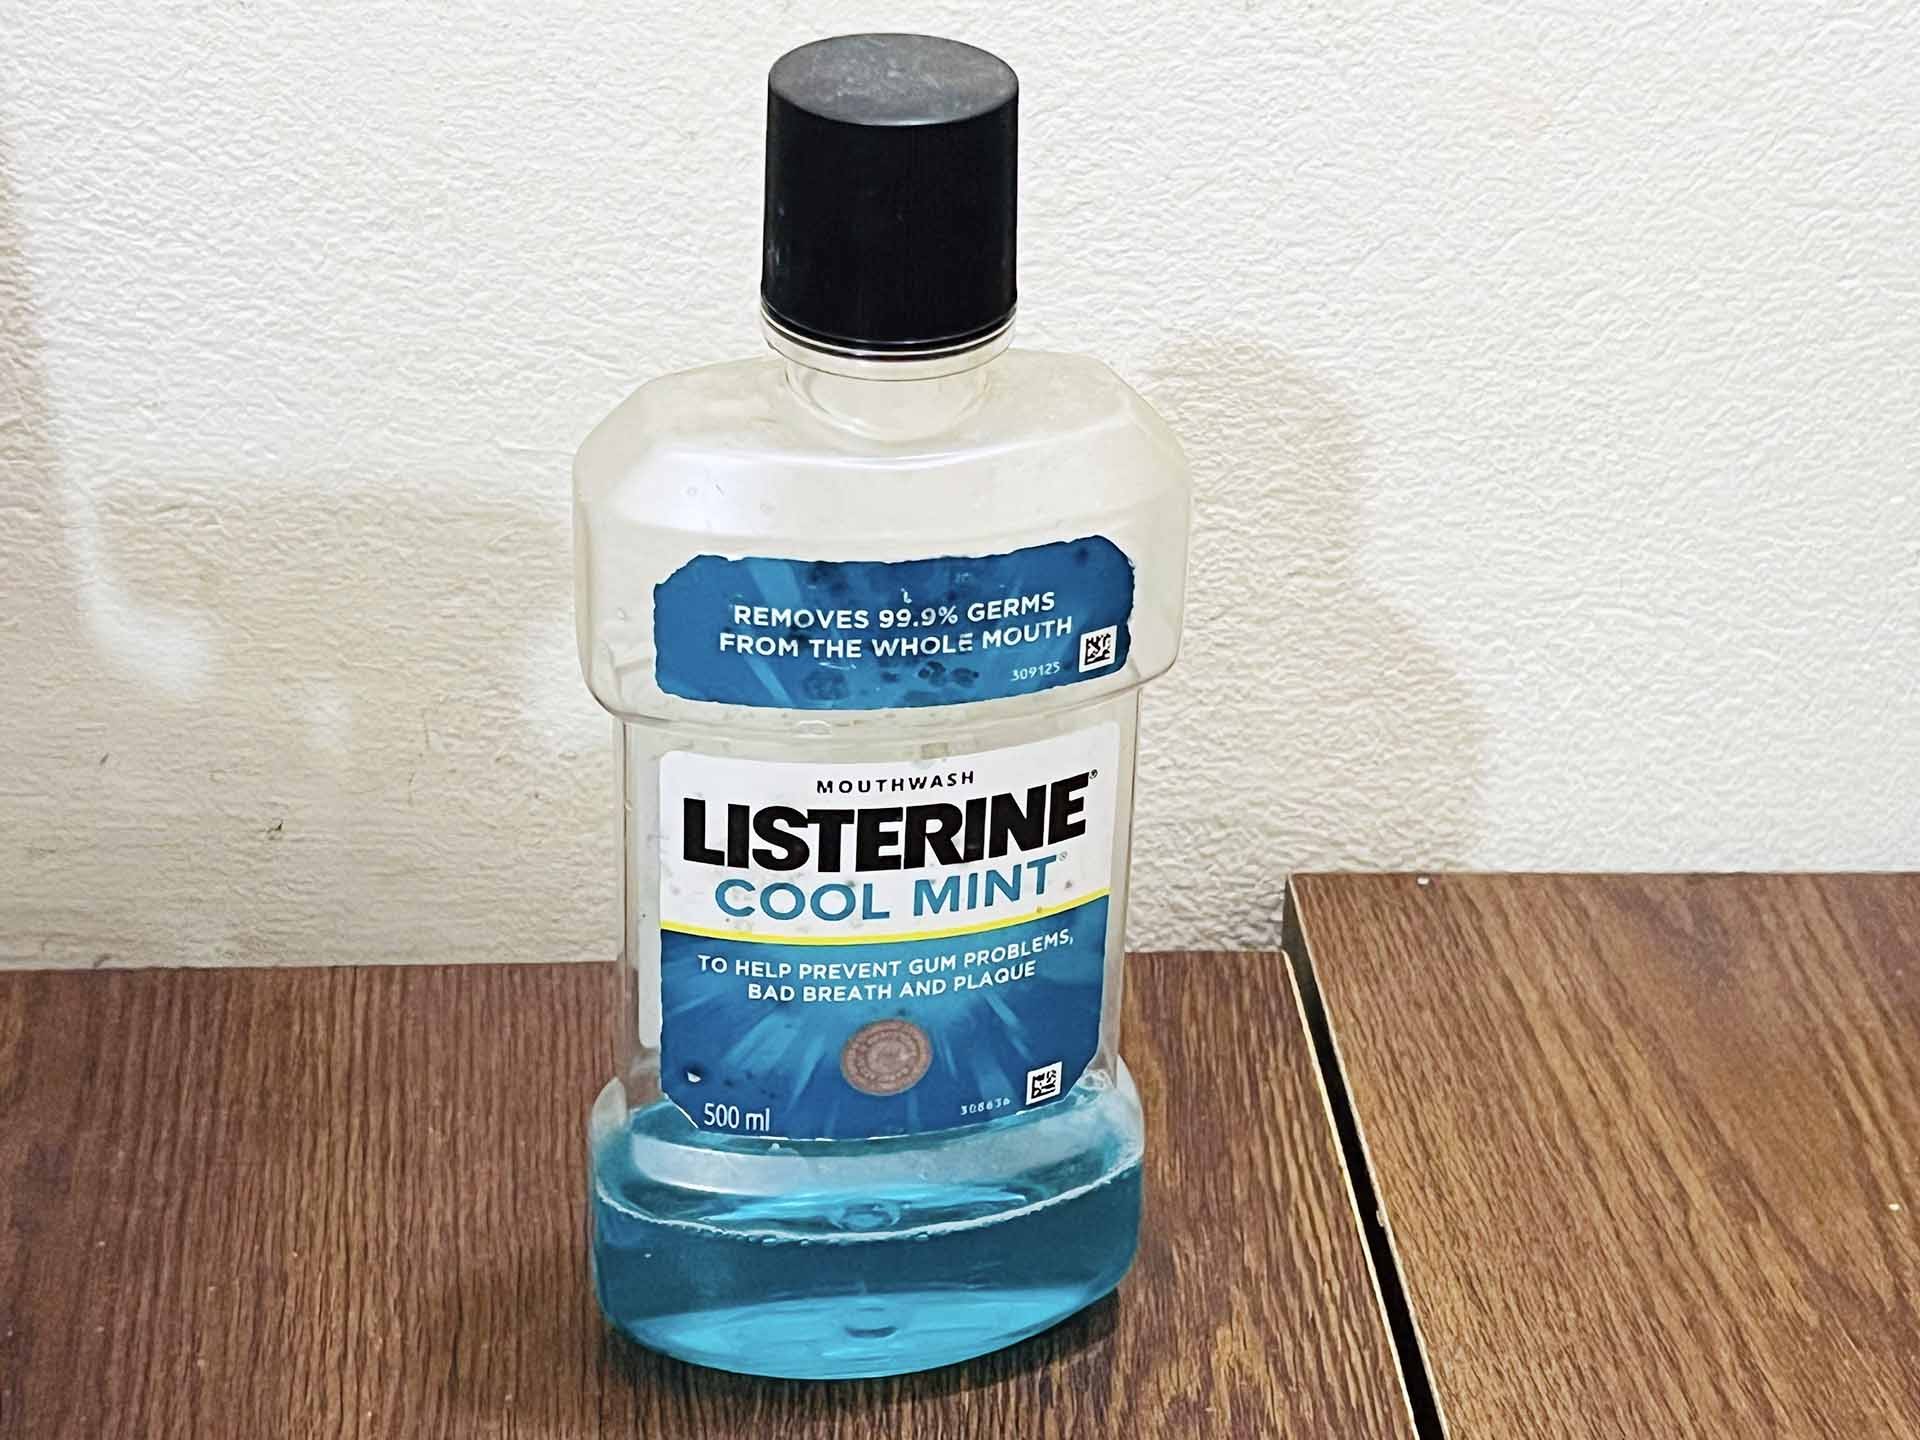
Sometimes, I also use mouthwash with an antibacterial agent to clean my toothbrush. Mouthwash can help reduce the amount of bacteria on your toothbrush and leave a fresh minty taste. Follow these steps:
- Pour enough mouthwash into a small glass to cover the bristle end of the toothbrush.
- Swish the toothbrush around for about 30 seconds to remove any debris.
- Do not soak the brush in mouthwash for more than 15 minutes to protect the bristles.
- Clean the handle with soap and water.
- Rinse the toothbrush thoroughly and let it air dry before using it again.
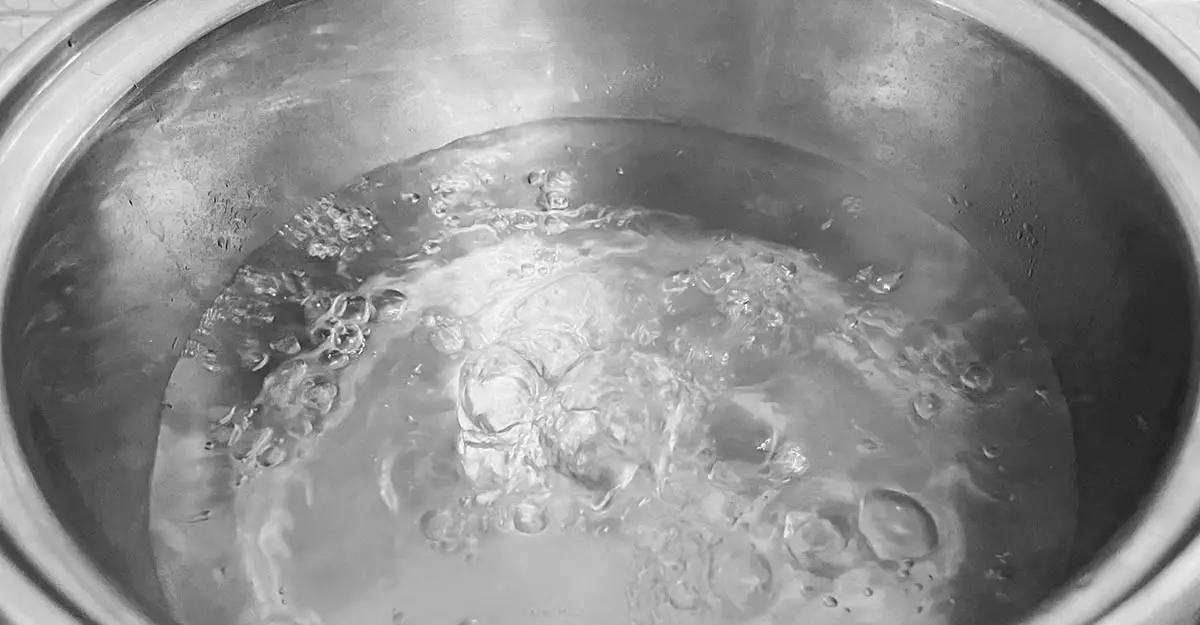
Boiling
Another option that I have tried to sterilize my toothbrush is boiling it in water. Boiling can kill most of the germs on your toothbrush but may also damage the bristles over time. Here’s how I do it:
- I boil a small pan of water (212°F/100°C).
- After that, I use tongs to place the toothbrush in the boiling water.
- After about three minutes, I remove the toothbrush and place it on a clean piece of paper towel to cool down.
- Then, I wipe off any excess water from the bristles.
- Finally, I let the toothbrush air dry in a secure location.
Denture Cleaning Tablets
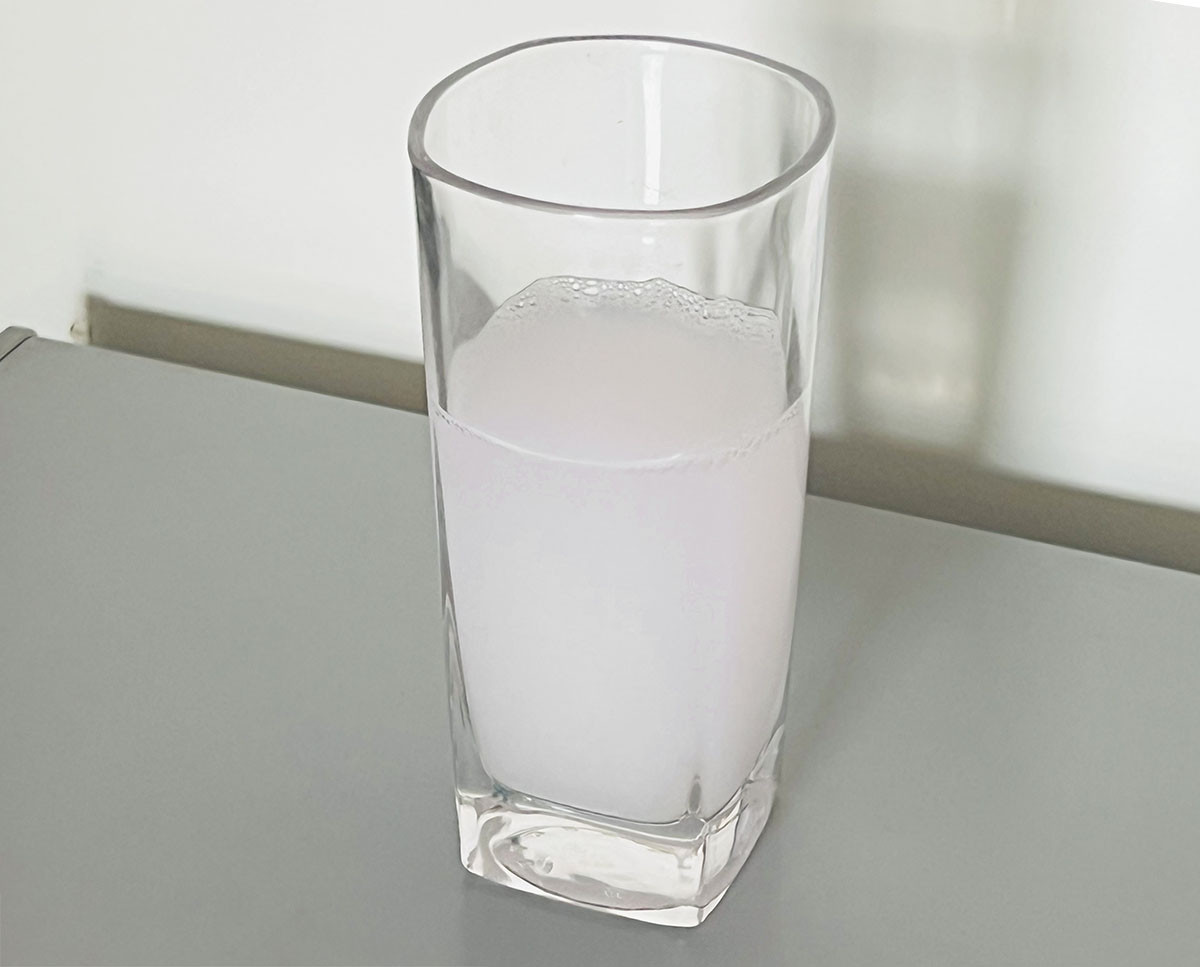
I have also used denture cleaning tablets to clean my toothbrush occasionally. Denture cleaning tablets are effervescent tablets that can dissolve plaque and bacteria from your toothbrush. Follow these steps:
- Dissolve a denture cleaning tablet in a glass with approximately three inches of warm water.
- Submerge the toothbrush in the foamy water and swirl it around for a while to ensure complete soaking.
- Let the toothbrush soak in the solution for three to five minutes, as directed on the packaging.
- Swish the brush around to remove any debris before rinsing it.
- Clean the handle with soap and water.
- Rinse the toothbrush thoroughly under running water, squeeze out any excess water from the bristles, and let it air dry in a secure location.
Dishwasher
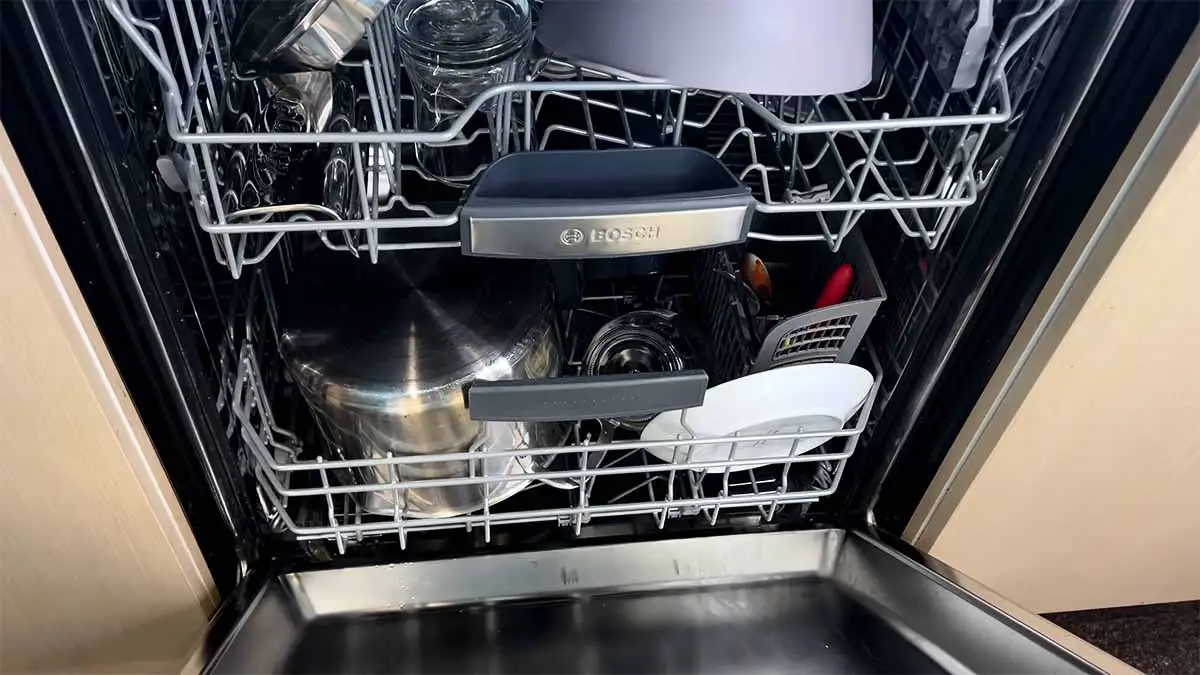
One surprising method that I have tried is cleaning my toothbrush in a dishwasher. According to a study posted on PubMed, the dishwasher approach is one of the most efficient ways to eliminate bacteria from toothbrushes.
Here’s what you need to do:
- Place the toothbrush in the silverware tray of the dishwasher.
- Run a regular cycle.
Rubbing Alcohol
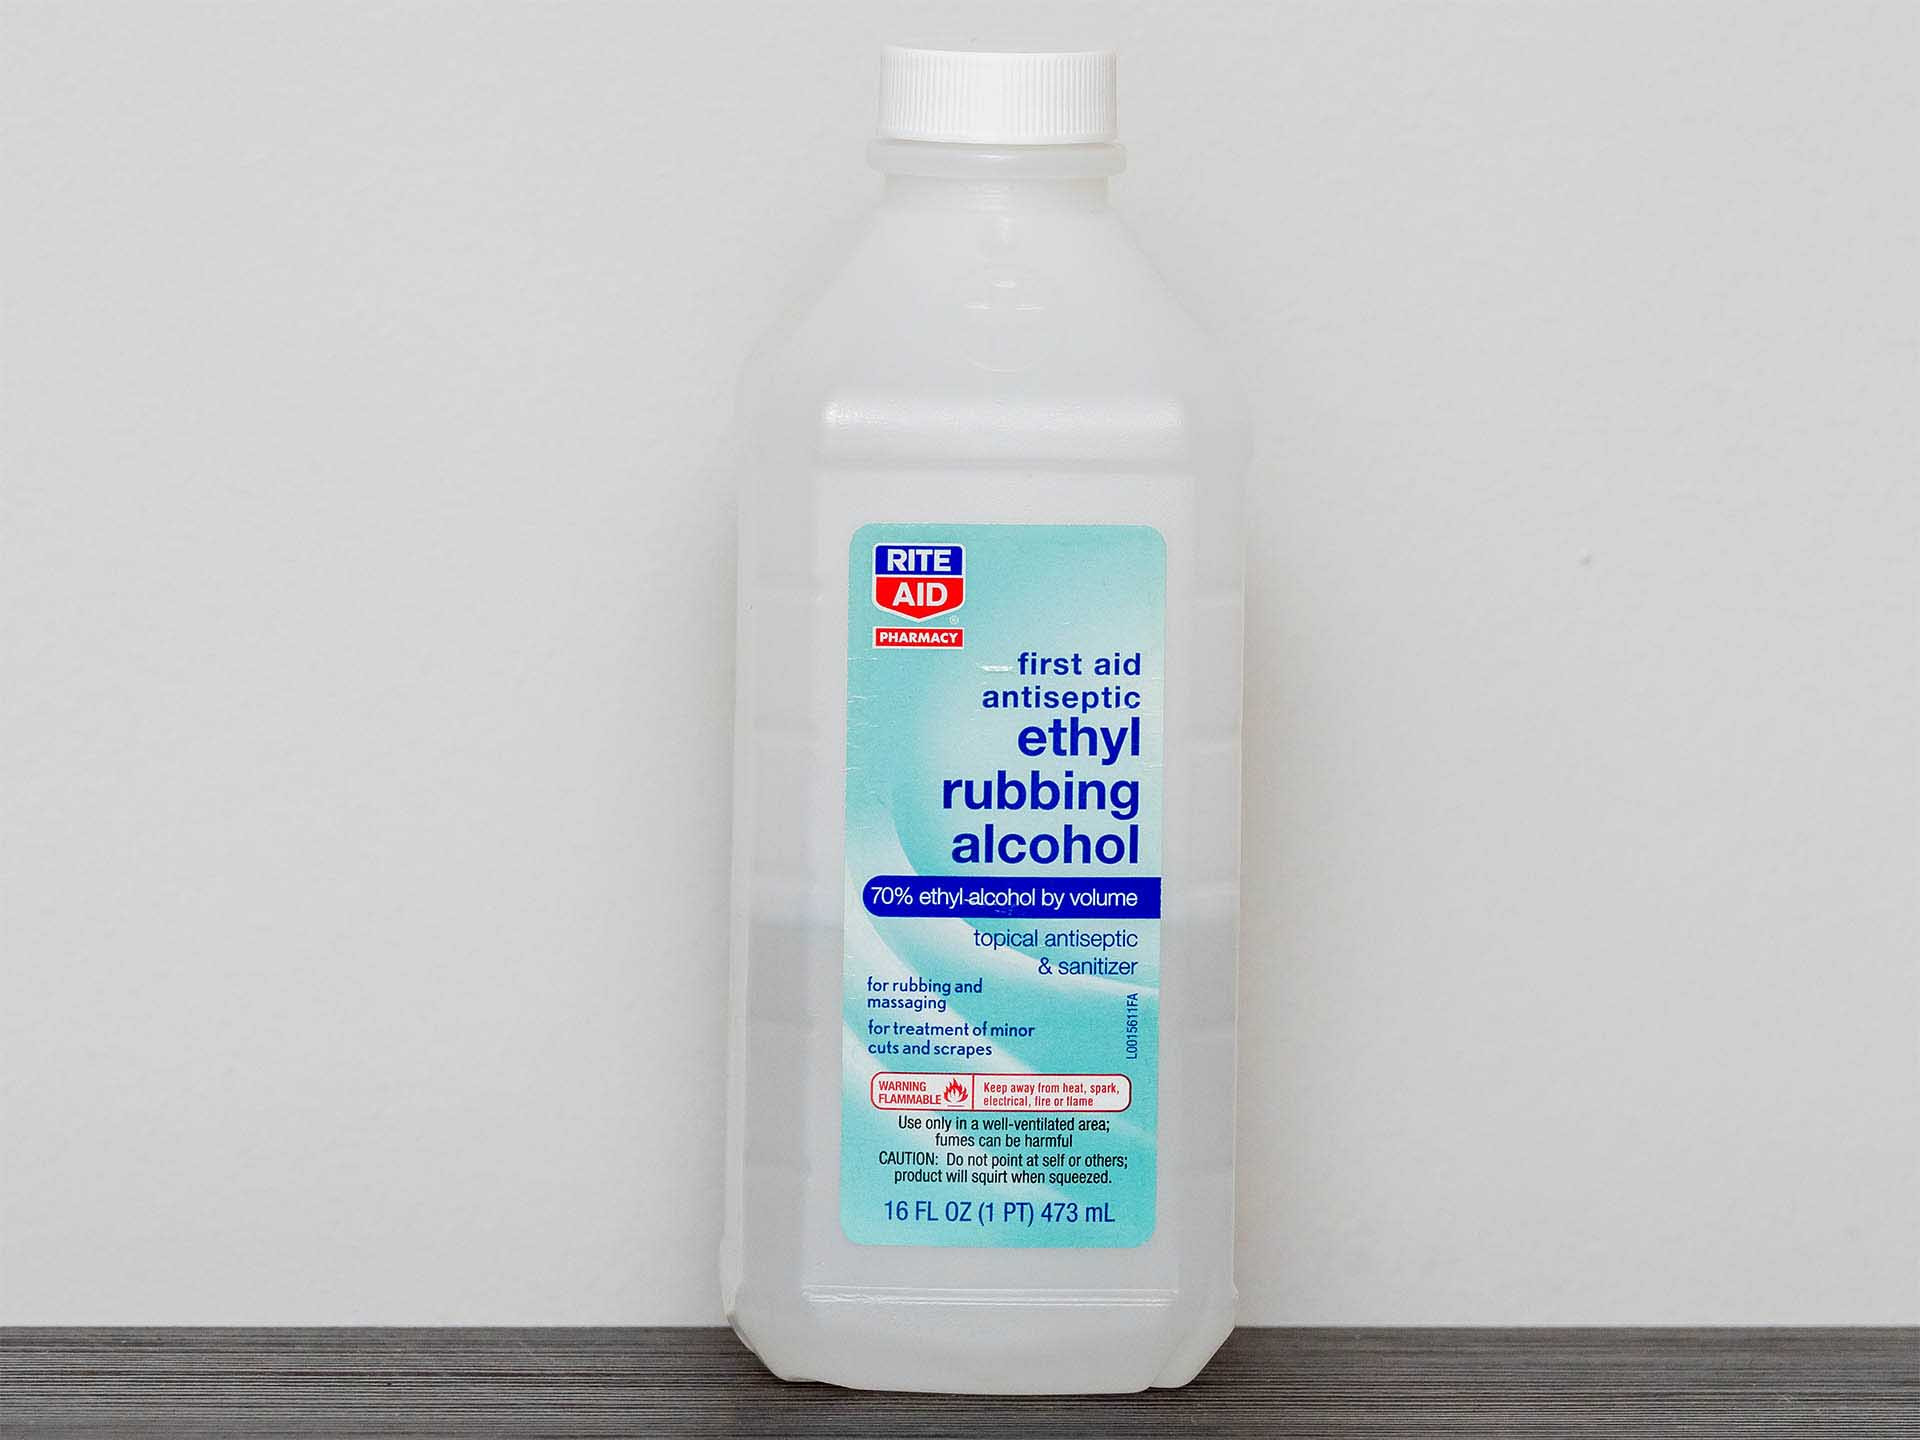
Another method that some people use but I don’t recommend is rubbing alcohol. Rubbing alcohol is a strong solvent that can disinfect your toothbrush. Still, it may also harm your oral health if ingested or cause irritation if applied to sensitive areas of your mouth or gums. Here’s how to do it if you want to:
- Rinse the toothbrush to remove any debris.
- Immerse the toothbrush in isopropyl or rubbing alcohol for around 30 seconds.
- Thoroughly rinse the brush before using it.
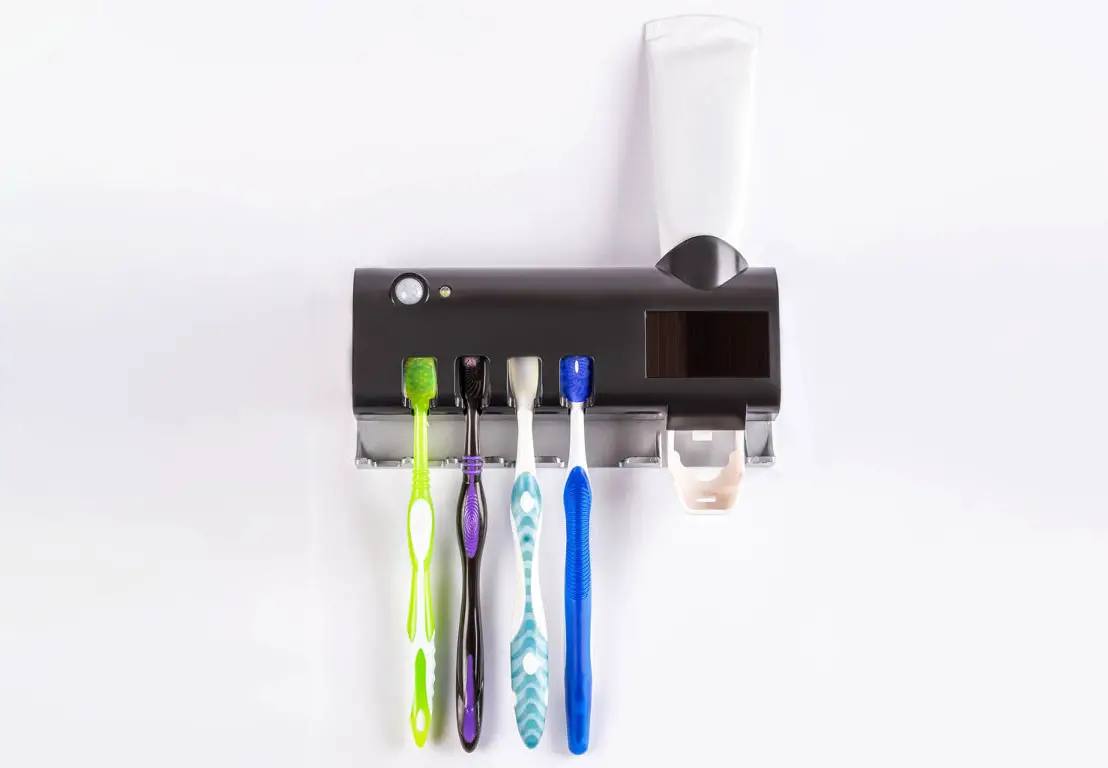
Toothbrush Sanitizer
Although the CDC does not recommend using sanitizing devices due to potential damage to the toothbrush bristles, UV and steam sanitizers are available on the market.
They claim to eliminate 99% or more of the bacteria on brushes. So, if you choose to use one, follow the package instructions and have a spare toothbrush on hand in case of any damage.
How To Sterilize an Electric Toothbrush
To sterilize the head of my electric toothbrush, I follow the same methods as I would for a regular toothbrush. Before I begin the process, I make sure to remove the toothbrush head from the electric base.
After each use, I personally prefer to wipe the base with a clean cloth or a disinfectant wipe. This helps prevent any mold from developing in those hard-to-reach gaps. Remember, doing this right after each use is crucial to maintain a hygienic toothbrush.
Ways To Keep Your Toothbrush Clean
To keep my toothbrush clean, I usually follow these simple steps:
- Rinse With Hot Water
The easiest way to clean my toothbrush is by rinsing it under hot running water. This helps to remove any leftover toothpaste and food residue.
- Wash Before And After Each Use
To make sure your toothbrush is thoroughly cleaned, you should wash it before and after every use. Running it under hot water will help soften the bristles and loosen any debris.
For best results, I usually run my thumb under hot water and then cold water to make the bristles stiffen up.
- Air Dry
It’s important to let your toothbrush air dry after each use. Storing it in a damp environment can promote the growth of mold and germs.
To facilitate drying, I always shake off any excess water and swipe my finger or thumb over the bristles to help drain the water. If you use a holder or container, you should ensure the toothbrush is completely dry before storing it.
- Consider A Second Toothbrush
Having a spare toothbrush can be a good idea. This way, you can use one while the other is air drying, ensuring that you always have a clean toothbrush ready to use.
Cleaning an Electric Toothbrush
Cleaning an electric toothbrush is similar to cleaning a traditional toothbrush. If you use an electric toothbrush, you can follow these steps to keep it clean:
- Remove The Brush Head
Before cleaning the toothbrush, you need to take the brush head off the base. This allows for easier and more thorough cleaning.
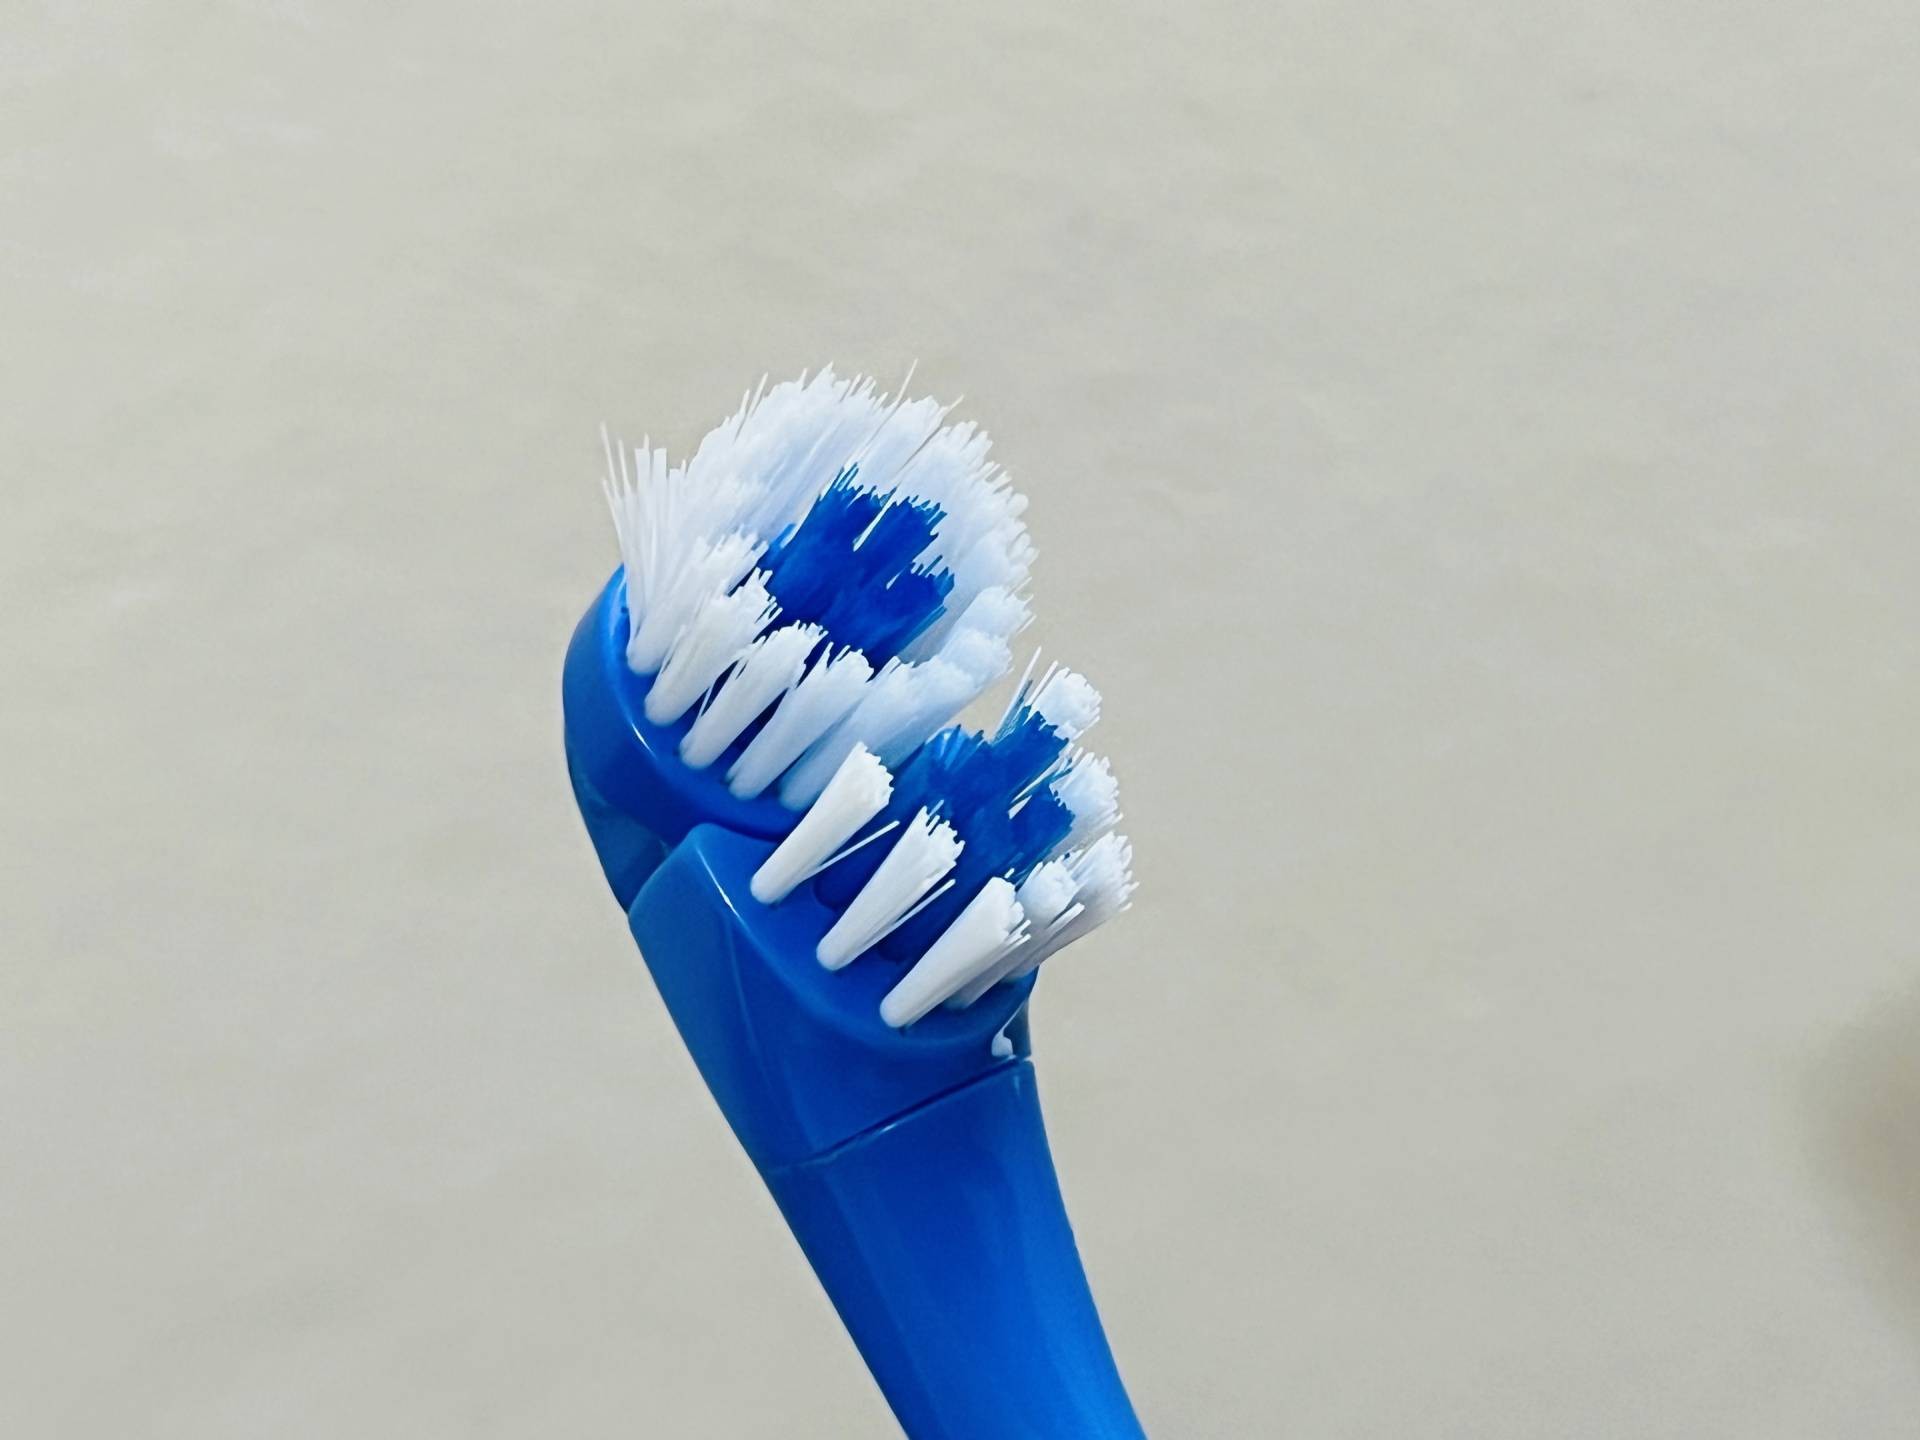
- Replace The Brush Head Regularly
Just like with manual toothbrushes, it’s important to replace the brush head of an electric toothbrush every three or four months or when the bristles start to fade or wear. This ensures optimal cleaning performance.
How I Keep My Toothbrush Clean Longer
I follow these methods during my weekly cleanings to maintain my toothbrush clean. Here are some suggestions on how to keep your toothbrush clean for longer:
- I always make sure to thoroughly clean my toothbrush in warm water before and after each use to remove any dirt or debris.
- Every day, I make it a habit to wipe down the handle of my toothbrush with a fresh cloth or disinfectant wipe. This helps keep the handle free of toothpaste residue and eliminates any lingering food particles.
- Properly drying and storing your toothbrush is important. After each use, I make sure to shake off any excess water and store it upright in a well-ventilated area. This helps to prevent the growth of bacteria.
- It’s best to avoid sharing toothbrushes, as they can easily transmit germs. I always make sure to have my own toothbrush and encourage my family members to do the same.
- To prevent contamination from toilet water or feces, I always store my toothbrush away from the toilet and close the lid before flushing.
- If I need to cover my toothbrush, I only do so when traveling. You should look for a cover with ventilation holes to allow for proper airflow and avoid creating a breeding ground for bacteria.
FAQs
After reading till now, you already know the various ways to sterilize your toothbrush, including the microwave. However, if you are unsure about anything, the following questions will aid you in clearing your confusion:
How Long Do Germs Live On Toothbrushes?
According to WebMD, germs and viruses may survive on the toothbrush head for weeks. This means that holding onto the toothbrush head after an illness raises the risk of reinfection with germs. Therefore, replacing your toothbrush after you recover from sickness is advisable.
Can I Use Soap To Wash My Toothbrush?
Yes, you can use soap and warm water to wash your toothbrush daily. Just be sure to rinse the soap thoroughly. However, not all dentists support this approach, as some may argue that soap can leave a residue on your toothbrush that may affect your oral health or taste.
You can also use other methods to disinfect your toothbrushes, such as hydrogen peroxide, vinegar, baking soda, mouthwash, boiling, or denture cleaning tablets.
When Should You Throw Away A Toothbrush?
The American Dental Association recommends changing your toothbrush every 3 to 4 months or sooner if the bristles look worn out. This is because a worn-out toothbrush may not work as well, not because it might carry more germs.
However, suppose you have been sick or have a compromised immune system. In that case, you may want to replace your toothbrush more often to avoid reinfection.
Can Toothpaste Disinfect Toothbrushes?
A study posted on PubMed found that toothpaste may significantly reduce toothbrush contamination. Still, the composition of the paste affects how bactericidal it is.
Some toothpaste contains antimicrobial ingredients, such as triclosan, zinc citrate, or essential oils. These may help kill more germs on your toothbrush than regular toothpaste.
Conclusion
And there you have it! Now you know how to safely sterilize a toothbrush in the microwave, along with alternative methods for keeping your toothbrush clean.
Remember, good oral hygiene starts with a clean toothbrush. So, go ahead and give these methods a try to keep your pearly whites as healthy as they can be!