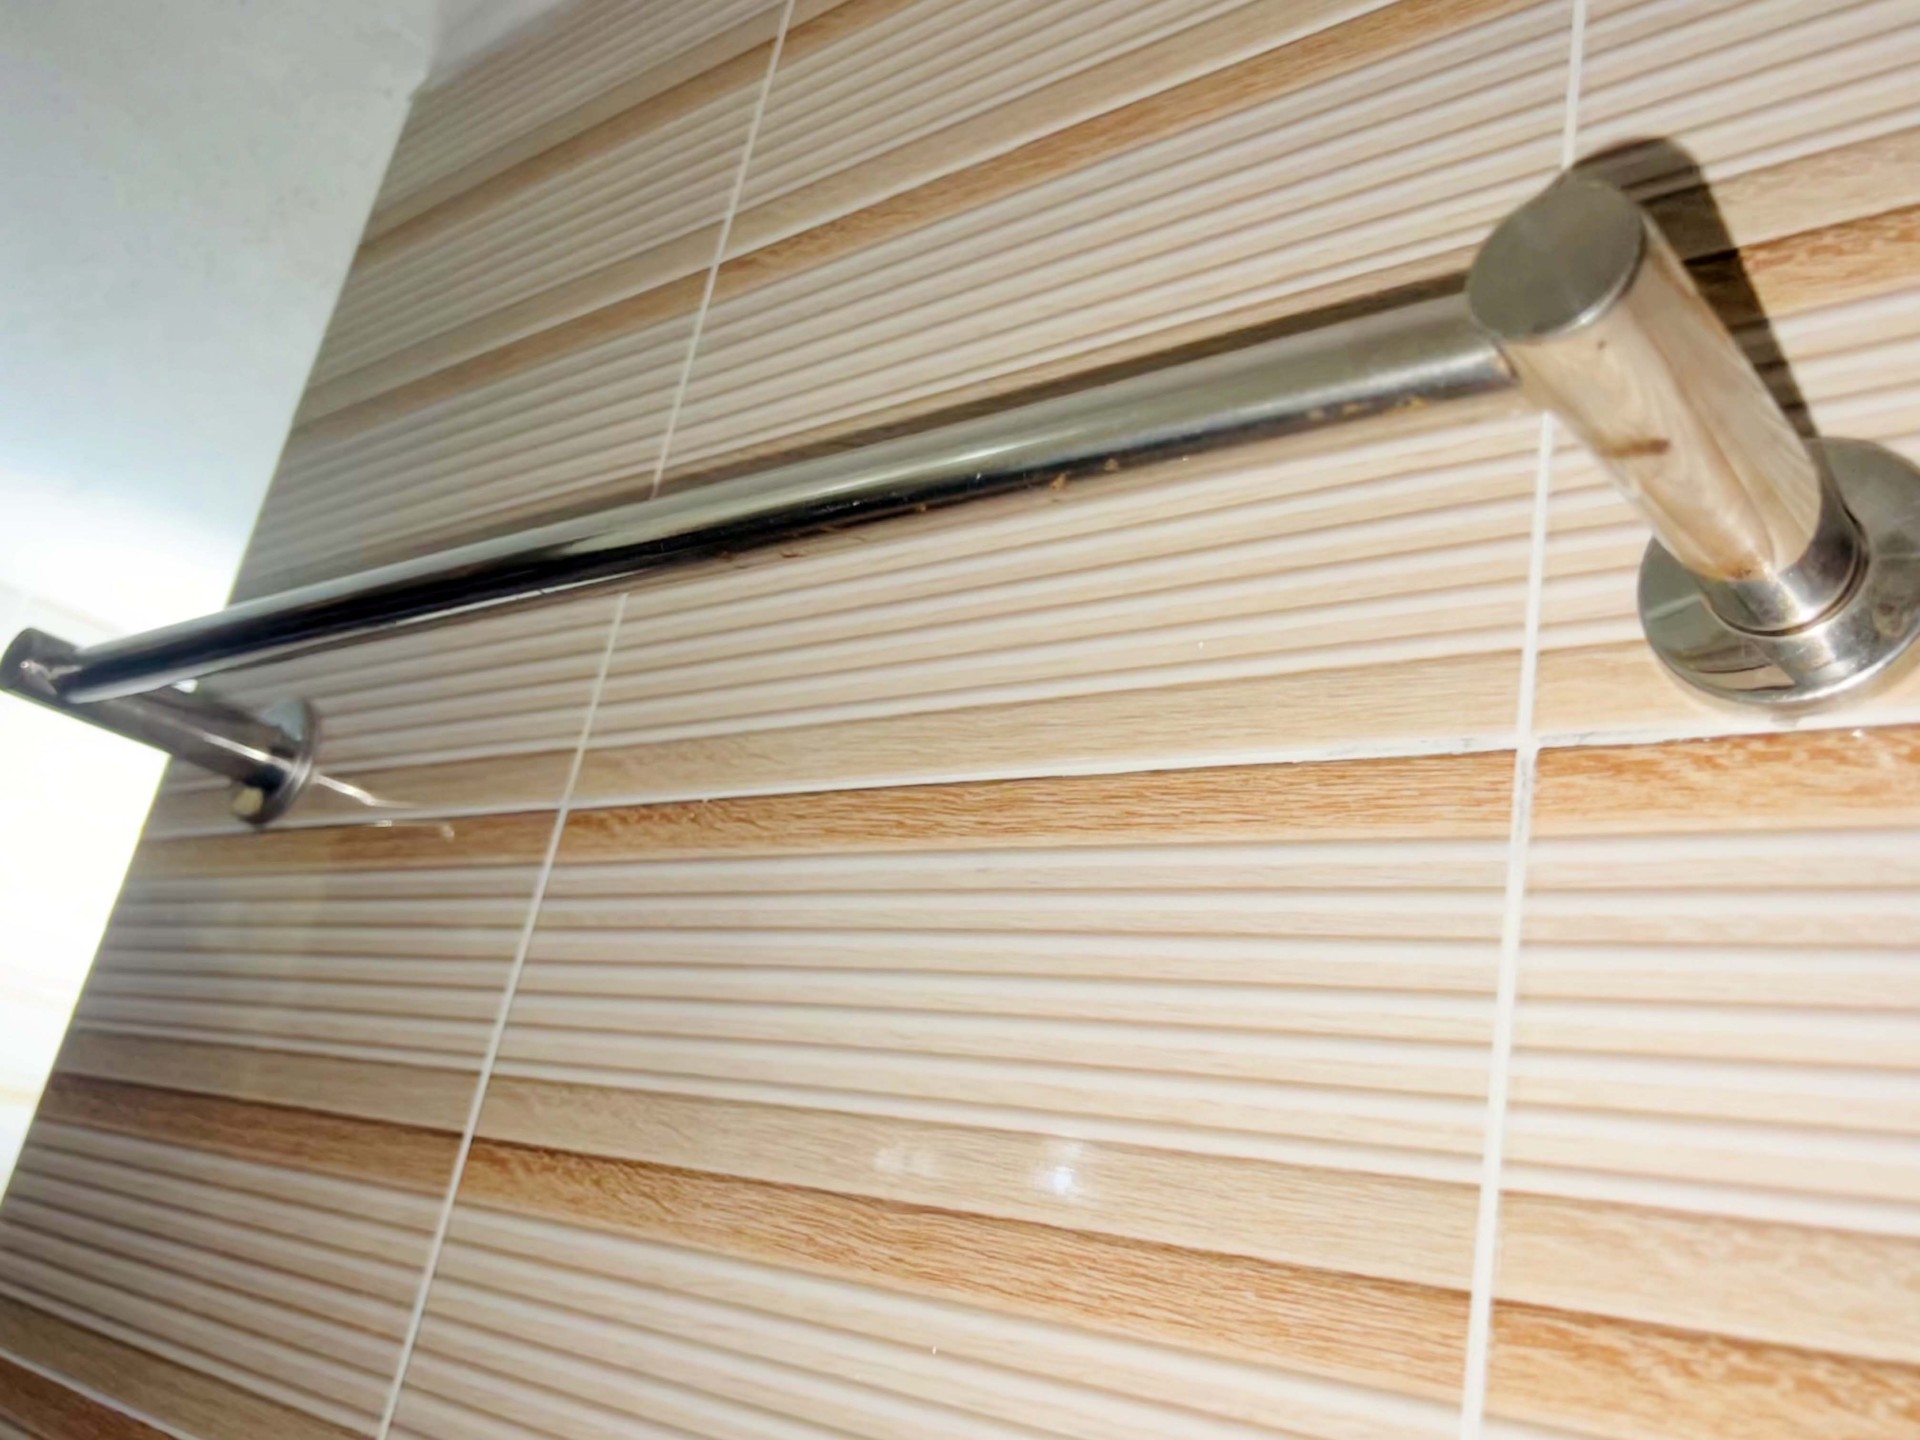
Sometimes, you may need to remove certain fixtures from our walls, whether for renovation purposes or just a simple replacement. One of these fixtures is the towel rack. The reasons for removing the towel rack are a handful. Different types of towel racks require other procedures to remove.
Figuring out how your towel rack is attached to the brackets is the first and crucial step. if it uses a locking mechanism, just unlock it. if it uses screws, then use a screwdriver to unscrew it. Lastly, remove the wall brackets if you want to change your towel rack completely.
It may seem simple, but it can be challenging if you don’t have the right tools and knowledge. In this article, we will provide a detailed guide on removing a towel rack from the wall. Besides that, I will share some of my personal experiences to help you do the job more efficiently. So let’s get started.
How Can You Remove The Towel Rack From The Wall?
Removing a towel rack from the wall might seem like a cakewalk. But when you try it, things will turn out more complex. At least, that’s what happened when I tried it. After doing my research, I found out that home developers attach the towel rack to the wall in different ways, using screws, a lock system, and sometimes using adhesive to glue the rack to the wall.
On top of that, those that use screws hide it quite well due to aesthetic reasons. That makes things even more difficult for users. Here is a breakdown of how you can remove a towel rack that has visible screws:
How To Remove Towel Rack From The Wall That Has No Screws?
If you don’t see the screws immediately, there is no reason to assume that the rack has no screws. Most manufacturers hide the screws so well that it becomes pretty tricky to locate the screws at first. So search thoroughly first. After you confirm no screw, the rack uses a lock system to attach the frame to the base. Here are the steps on how to remove it:
Step 1: Locate The Lock System
The locking system will likely be located at either end of the towel rack. Search thoroughly along the base of the ends of the rack. If you don’t find the lock there, look at the post’s bottom or sides.
Step 2: Disengage The Lock
After you locate the tab, press it to release the end post. You can use your finger depending on the lock type. But I suggest you use a tool. You may need a screwdriver or other flat tool to access the release tab. Depending on the manufacturer, you may need to press the button inwards.
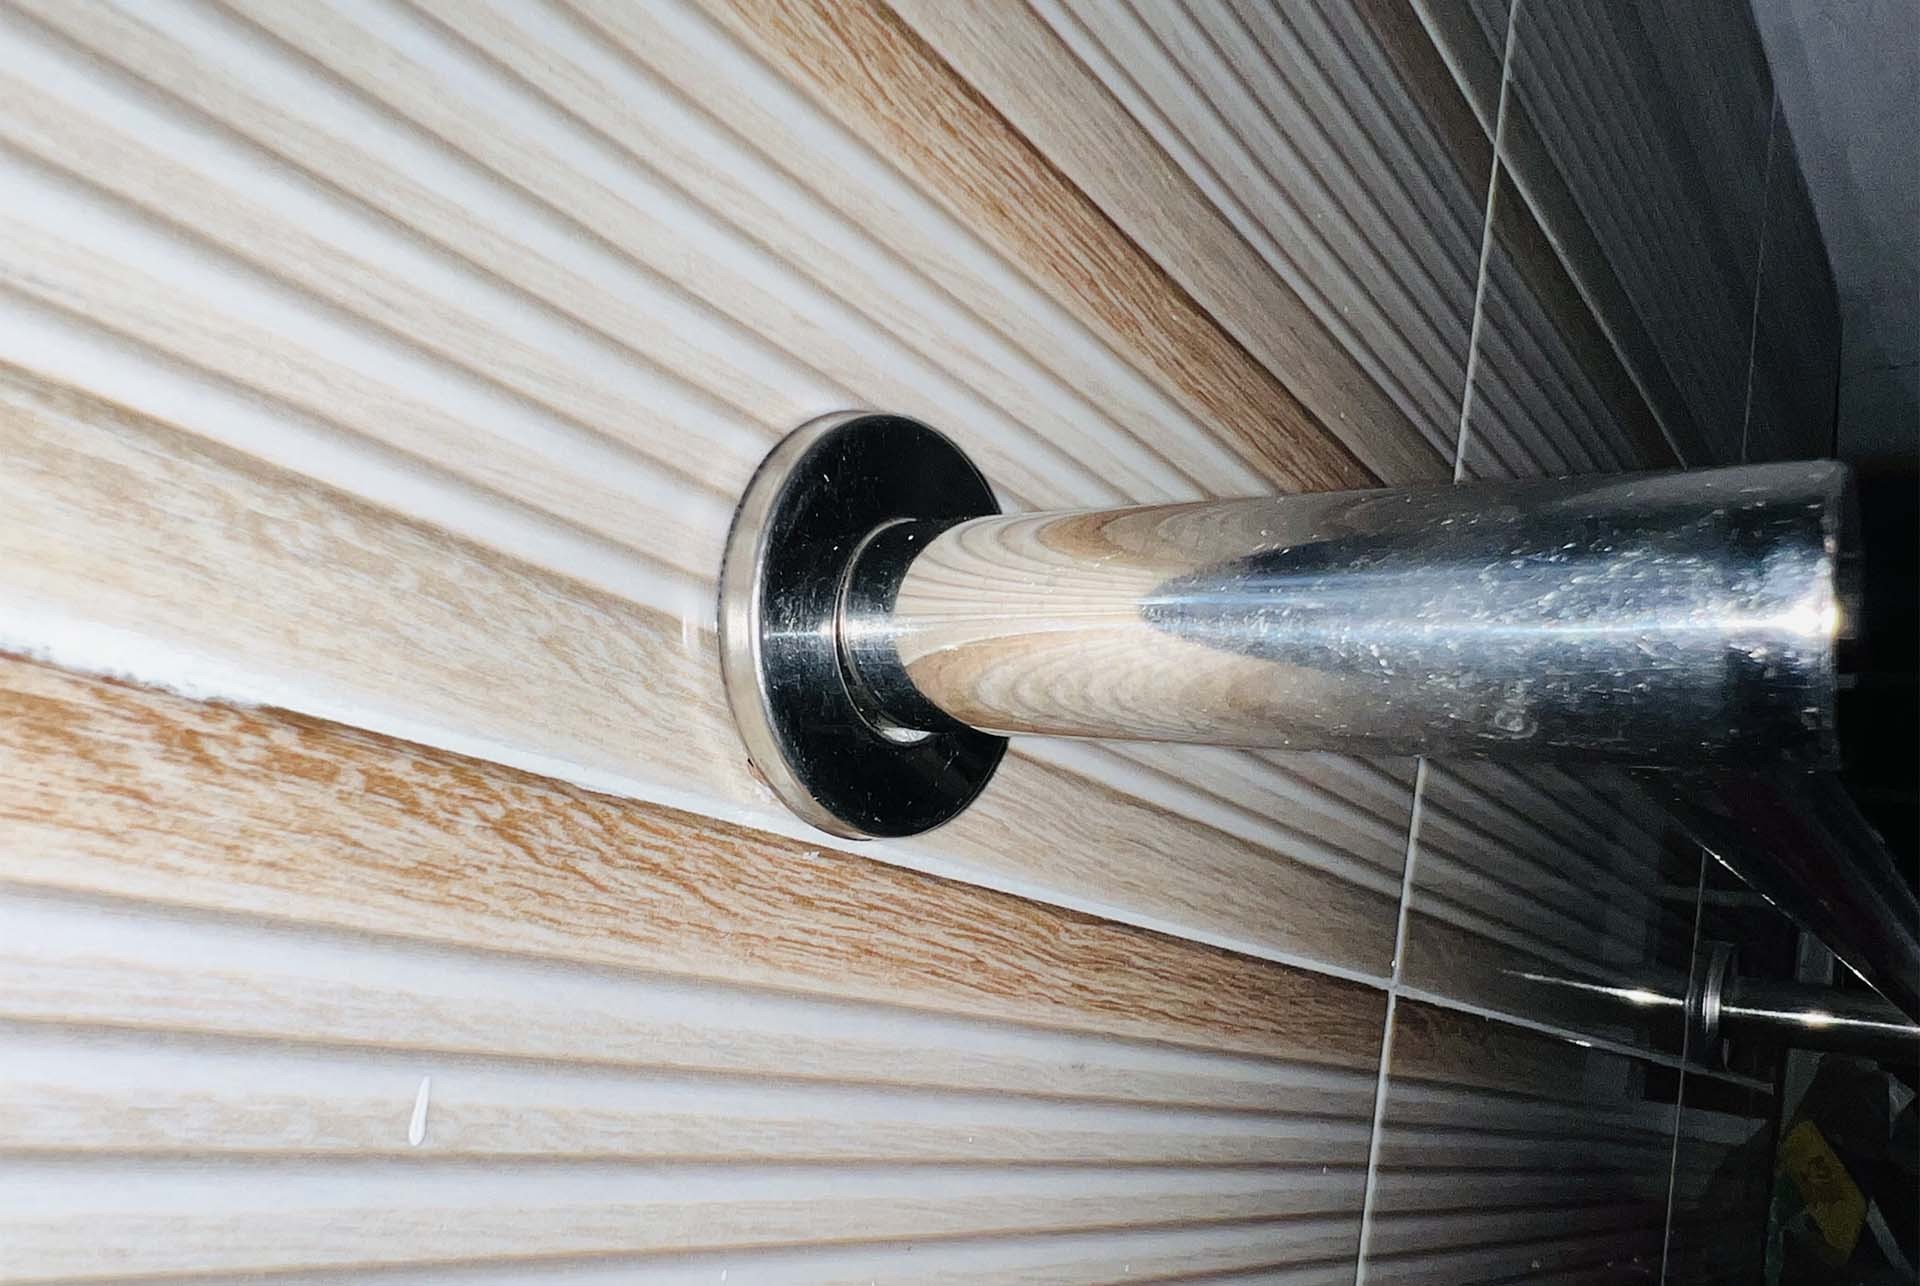
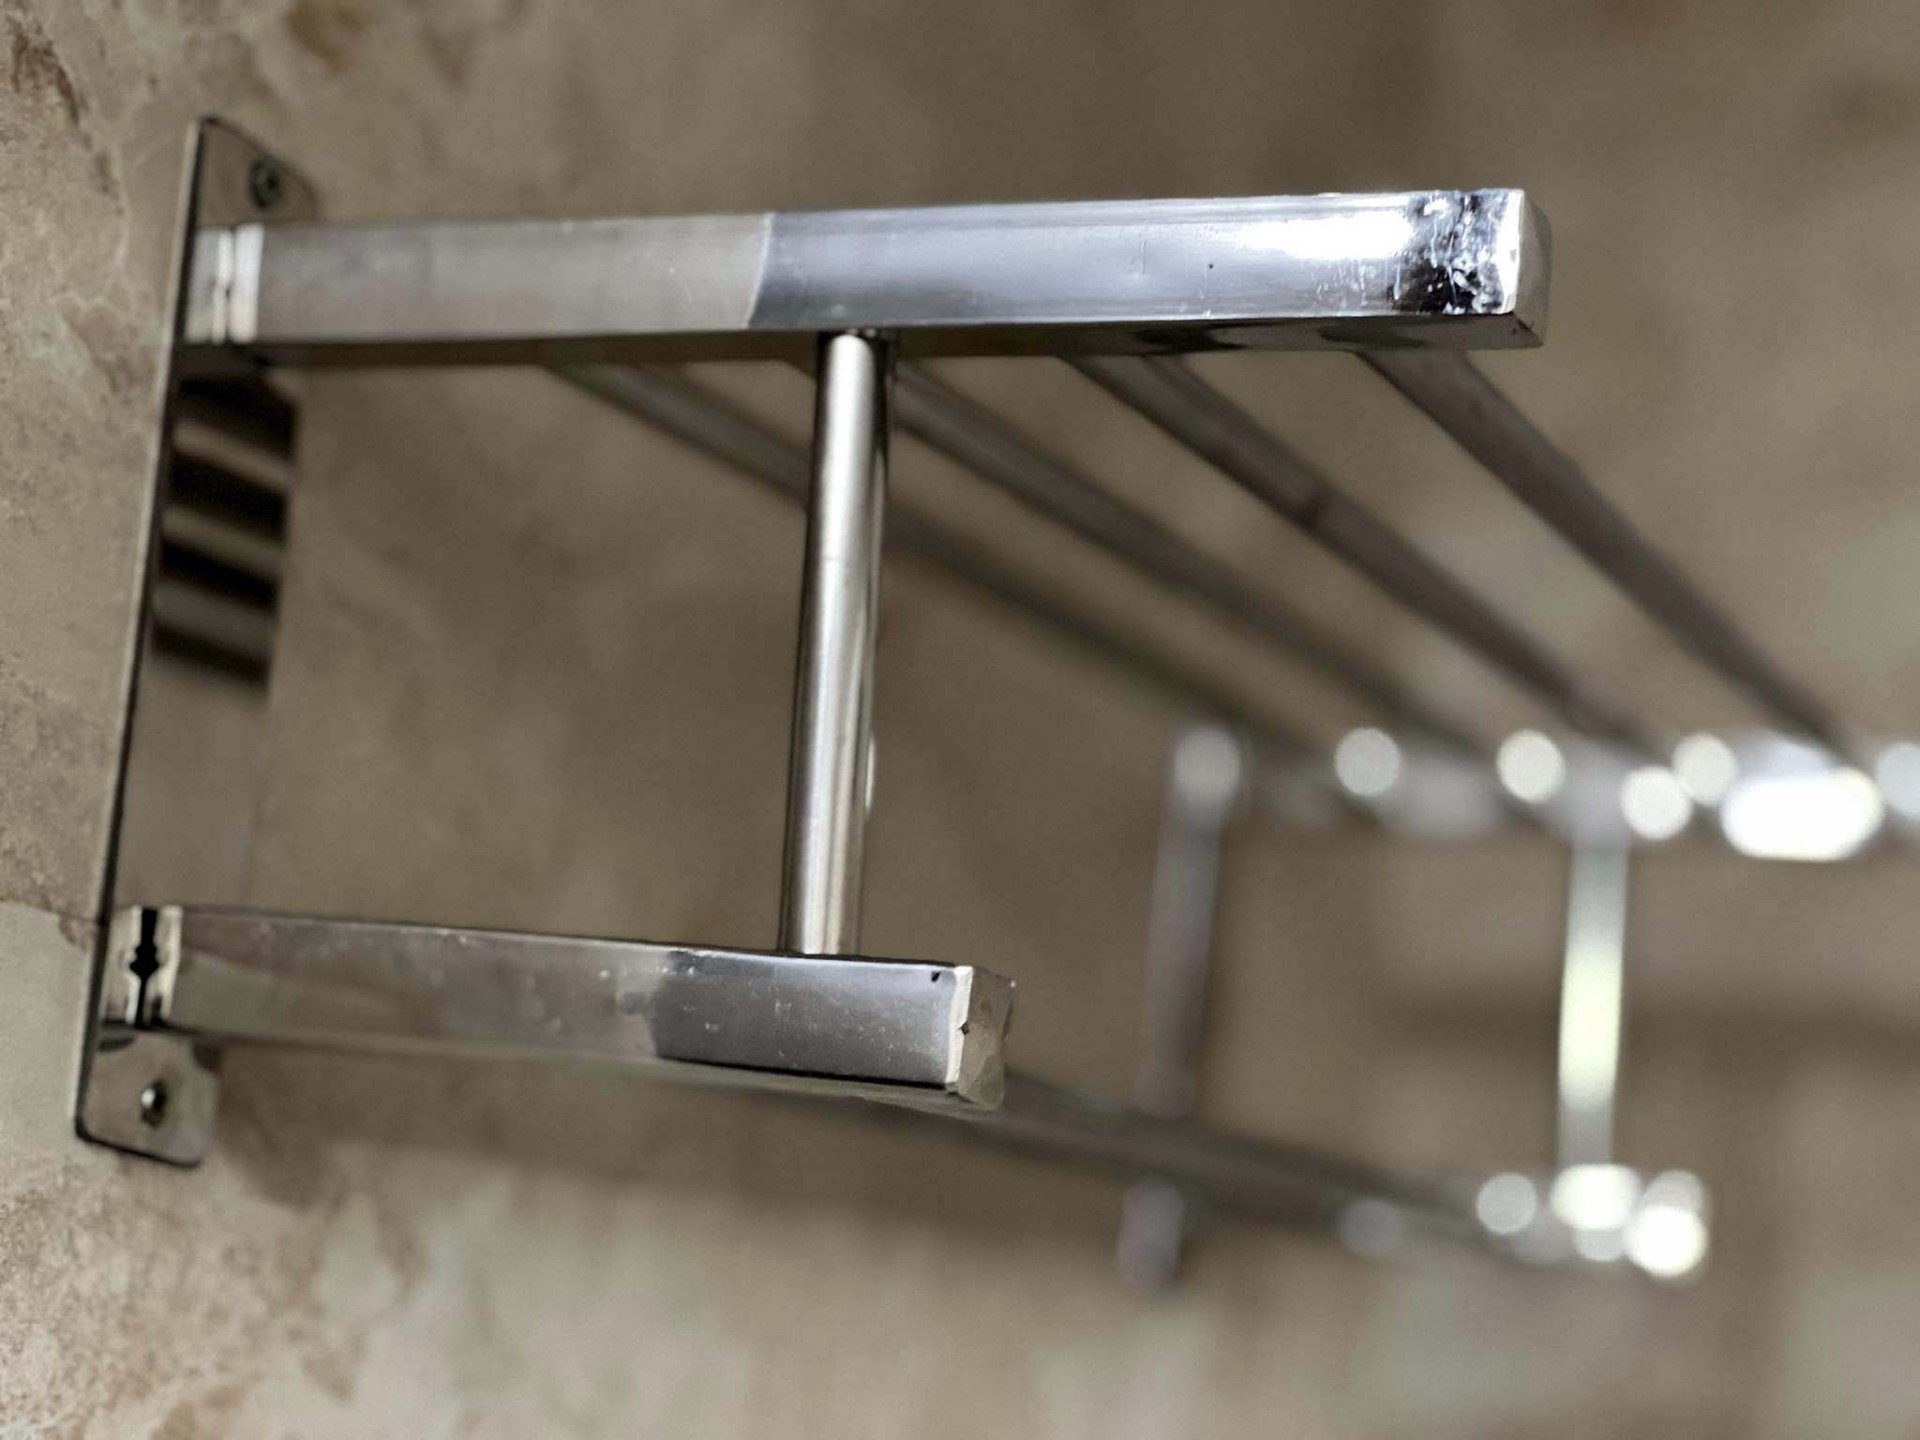
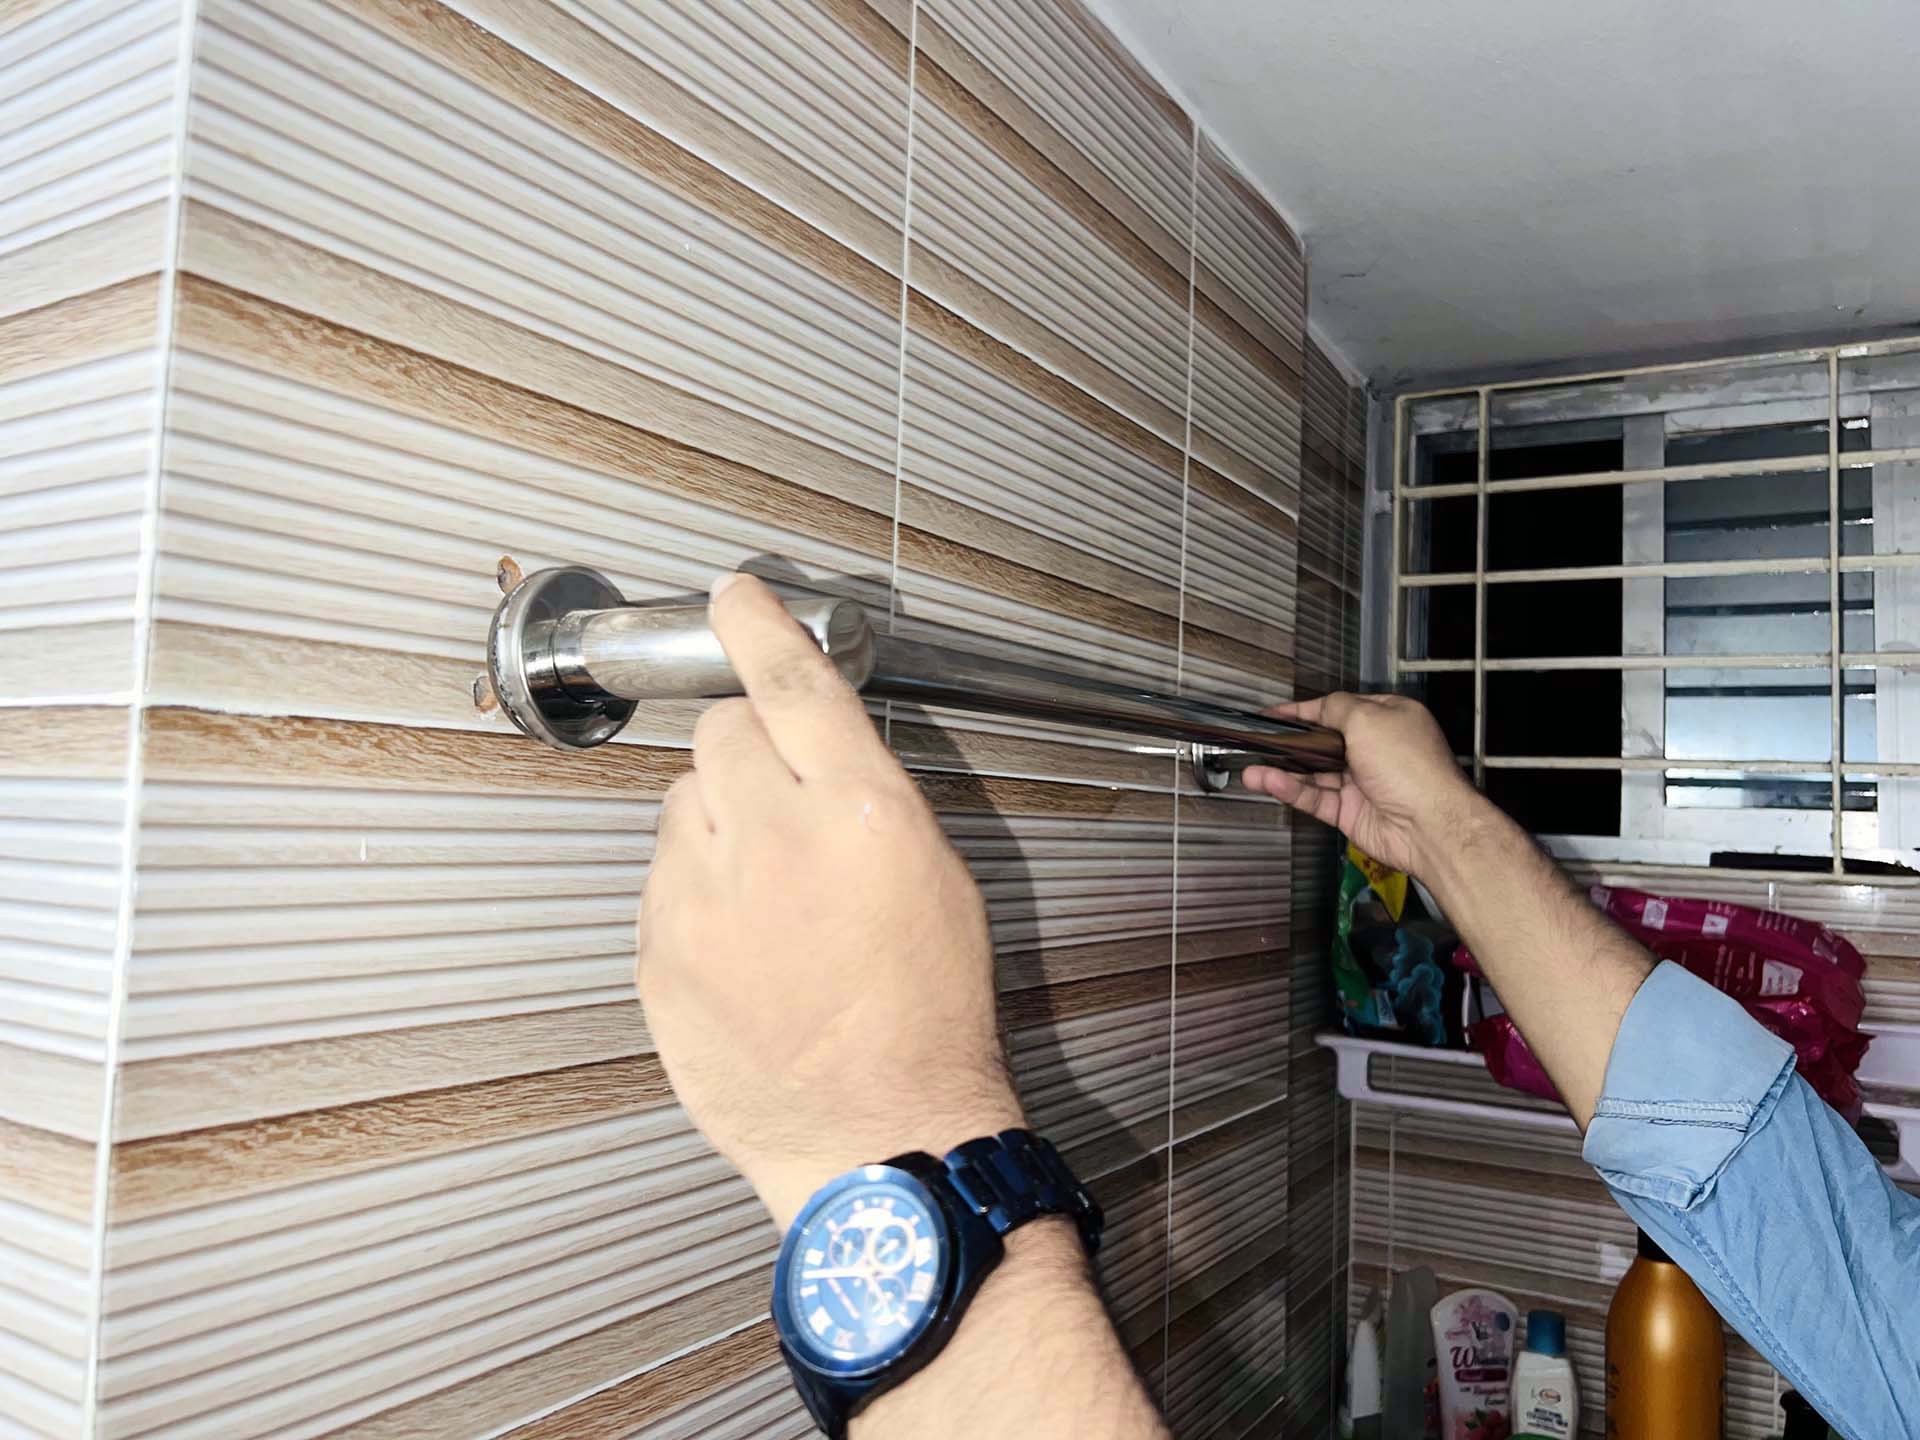
Step 3: Remove The Post From The Bracket
To remove the end post, gently press down on the release tab and use your hand to tilt it upwards. While doing so, pull the bottom edge away from the wall. If it doesn’t come off quickly, the tab may still interfere.
Try adjusting the angle of your screwdriver and attempt to remove the end post again. Once the end post is free, the first post and bar should come away together. Once you remove the one end post, follow the same process for the other one.
After removing the bar, unscrew the brackets that were holding the bar. Remember to remove the drywall anchors as well. It will damage your wall slightly, but don’t fret; I will discuss how to fix it later in this article.
How To Remove A Towel Rack From A Wall That Has Screws?
Towel bars that use screws to attach to the bracket are much easier for DIY removal. However, it might still be challenging to locate the screws because the manufacturers hide them pretty well. You might need to do a bit of searching. Follow the steps below:
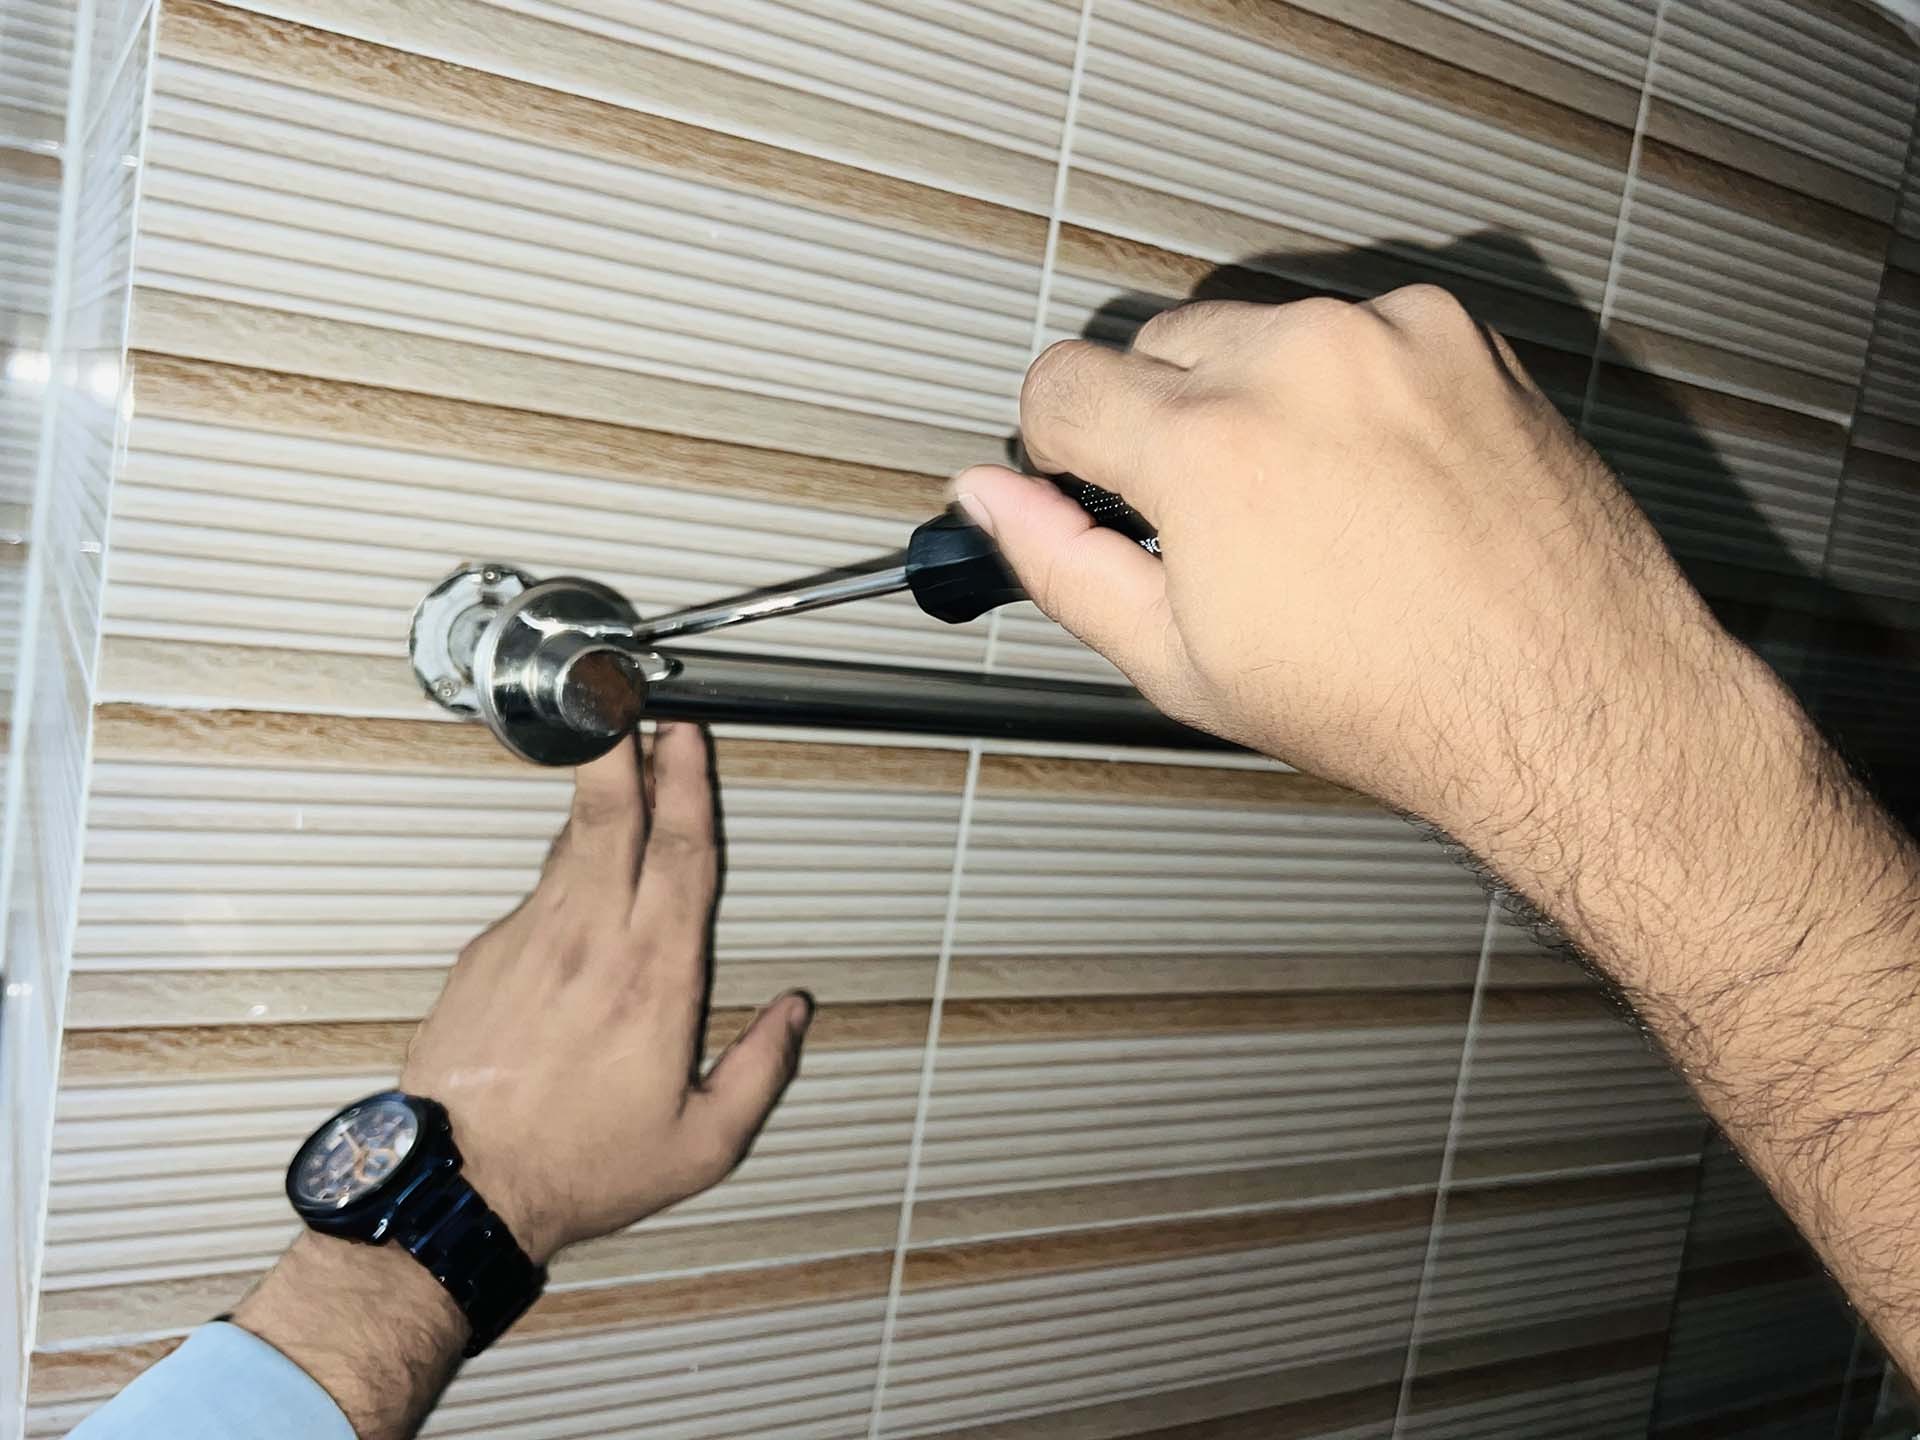
Step 1: Locate The Screw
First, locate the small set screw. Initially, it will seem difficult. It took me around 30 minutes to realize that the set screw was at the bottom of the underside of the end post. Hopefully, that will be different for you.
After you find it, you need to determine the type of tool you will require to remove the screws. Check the underside of one of the posts to determine what you need to remove the set screw. My towel rack had hex screws; I needed a 1/8-inch hex key to remove it. Some others use tiny Phillips screws that require a No. 1 Phillips screwdriver.
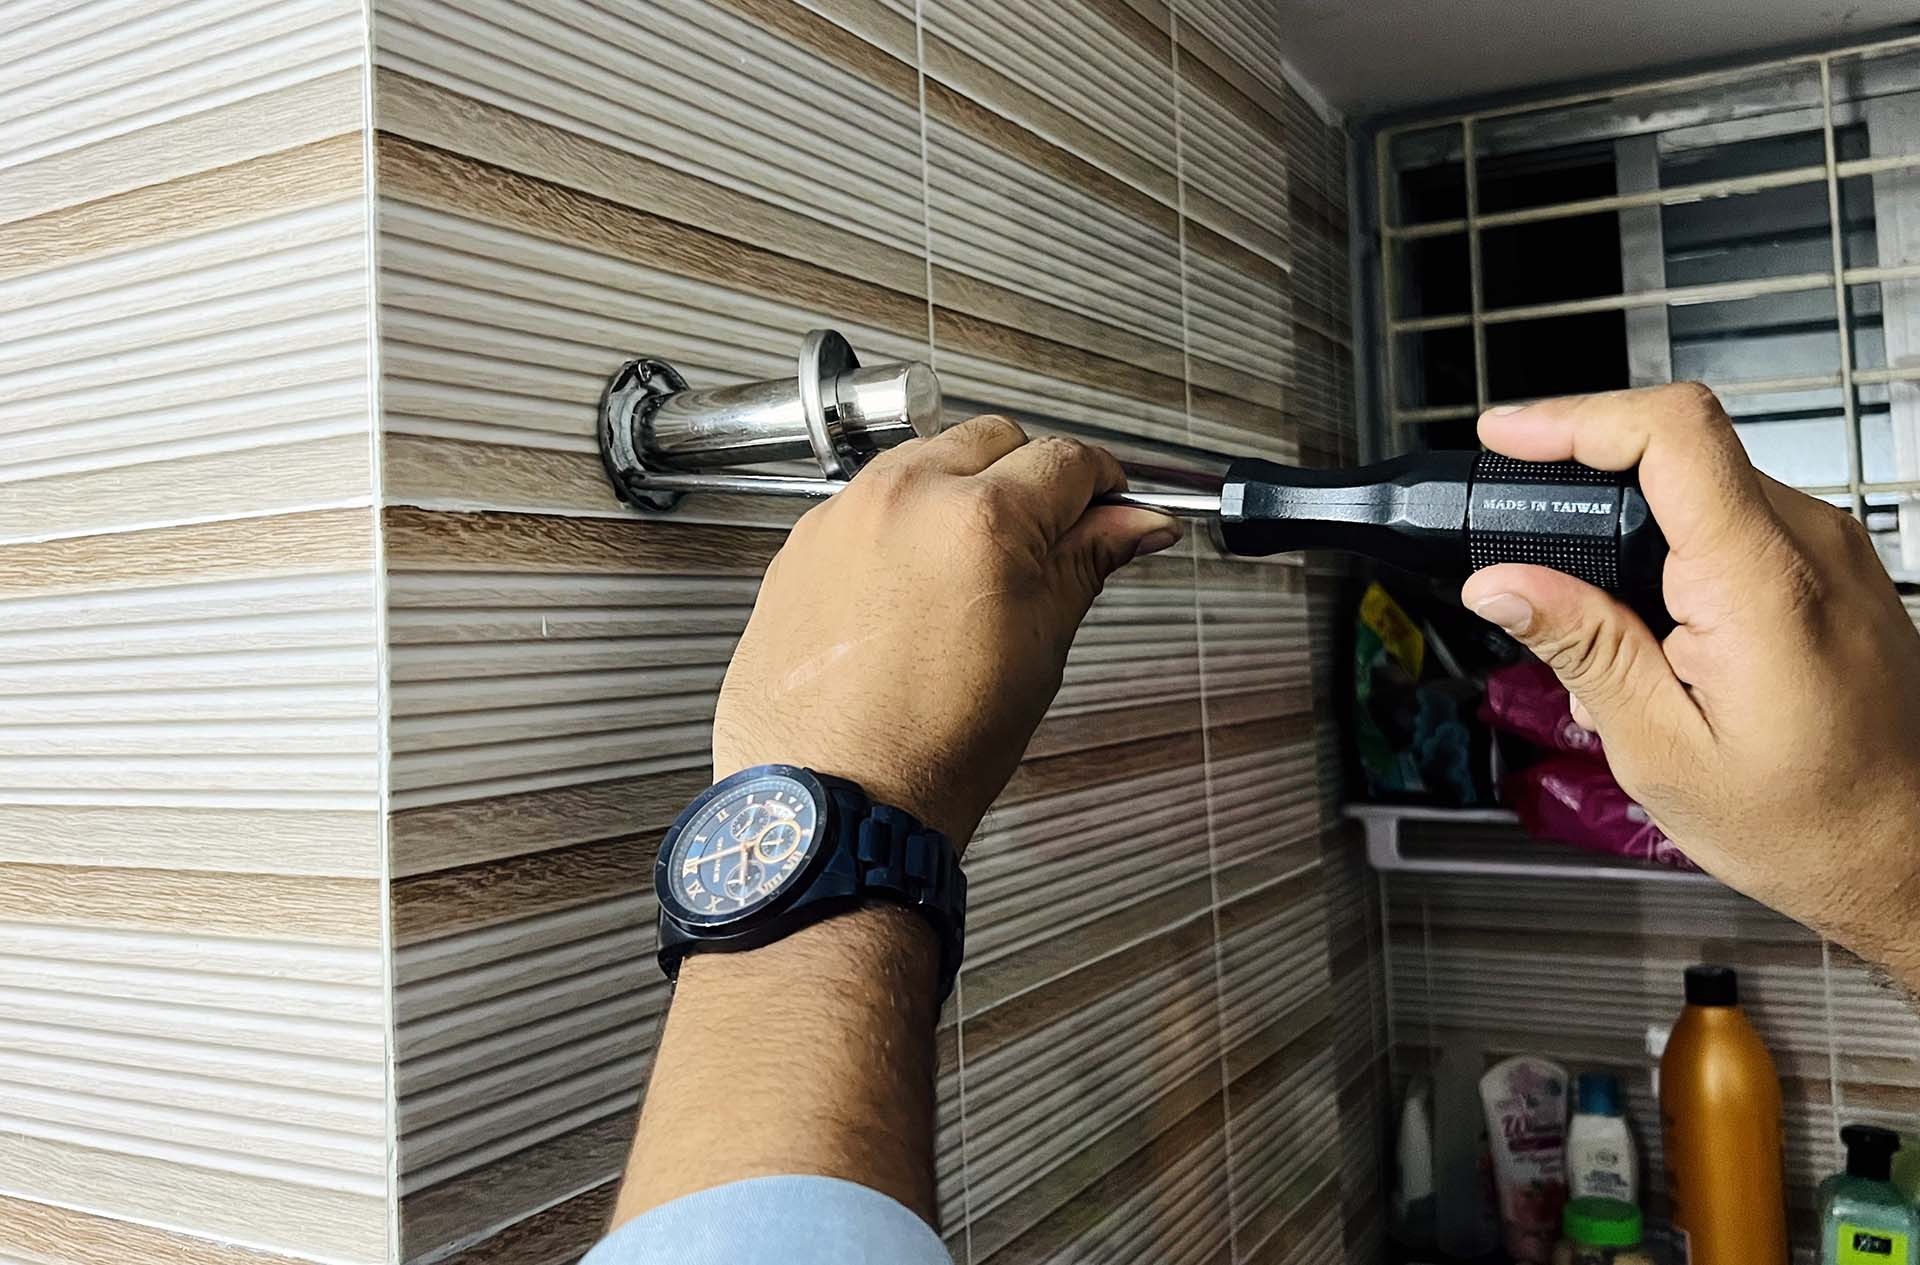
Step 2: Remove The Screw
Now that you’ve found the set screw, loosen it with the appropriate tool. Most of the time, you won’t have to remove the set screw entirely. After the first few rotations, the terminal post will become wobbly.
I made a mistake here; I didn’t hold the post while unscrewing, so it fell straight on the ground. Lucky for me, It was damaged only slightly. So grab it until you remove it completely, then set it aside.
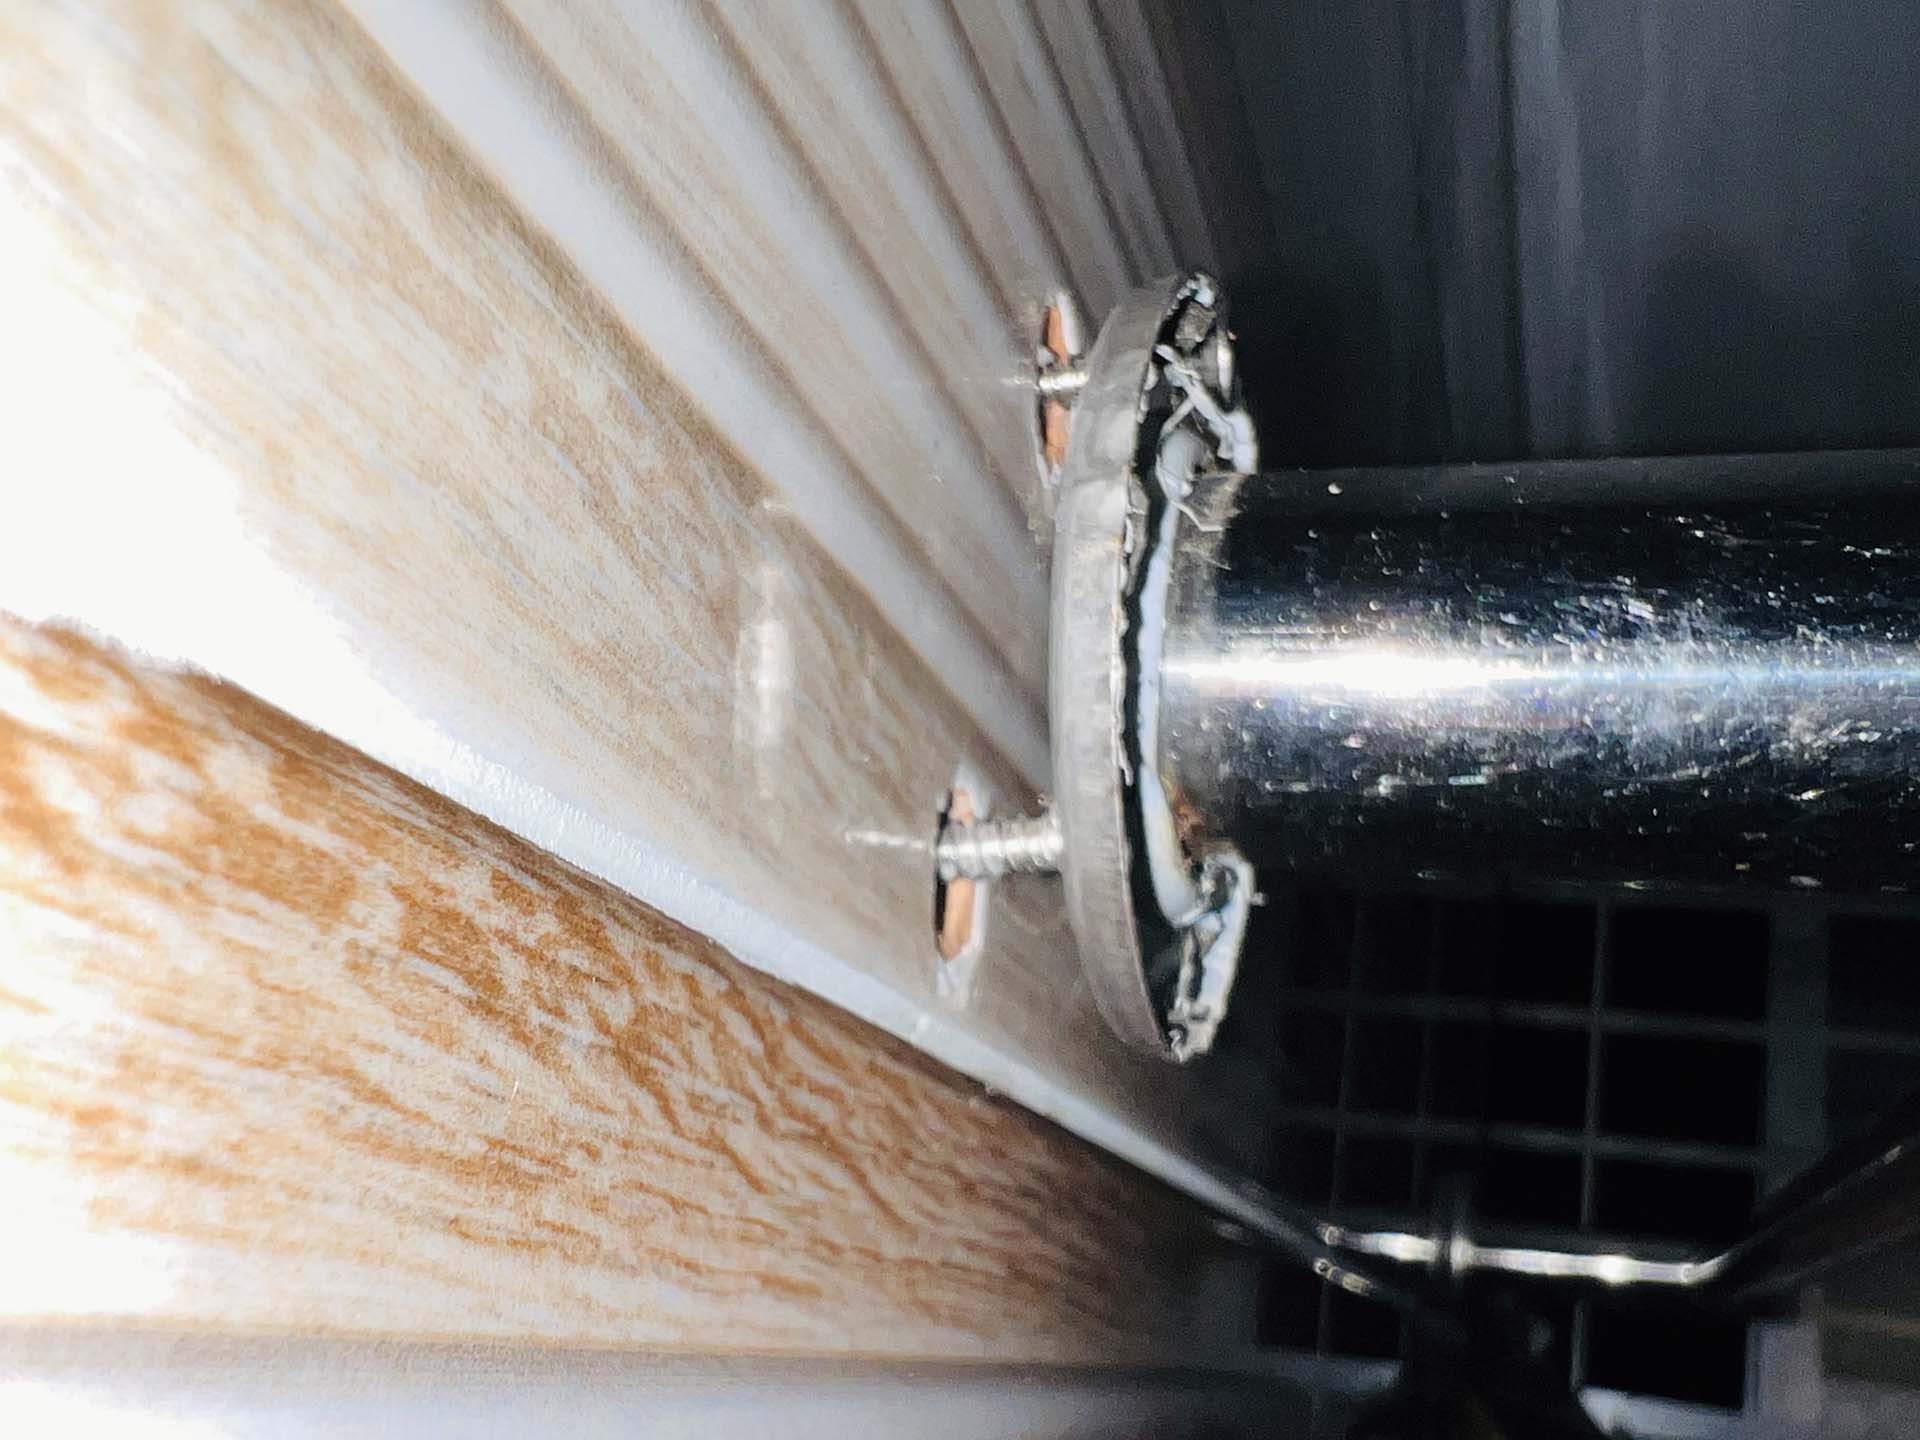
Step 3: Remove The Wall Brackets
The brackets for towel racks are attached to drywall anchors with screws. Remove the screws first. You may need different types of screwdrivers depending on the screw type. Then remove the drywall anchors carefully using needle-nose pliers
How To Remove Towel Rack From A Wall That’s Attached With Adhesives?
Some towel racks use adhesives to attach to the wall. These racks are less difficult to remove; you only need to follow simple steps. Let’s have a look:
Step 1: Cut The Adhesive
First, remove the towel rack by force. They aren’t usually attached that tightly to the wall. Gentle pressure should do the trick. However, if you can’t, you will need an oscillating multitool to cut through the glue or cement.
Put the blade between the drywall and the post and cut the adhesive material. Be careful when using such tools. I will outline the safety measures when removing the towel rack below.
Step 2: Clean The Remaining Adhesive
After removing the towel rack from the wall, some adhesives might remain on the wall. You can easily clean them using a scraper. I used a sander, and it worked very well; you can try using a sander as well.
How To Repair The Wall After Removing The Towel Rack?
After you remove the towel rack, the wall will be damaged. The extension of the damage will depend on how efficiently you can remove the rack.
The type of towel rack also matters. However, repairing the wall after removing the towel rack is simple. I did it myself, and so could you. Here is how you can repair the wall after removing the towel rack:
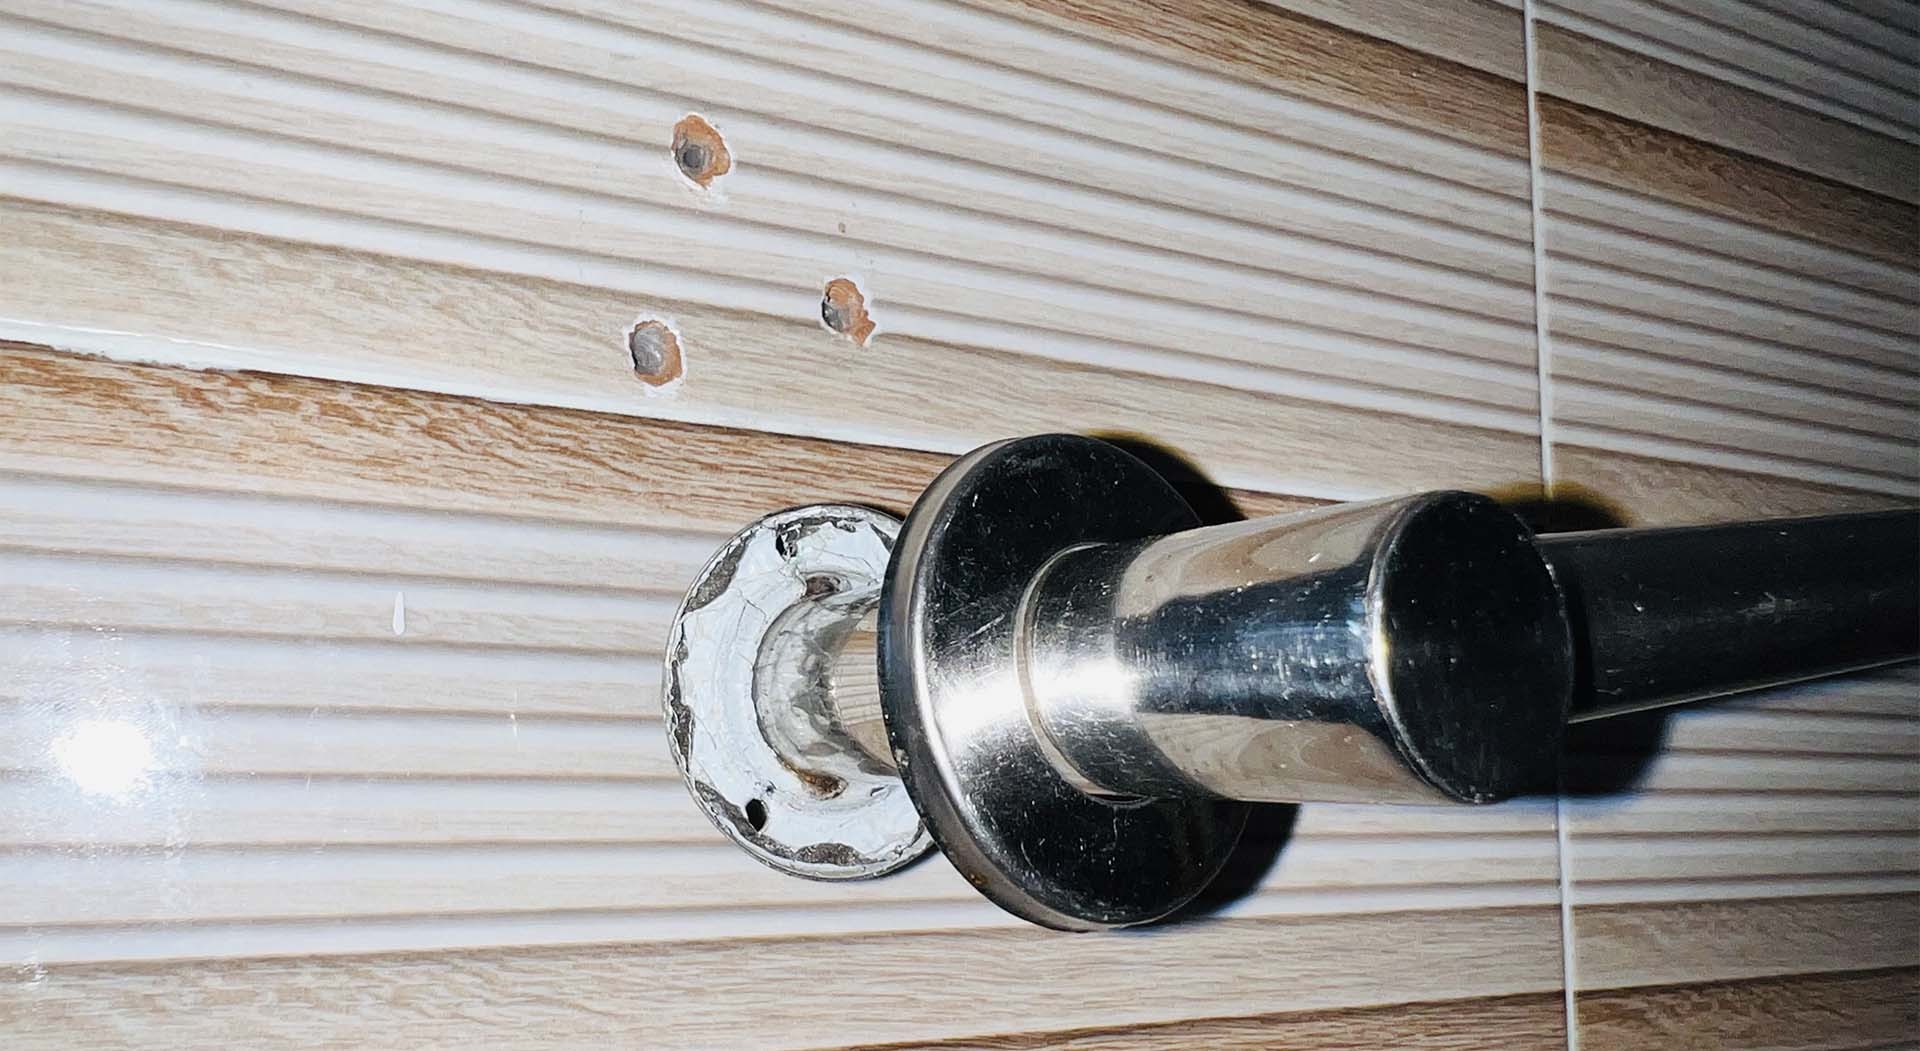
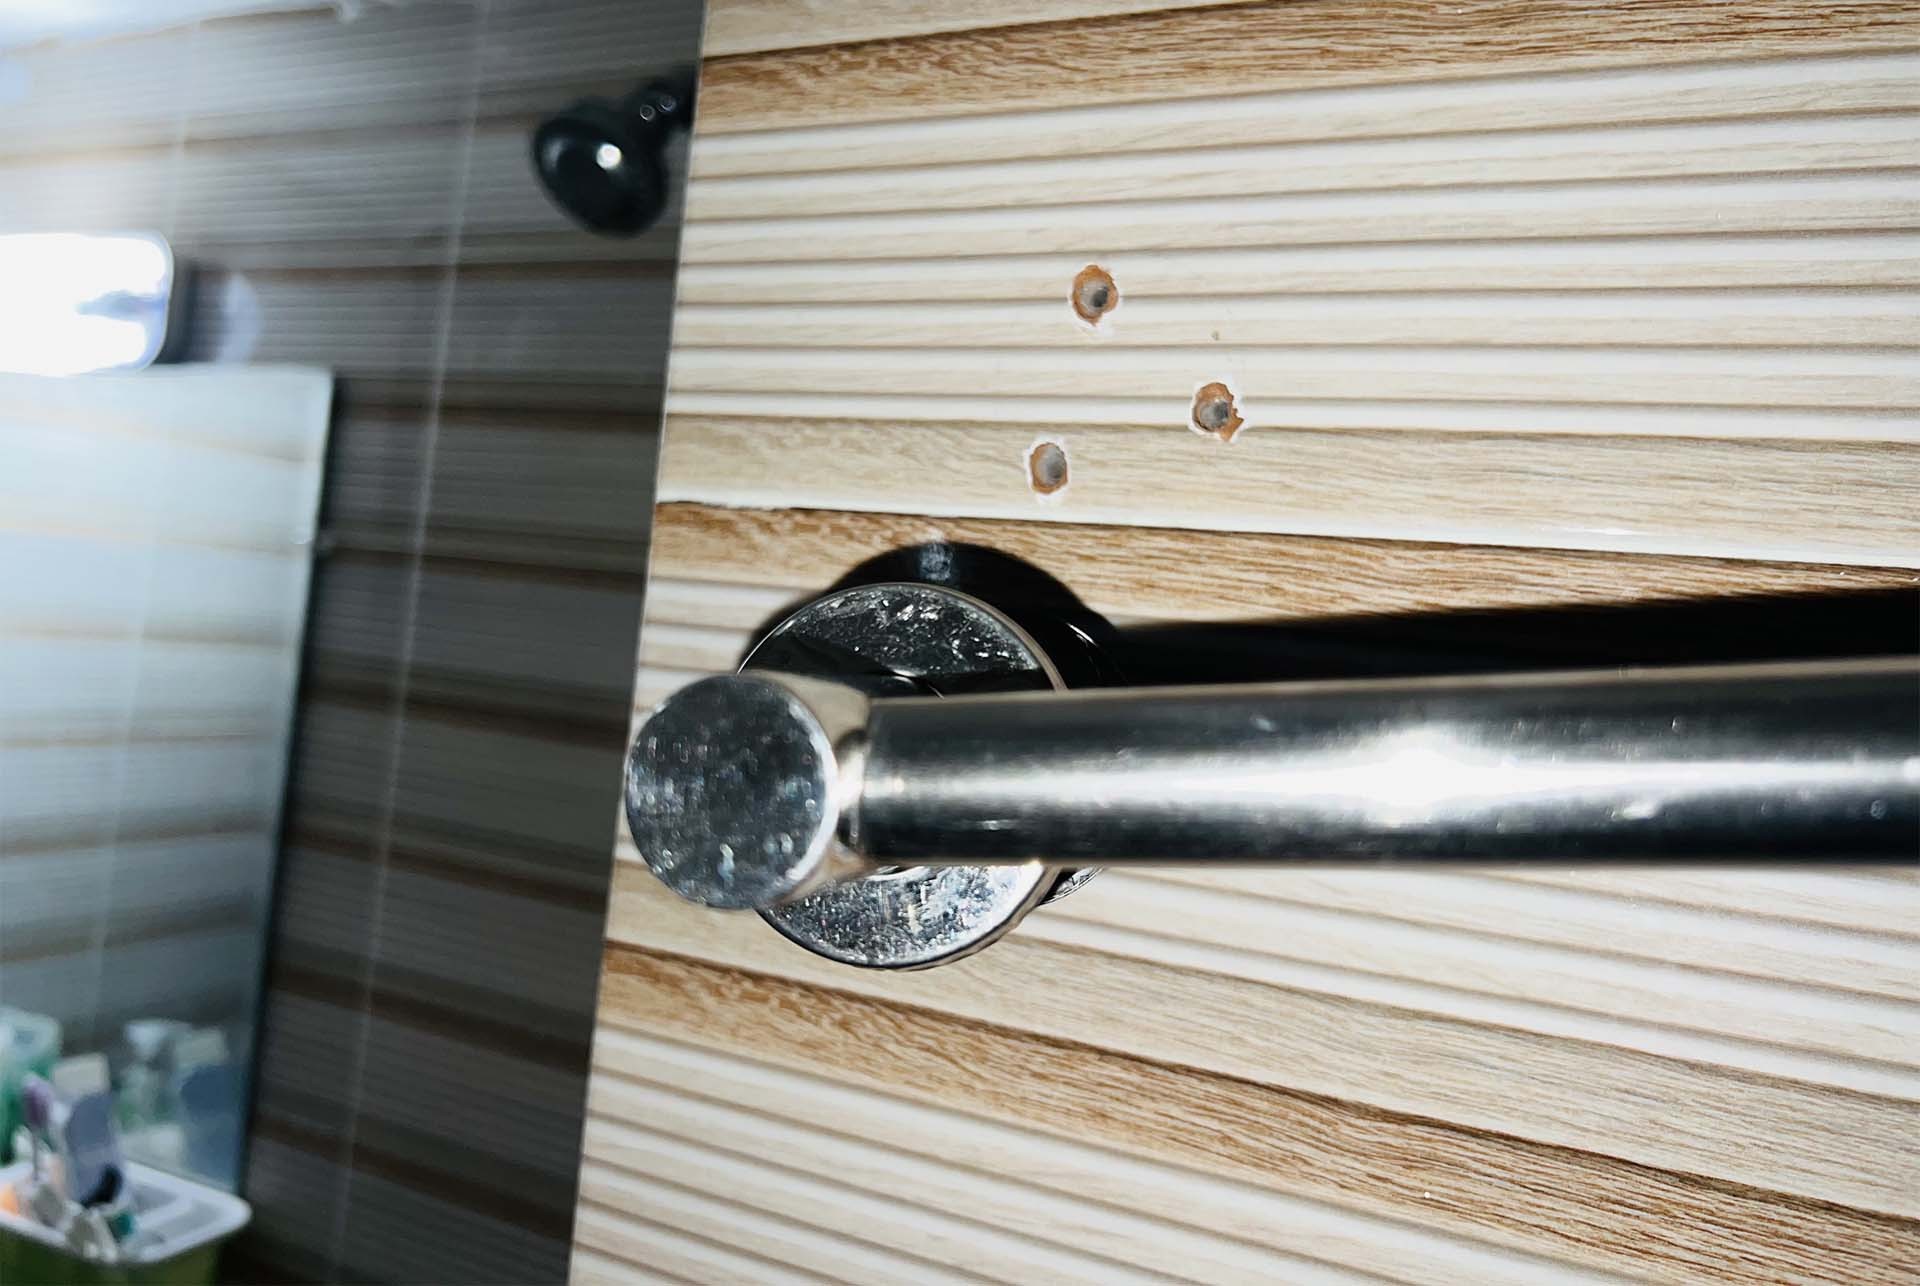
Step 1: Prepare The Anchor Holes
After you remove the drywall anchors, they will leave uneven holes. You have to fill the holes before you repair the wall. But before that, you have to prepare the holes for filling.
If you put excessive pressure during removing the anchors, the walls surrounding the holes are highly likely to get frayed. In that case, use a pocket knife to remove any fraying paper from around the holes. Be careful not to make the holes any bigger in the process.
Step 2: Fill The Holes
Next, you have to fill the holes. My go-to product for this purpose is a joint compound. The joint compound is gypsum dust with water that has the consistency of cake frosting. It gives an excellent base to fill drywalls for painting.
Step 3: Paint The Wall
Remember to use sandpaper to smoothen any inconsistency after you fill the drywall and before you paint. It is crucial; many disregard sanding the wall, resulting in uneven paint. Different types of paints are available for drywalls; acrylic, enamel, latex, etc.
Why You May Need To Remove The Towel Rack?
While towel bars generally don’t require frequent replacement, there are two scenarios where it becomes necessary. If the towel rack is damaged due to aesthetic concerns. There may be a new type of towel rack available on the market, and you want it; that’s another reason. Let’s take a look:
-
Damaged Towel Rack
A damaged towel rack is one of the most common reasons for changing it. The towel rack can get damaged for several reasons. It can happen due to:
- Mediocre quality of the rack
- Poor installation
- Damage to the drywall
- Improper handling
In some cases, the brackets may come loose from the wall. It can cause the towel bar to fall. It occurs for two reasons; the screws backing out of the wall and loose drywall anchors. Remove the towel bar, brackets, and anchors if this happens to you. Then you can either fix the wall or relocate the towel bar to a sturdier area.
-
For Aesthetic Purpose
Aesthetics are a big reason for changing towel racks. Many different models are available in the market, and newer models are coming every month.
Changing the towel rack can give your bathroom an entirely new look. Also, changing the towel rack costs little. You can do it within the $100 range.
Safety Precautions During Towel Rack Removal
Removing a towel rack is relatively easy, but injuries can happen anytime if you are not careful enough. The process involves sharp tools, so safety precautions are of utmost importance. Here are some safety measures you should abide by when removing the towel rack:
-
Be Careful Of The Slippery Floor
The floor below the towel rack is likely slippery for apparent reasons. Slips and falls account for over 1 million hospital emergency room visits. Over 17000 people die from slip and fall injuries annually in the US.
Besides death, serious injuries can occur, which can last a lifetime. Water and soap will make the floor slippery if the towel rack is in the shower. If it’s inside the house beside a sink, dripping water from the towel can make the floor below it slippery. Either way, there is no alternative to being extra cautious.
Clean and dry the floor beforehand to prevent any accidents. You can also place a towel or other non-slip surface underfoot for additional traction. I prefer the latter between cleaning and placing a towel because it is foolproof. You can also wear shoes with an excellent grip to help prevent slipping.
-
Support The Rack With Your Hand
Towel racks are metallic; falling from a height can damage your floor. When removing my towel rack, I made the mistake of letting it go freely. It dropped on the floor and cracked the tiles.
Although the damage was minimal, I had to pay some hard-earned money to repair the floor, which could’ve been avoided if I had been slightly more careful. So please don’t make my mistake; support the rack with your hand when removing it to prevent any freefall.
-
Beware Of The Sharp Tools
Many tools are involved in the procedure—knife, screwdriver, oscillating multitool, hammer, pry bar, etc. If you are not careful, serious injury can happen from these tools. Use a screwdriver with a good grip and hold the device firmly so it doesn’t slip.
If you need to use a knife, use cut-resistant gloves. Also, dust and debris from drywall can damage your eyes and irritate your nose. So wear goggles and a facemask during the procedure. Prepare a first aid kit ready at hand because you never know.
FAQs
Now that you know how to remove the towel rack from the wall, I believe you can pull it off like a pro. however, if you still have some confusions, the following questions and answers should help you:
How Do You Remove A Towel Bar From A Tile Wall?
Place a pry bar between the holder and the wall directly over the masking tape to remove the ceramic towel rack holder. Apply pressure to the top of the pry bar, gently pushing it back to nudge the holder away from the wall. Repeat this process on all four sides until the holder comes free.
How Do You Remove A Towel Bar With A Slot In The Bottom?
To detach your towel bar from the wall, follow these simple steps:
- Insert your screwdriver into the wall bracket until you feel it. Press down on the release tab.
- Carefully remove the screwdriver from the wall to release the bracket.
- Using a screwdriver, spin the screws counter-clockwise to release the towel bar from the wall.
How Do You Remove Ikea Towel Hooks?
Insert a credit card-shaped thing between the suction cup and the wall to loosen and remove. There are no unsightly holes or markings left behind. The suction cups adhere firmly to smooth surfaces such as glass or tiles. Sticks only to flat surfaces like glass, mirrors, and tiles.
Conclusion
Removing a towel rack from a wall may seem difficult. But with the right tools and techniques, you can do it very quickly. Whether replacing the towel rack or simply renovating your bathroom, follow the steps ives outlined in this guide.
This will significantly help you complete the process correctly. I have also mentioned some essential safety precautions; following them will help avoid dreadful situations.
Also read:-How To Wrap A Towel Around Your Body?