A flawless shower floor is essential for a seamless and enjoyable bathing experience. Unfortunately, low spots can disrupt that perfection, causing water pooling and an unsightly appearance. Water pooling on your shower floor is a vital sign that you have low spots that you need to fix ASAP.
In this write-up, I will talk about low spots on the shower floor in detail. You will learn how to identify the cause of the problem, choose from the 6 best solutions for your situation, and execute the repair with ease. Let’s dive right in!
Causes Of Low Spots In Shower Floors

Low spots are areas where the shower floor is lower than the rest of the surface. They can cause water to accumulate and stagnate, creating a health and aesthetic hazard. Water pooling in your shower floor can lead to mold growth, bacteria buildup, and unpleasant odors. There are several causes of low spots I have found. These are:
Improper Installation
One of the primary causes of low spots on shower floors is improper installation. If your shower tiles or pan are not installed by a qualified professional who can ensure proper leveling and sloping, you may end up with low spots that trap water.
Incorrect Slope
The slope of the shower pan is essential to prevent water from collecting in one spot. Your shower pan should have a slight slope towards the drain to allow water to drain out. If the slope is too flat or uneven, water may stay in certain areas, creating low spots.
Improper Caulking
Proper caulking is vital for shower installation. It is used to seal the gaps between the tiles and the wall or floor. If caulking is done poorly or not at all, water may leak under the tiles and loosen them, creating low spots.
Uneven Subfloor Installation
The subfloor is the layer of material that supports the shower floor. If the subfloor is not installed correctly, it may create bumps or dips that affect the final surface of the shower floor.
If the new shower floor was built on top of an uneven previous floor, the low spots might persist as the underlying unevenness is not addressed.
Settling Of The Shower Base Over Time
The shower base or floor may settle over time due to various factors, such as soil movement, foundation shifting, or subfloor compaction. This may cause low spots to appear as the surface becomes uneven.
Insufficient Mortar Or Adhesive During Installation
Mortar or adhesive is used to attach the tiles or base to the subfloor. If not enough mortar or adhesive is applied, or if it is applied too thinly, the tiles or base may sink or detach, creating low spots.
Alternatively, If too much tile mortar is applied along the shower’s edge or between tiles near the drain, it can create dips that collect water.
Damage To The Shower Floor
Heavy or sharp objects dropped on the shower floor may crack or chip the tiles or base, causing low spots. Water may also collect in these damaged areas and worsen the problem.
Signs Of Low Spots On Shower Floors
Now that you know the causes of low spots on the shower floor, what about the signs? What are the signs of a low spot on a floor? If you notice any of these signs in your shower, it’s important to take action right away:
-
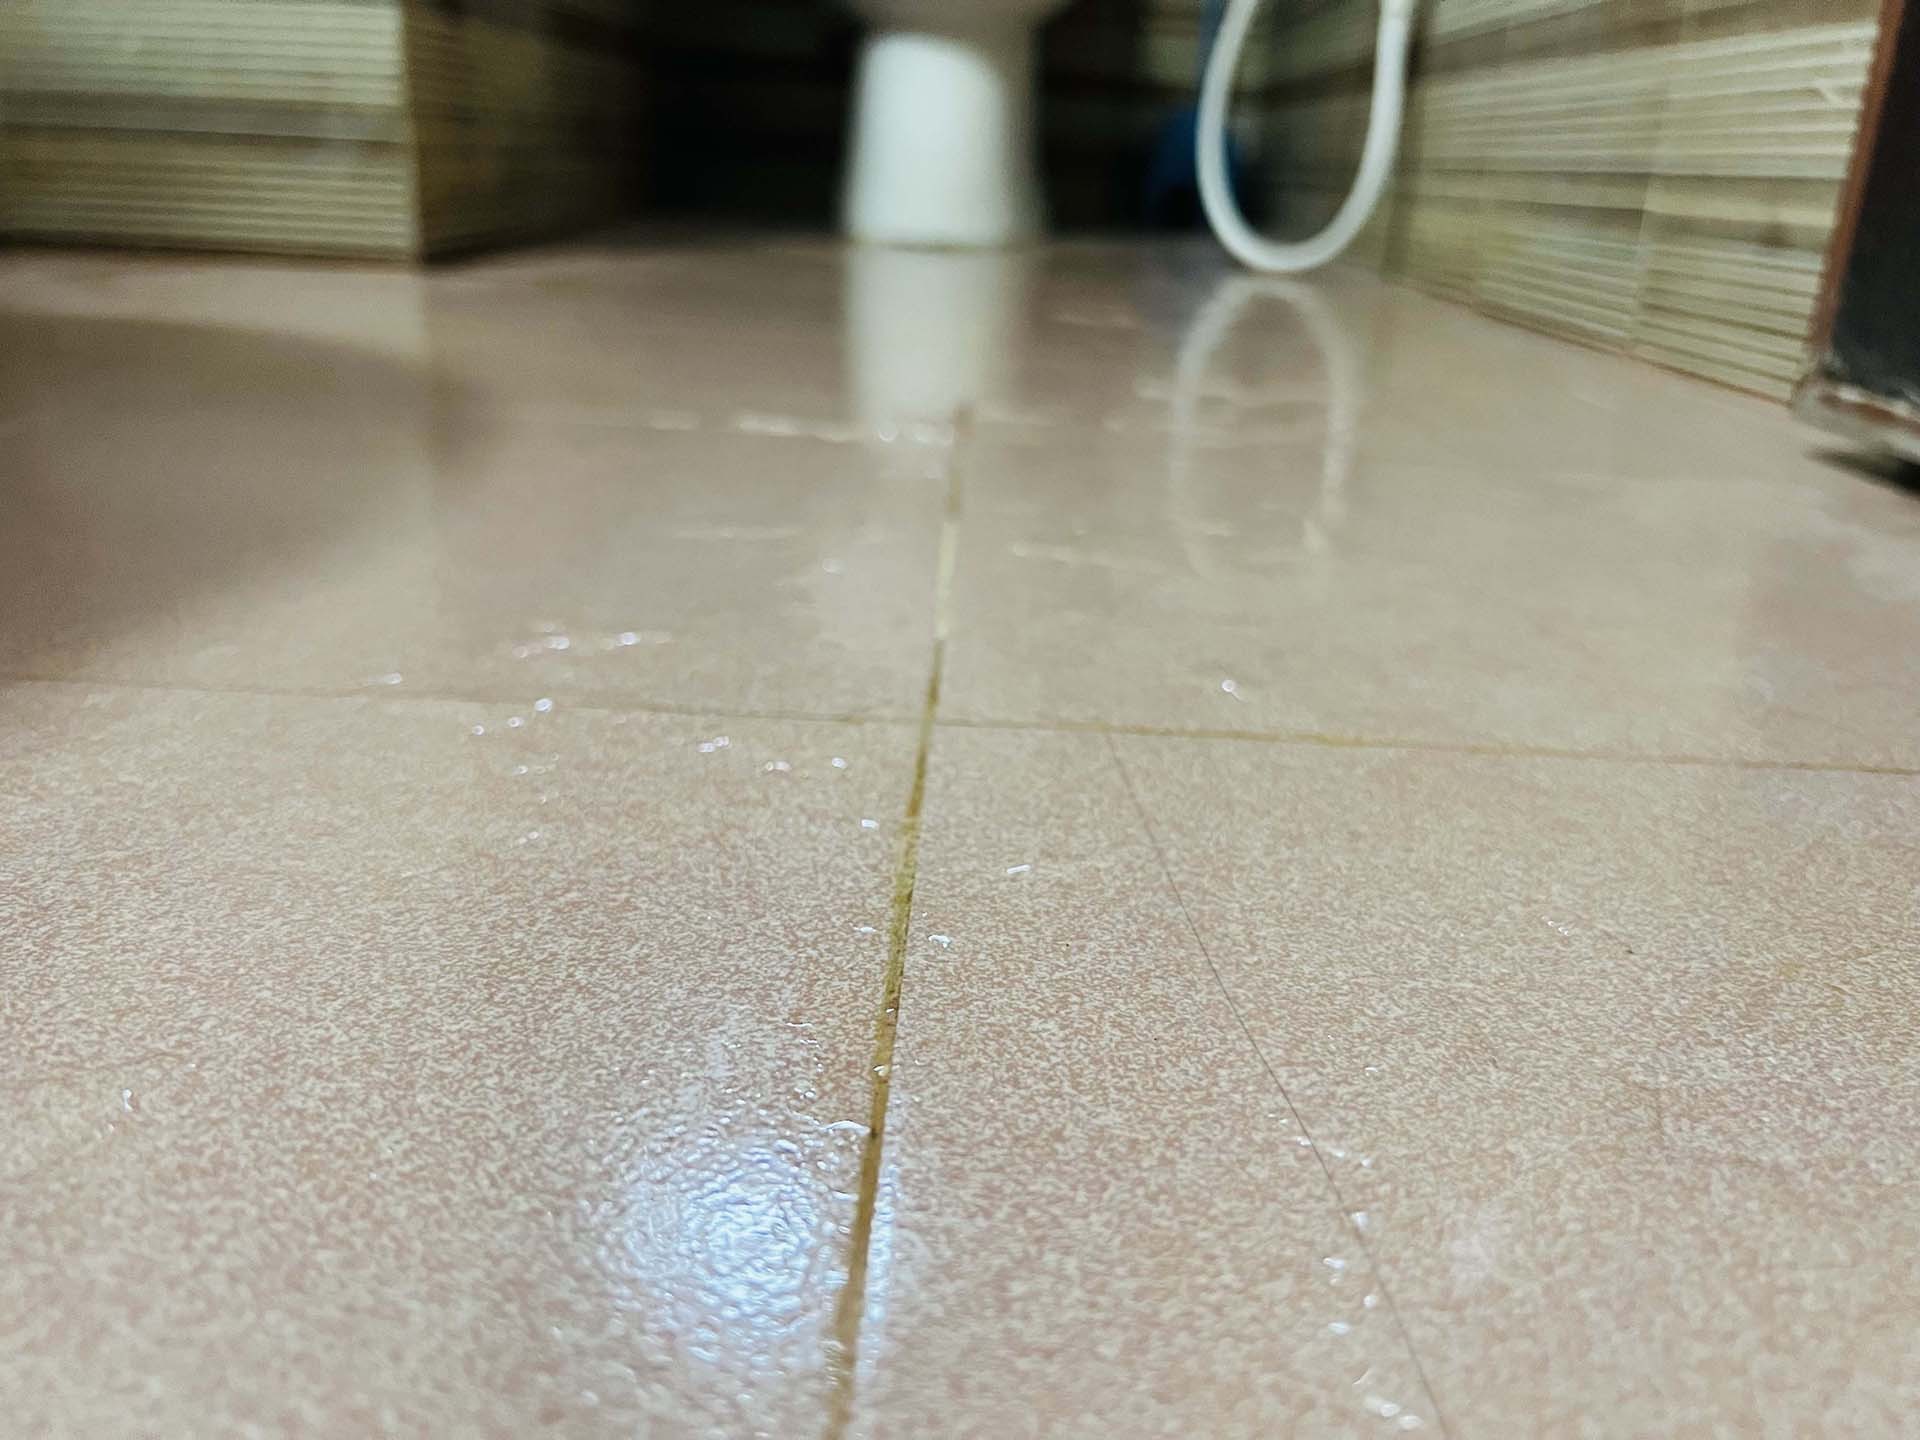
Standing Water That Does Not Drain Completely
One of the most obvious signs of a low spot in your shower is standing water that does not drain completely after a shower. If you notice water pooling around your feet, this could indicate that your shower floor has a low spot.
-
Mold Or Mildew Growth In The Wet Areas
Another sign of low spots on shower floors is mold or mildew growth in the wet areas of your shower. Low spots can create a breeding ground for bacteria and fungi. This can lead to the growth of mold and mildew.
You can read another article on How To Clean Marble Shower Mold?
-
Cracked Or Loose Tiles Around The Low Spot
If you notice cracked or loose tiles around the low spot in your shower, this could be a sign that the low spot has been there for a long time. Water can seep into the grout and cause the tiles to crack or become loose.
-
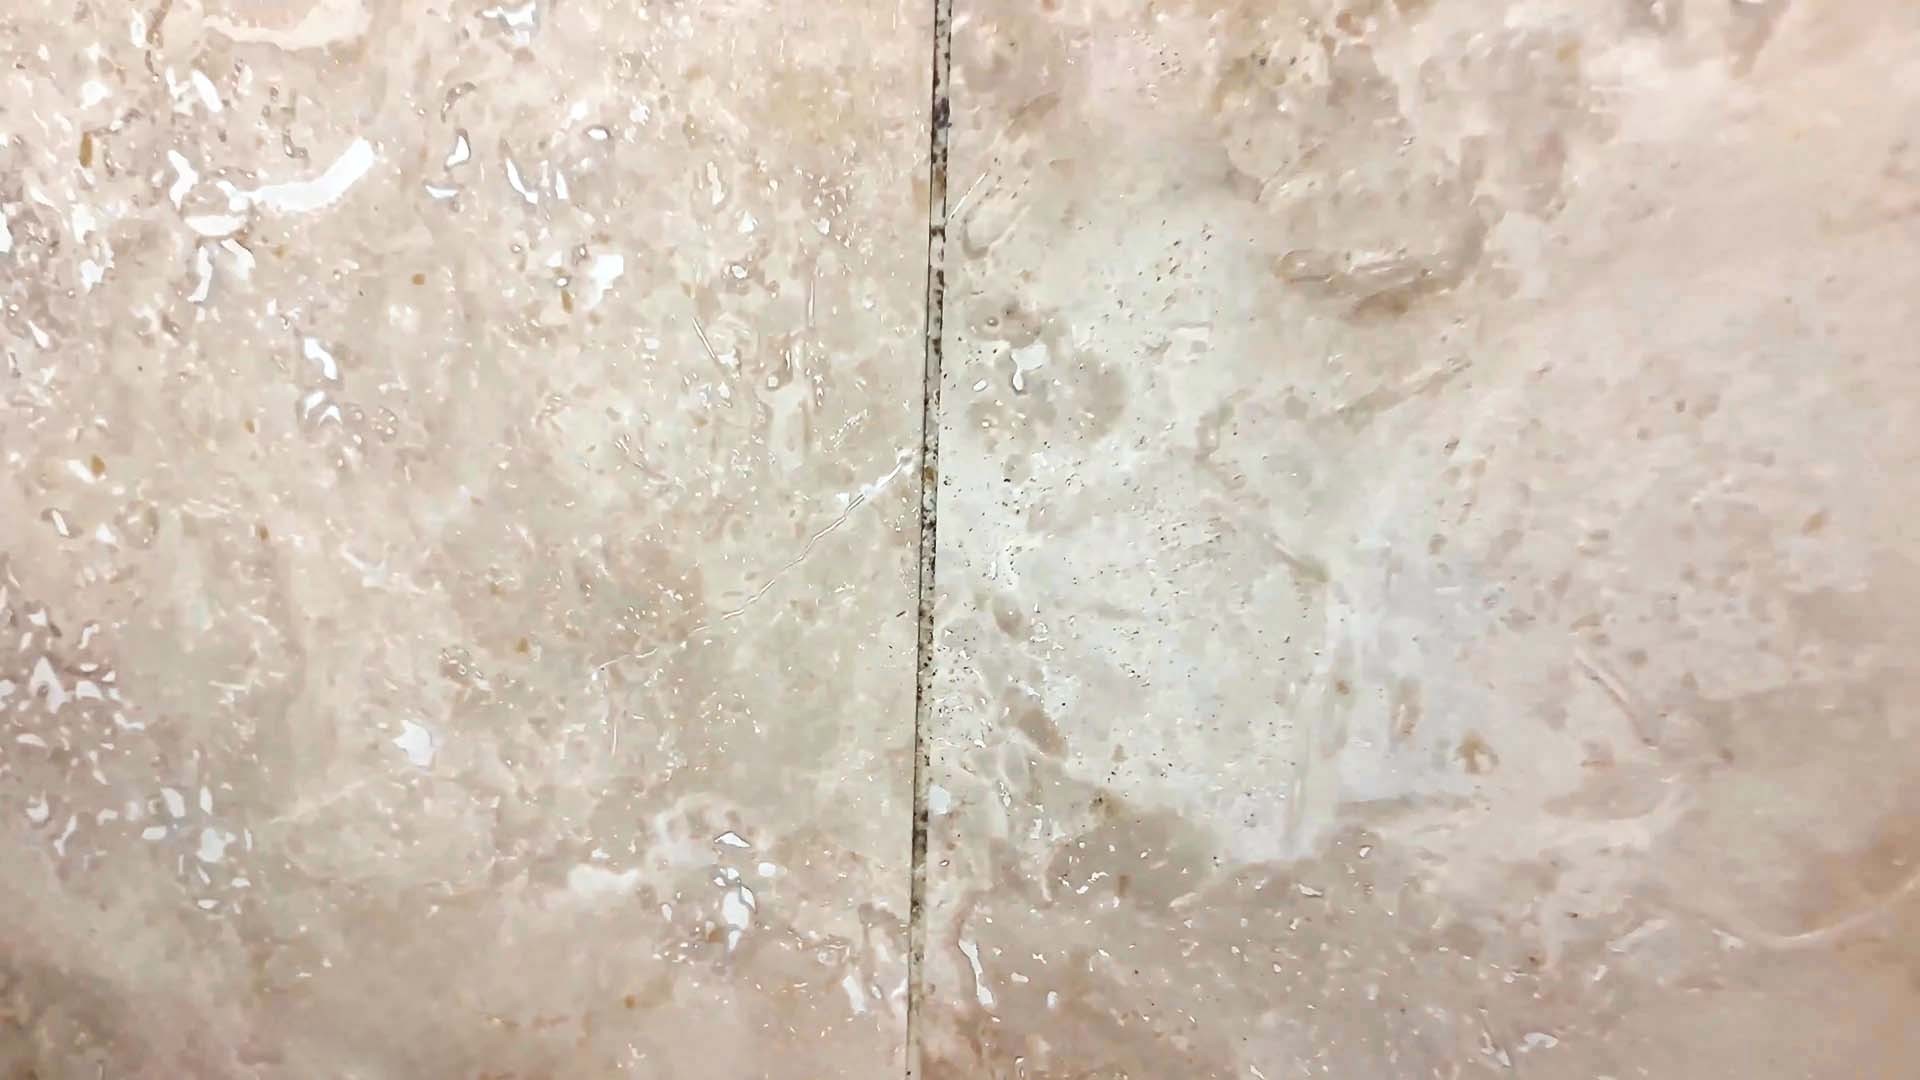
Grout Discoloration Or Cracking
When water collects in low spots, it can weaken the grout or cause it to crack. Look for discolored or crumbling grout lines, as these can indicate areas where water has been pooling.
-
Damp Flooring
If your shower floor feels damp in certain areas, it suggests that water is retained instead of draining away. This could indicate low spots where water is not properly flowing toward the drain.
6 Ways To Identify Low Spots On Shower Floor
I know low spots on my shower floor can cause water to pool, leak, or damage the tiles and grout. To avoid these problems, I identify and fix any low spots as soon as possible. Here are six practical ways I spot low spots on my shower floor:
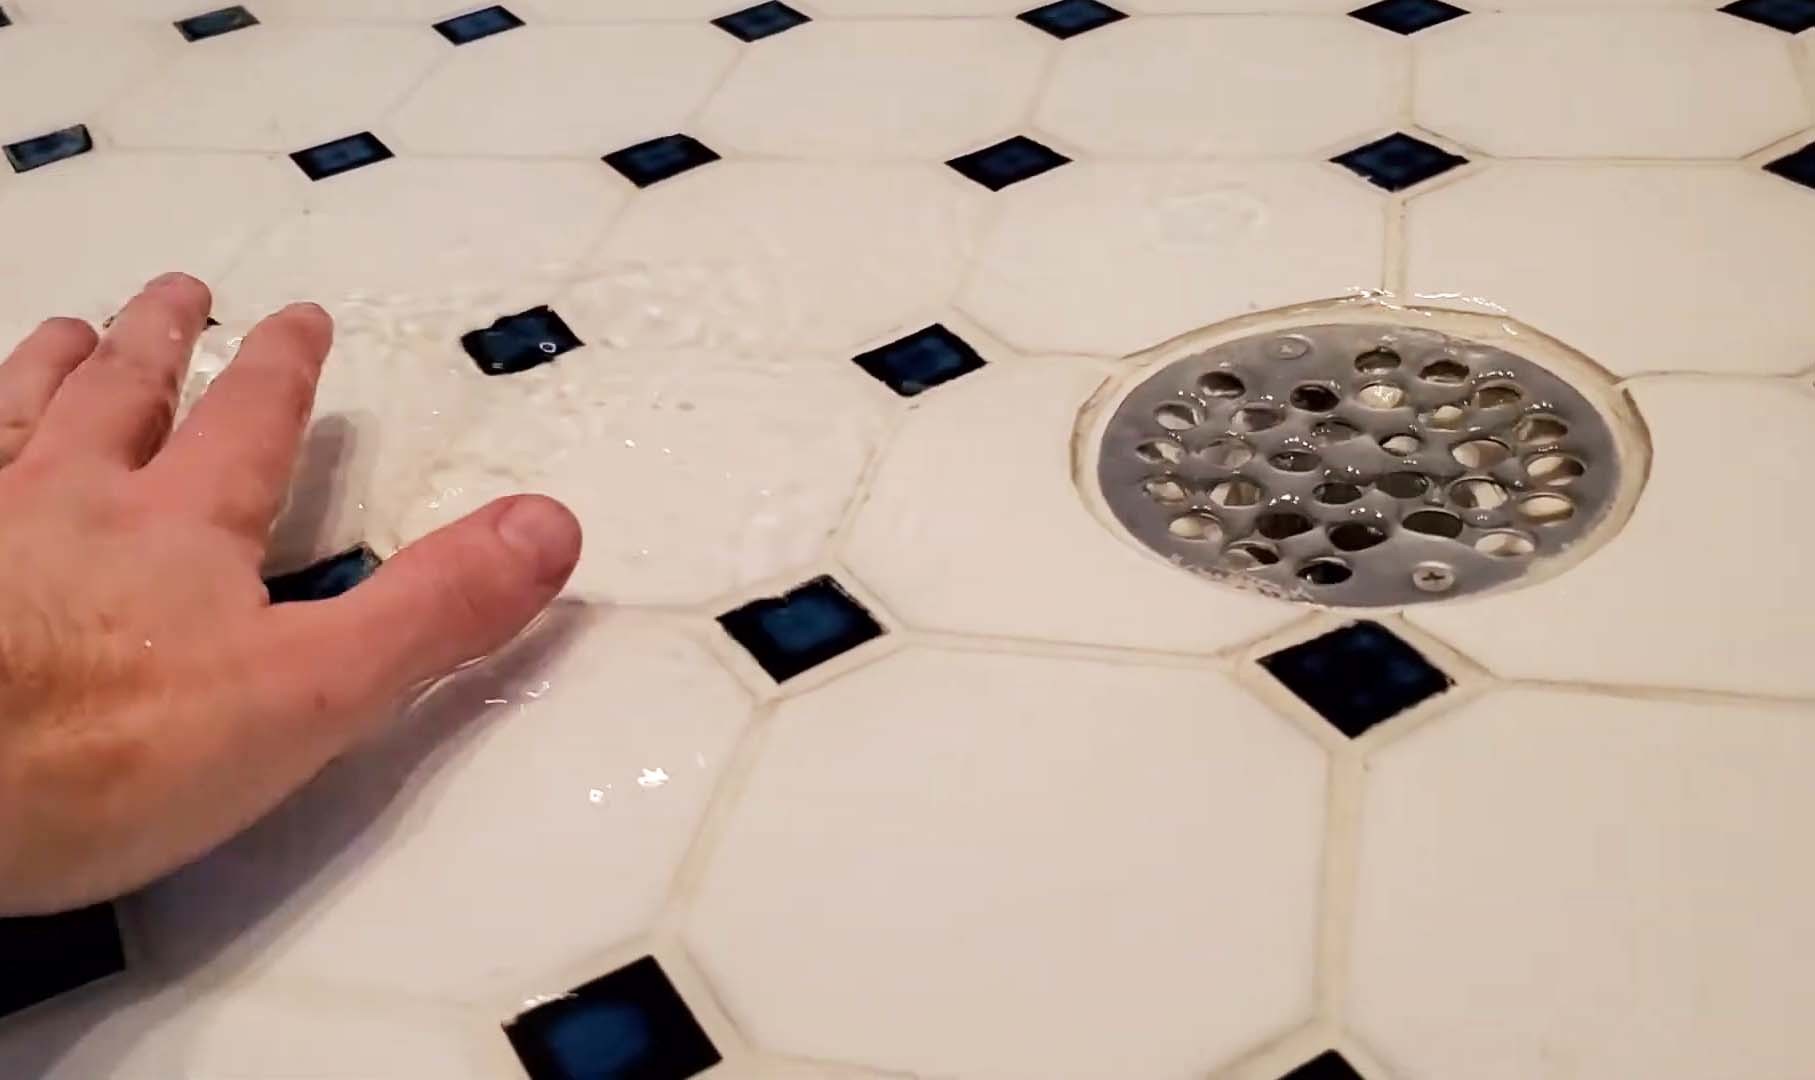
1. Water Test
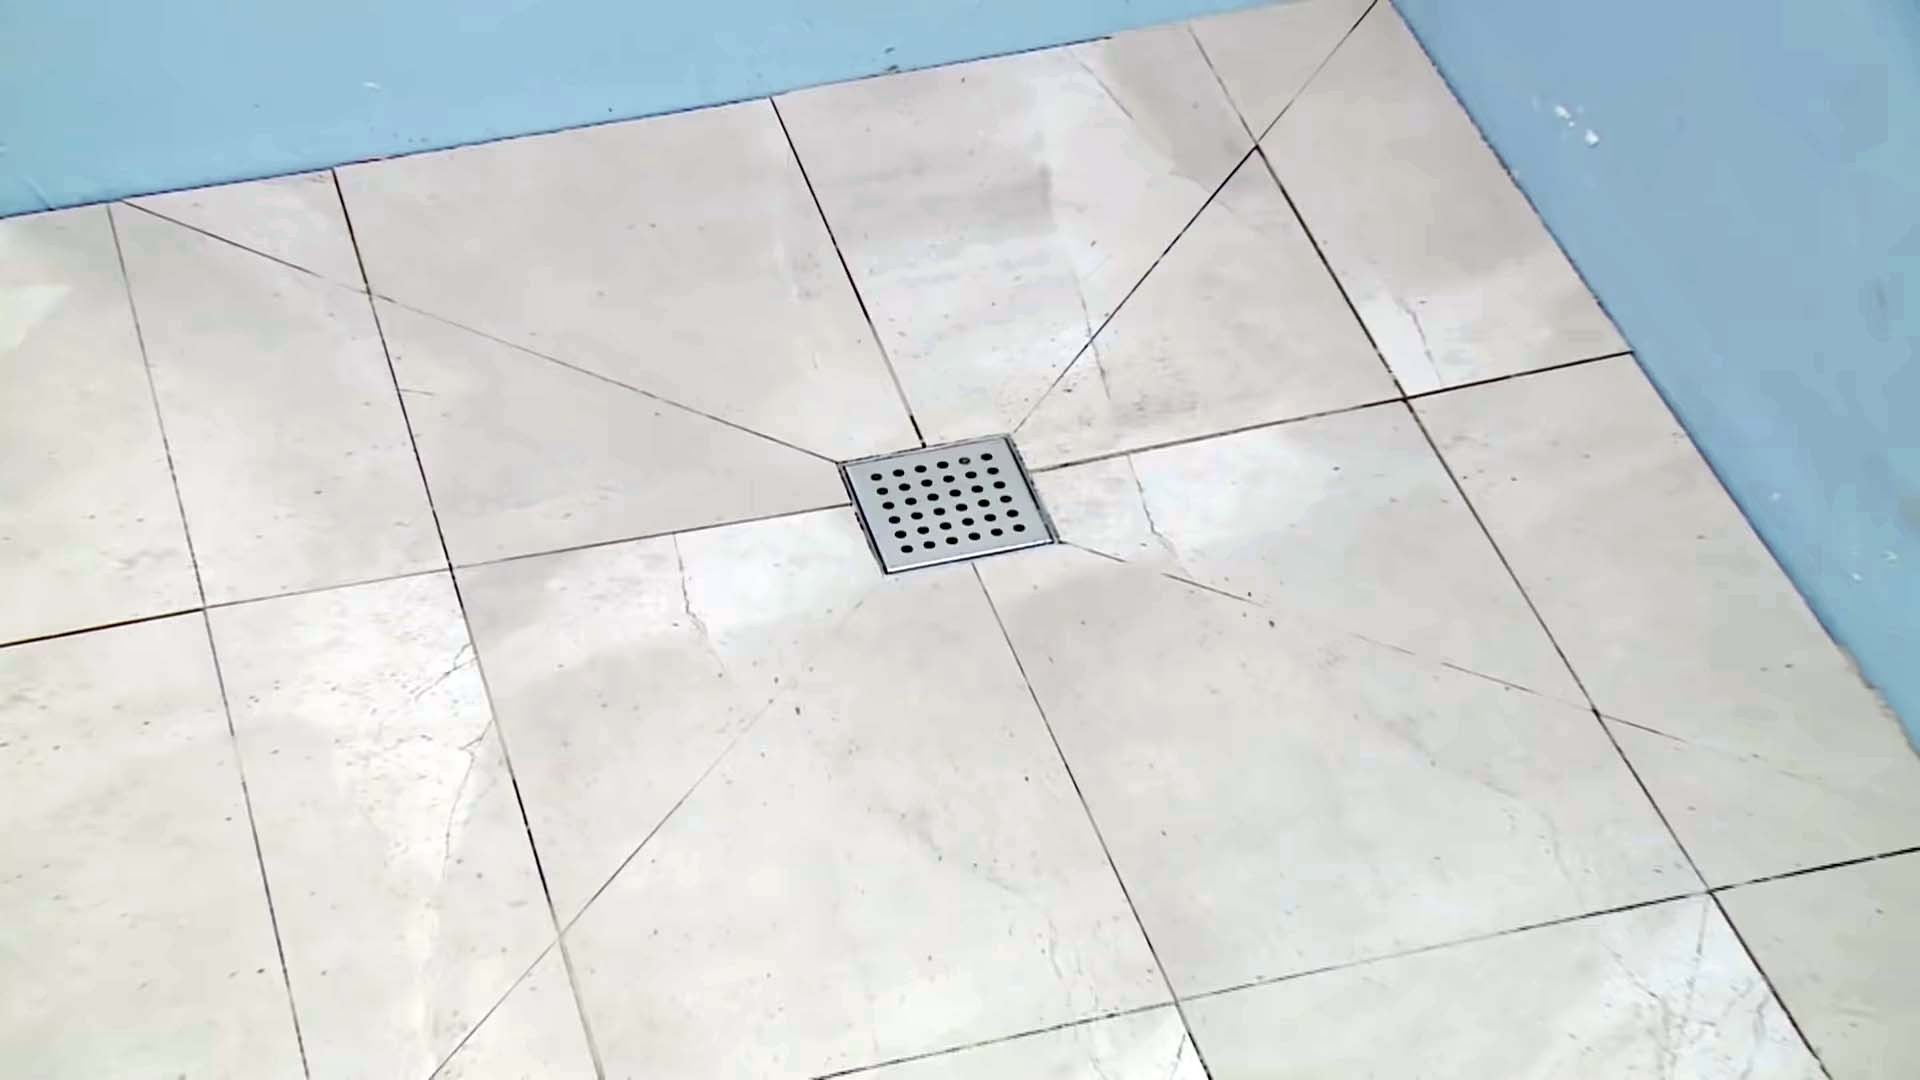
This is a simple way to check for low spots. I plug the drain and fill the shower floor with water up to a few inches. Then I wait for a few minutes and see how the water drains. You need to see if it drains evenly or stays in some places. If it stays, those places are probably low spots.
2. Flood Test
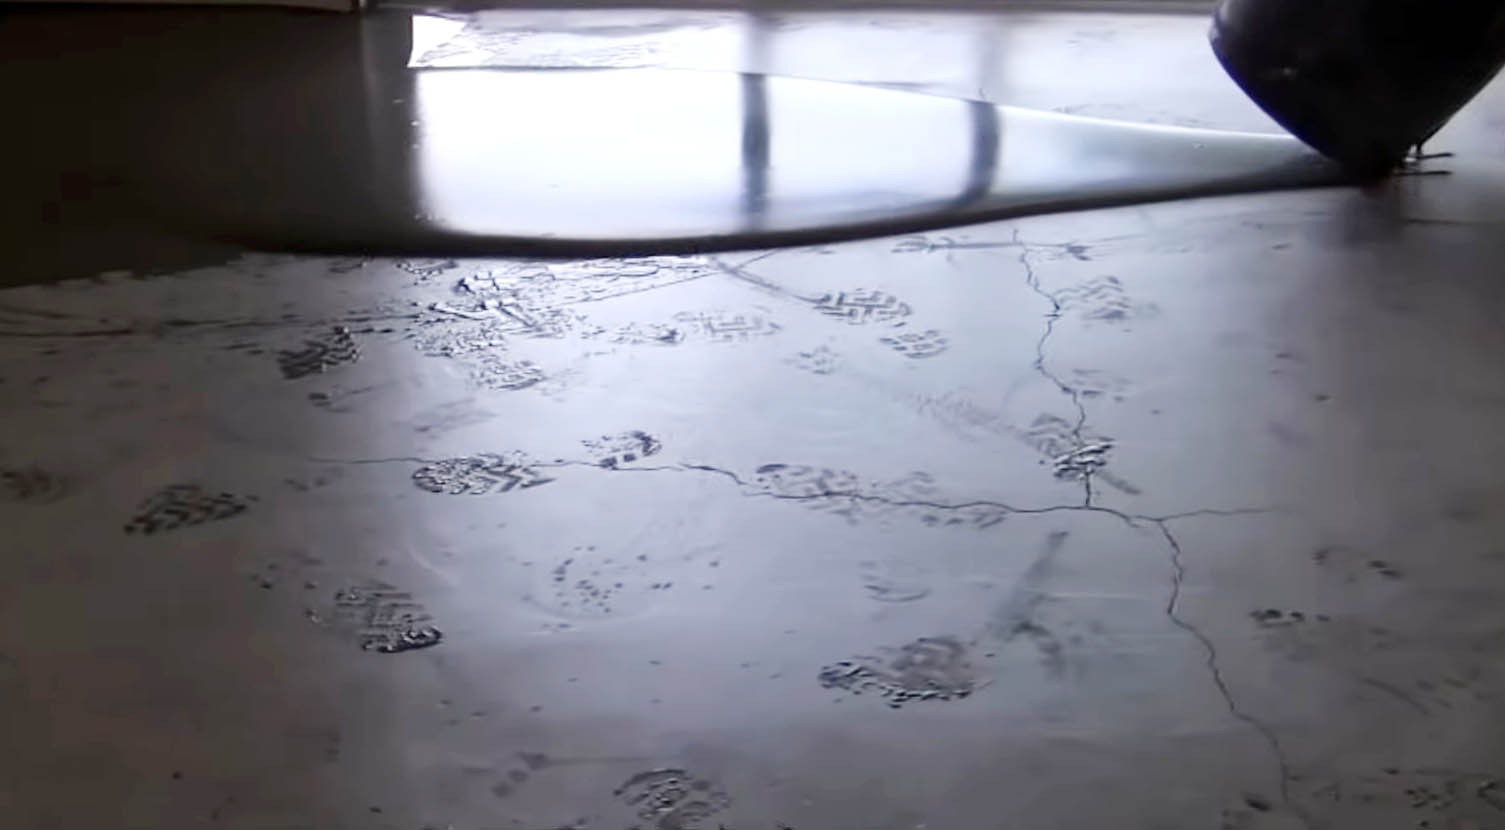
This is a more accurate way to check for low spots. To do this, you need to cover your whole shower floor with plastic sheeting or a shower pan liner and tape or weigh down the edges. Then pour some water over the floor and make sure it’s even.
Watch how the water moves and collects on the surface. Do you see any places where water pools or flows slowly? Those are low spots.

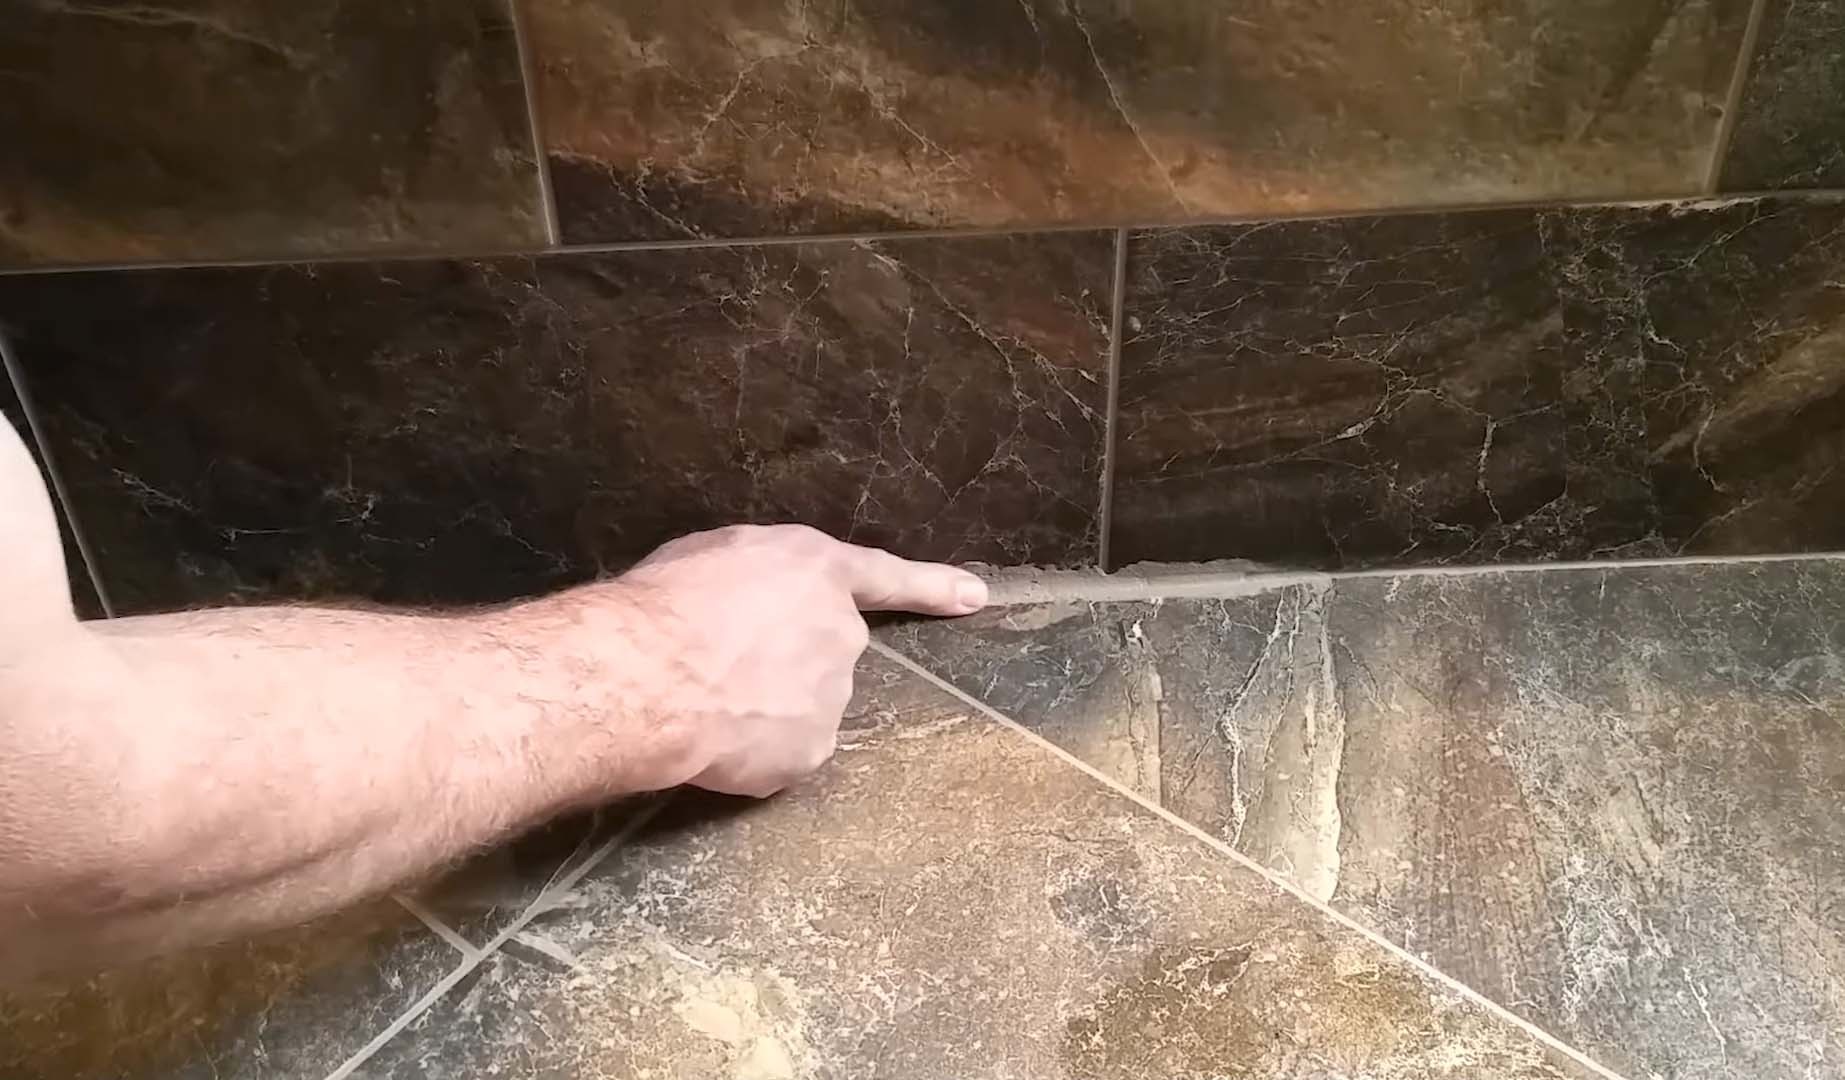
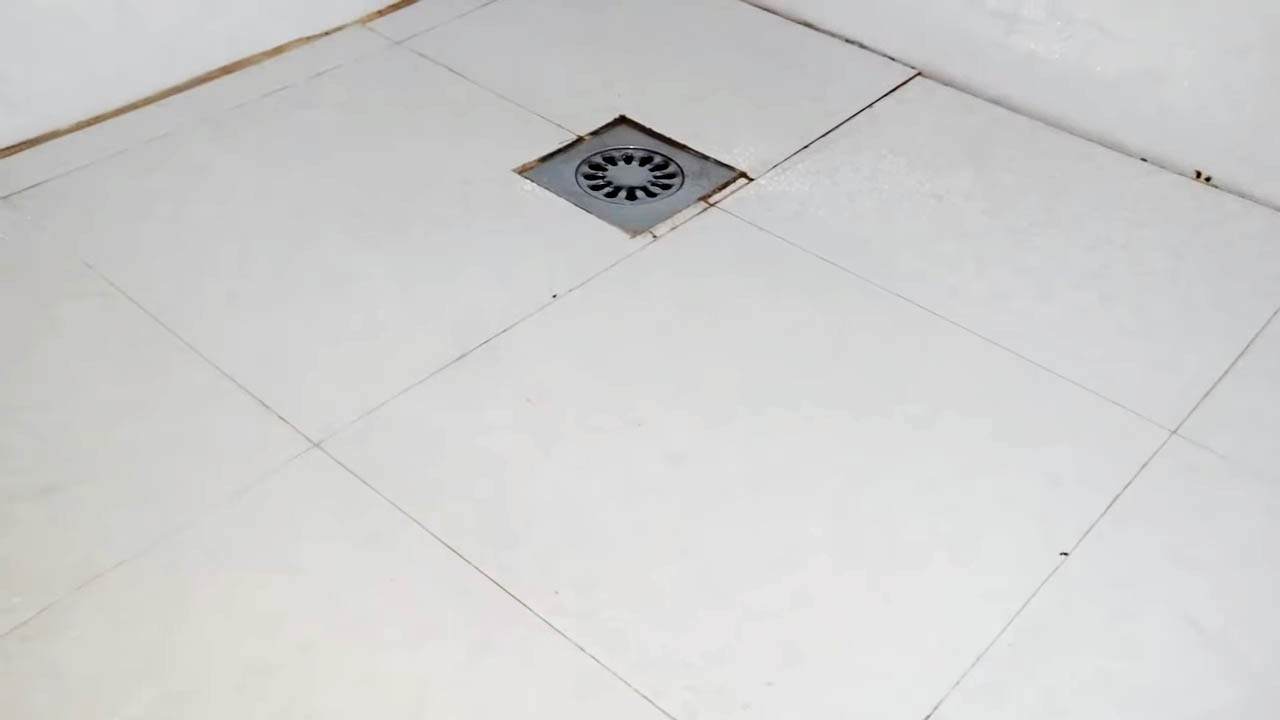
3. Visual Inspection
Look closely at the shower floor. Do you see any uneven, sunken, or misaligned tiles? Do the tiles slope evenly, or do they have dips or depressions? These are low spots.
4. Level Measurement
To do this, I use a straight edge, like a long level or a ruler, to check the levelness of the shower floor. Then I Put the straight edge in different places on the floor and look for gaps. If you see gaps, those are low spots.
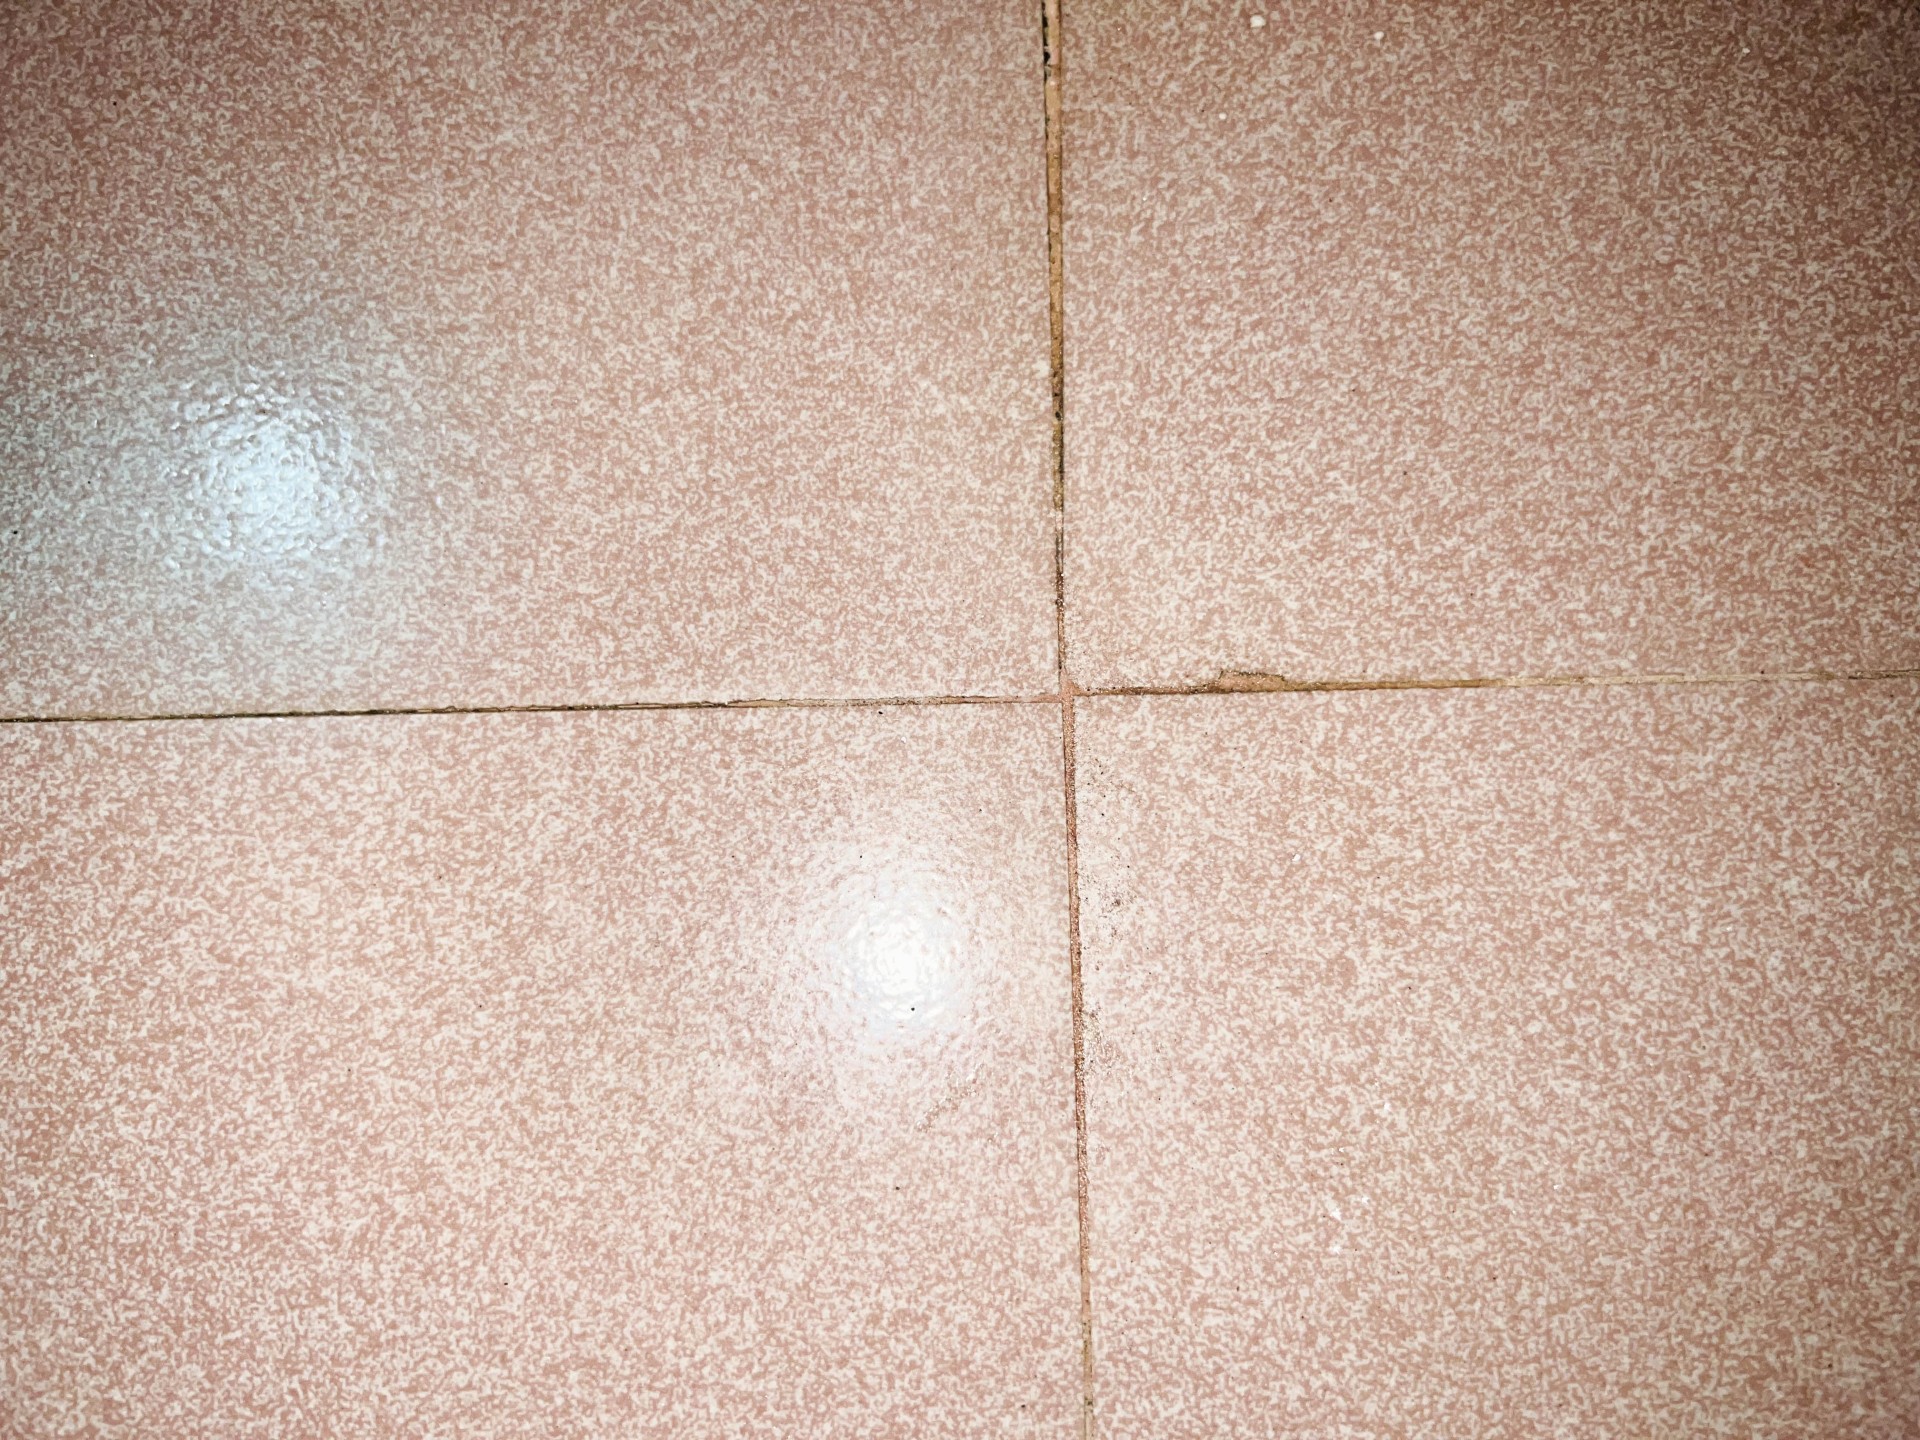
5. Discoloration Or Water Stains
Look for any color changes or stains on the tiles or grout. Low spots can make water pool, making the tiles or grout change color or stain. These marks show where water has been pooling.
6. Uneven Feel
Run your hand on the shower floor and feel for uneven spots. If you feel some spots that are different from the rest of the floor, those could be low spots where water is trapped.
Risks Of Low Spots In Shower Floors
Why should you fix low pots in your shower immediately? Because low spots on shower floors can lead to many problems that can affect your comfort, health, and safety. Some of the problems caused by low spots are:
Poor Water Drainage
One of the immediate consequences of low spots is inadequate water drainage. Water may accumulate and pool in these depressions, preventing it from effectively flowing toward the drain.
This can result in standing water in the shower, which causes inconvenience and creates a breeding ground for mold, mildew, and bacteria.
Mold And Mildew Growth
Standing water in low spots provides a moist environment that encourages the growth of mildew and mold. These can spread quickly, leading to unpleasant stains, odors, and potential health issues. Mold and mildew can also be difficult to remove and may require professional remediation.
Water Damage
When water is not properly drained due to low spots, it can seep into the subfloor, walls, or adjacent areas. This can cause water damage to the underlying structures, including wood rotting, drywall deterioration, and insulation damage. Over time, water damage can compromise the integrity of the bathroom and lead to costly repairs.
Slip And Fall Hazards
Low spots on shower floors can create uneven surfaces, increasing the risk of slips and fall. Standing water or slippery surfaces in these areas can be hazardous.
This is especially for individuals with limited mobility or balance issues. Accidents in the shower can result in injuries and pose a safety concern.
Damaged Tiles And Grout
Uneven surfaces caused by low spots can cause stress on the tiles and grout lines. Over time, this can lead to loose or cracked tiles and deteriorating grout.
Damaged tiles not only compromise the appearance of the shower but can also result in water penetration, further exacerbating water damage issues.
Difficulties In Cleaning And Maintenance
Low spots can trap dirt, soap scum, and debris, making it challenging to clean the shower floor effectively. Also, these areas may require extra effort or specialized cleaning techniques to ensure proper hygiene. Additionally, removing mold or mildew growth can be more challenging to remove from low-spot areas.
6 Best Solutions For Low Spots In Shower Floor
You already know that you must fix a low spot on your shower floor. But how? I am a homeowner, and I have faced the same issue. After the identification, I started researching the low-spot fixes. Here are the best 6 ways I have found very effective:
1. Use A Cement Floor Leveler To Fill The Low Spot
I prefer using a cement floor leveler to fix the low spots on my shower floor. This is because it is a quick and easy solution for my concrete or cement shower base. First, I start by mixing the leveler as per the manufacturer’s instructions and then filling the low spot with it.
After that, I leave it to cure for the recommended time and then waterproof and seal it. Once the leveler has fully cured, you can use sandpaper with 120 grit to smooth off the surface. Also, be sure to remove any dust with a moist cloth before painting over the area as needed.
2. Re-Slope The Low Spot By Chipping Out The Tiles
Another way you can try is to chisel out the tiles around the low spot and re-install them with a proper slope.
First, use a grout removal tool to remove all the grout from the tiles around the problematic area.
Once you’re done with that, carefully remove the tiles using a hammer and chisel. When chipping out the tiles, it’s essential to be cautious to avoid damaging the liner’s waterproof coating.
After removing all the tiles around the low spot, it’s time to chip away at your subfloor until it aligns with your tile’s exposed bottom borders. This will create a slope towards the drain.
Now that you’ve completed the task of chipping out tiles and aligning your subfloor let’s re-slope the shower floor to prevent it from being too flat. You can do this by filling in the low region with thin-set mortar and then covering it with fresh tiles.
Then, let the mortar dry completely before applying grout between the tiles. Finally, wipe off any excess grout with a damp sponge.
3. Fill The Shower Base With Cement
If the shower base is the root of the issue, filling it with cement is a great way to level the area. However, make sure to follow the manufacturer’s instructions when mixing and applying the cement.
After the cement has dried, you can use a cement floor leveler to ensure that the surface is entirely flat. Then, apply a waterproof caulk to seal any gaps or cracks.
If necessary, you can adjust the slope of the shower floor by grinding down the surrounding surface. This will help the water flow towards the drain more easily.
4. Re-Flooring Or Re-Tiling
Installing a second layer over the first one can be another option if you do not like the ones mentioned above. However, you won’t have to remove the old tiles if you don’t want to in case of re-flooring or re-tiling. That’s right – rather than starting from scratch, you can easily lay new tiles over the top of the previous ones.
To make this work, you’ll need to apply a coat of thin-set mortar to the old tile before positioning and firmly pressing the new tile into place.
Then, use a level to check your work to ensure that every tile is even. While placing the tiles, do not forget to use tile spacers. Once all of the tiles are in place, apply grout between the joints and remove any excess.
If you need to increase the slope of your shower floor, you can tilt the new layer towards the drain. It’s an easy fix that can make a big difference in the functionality and appearance of your shower.
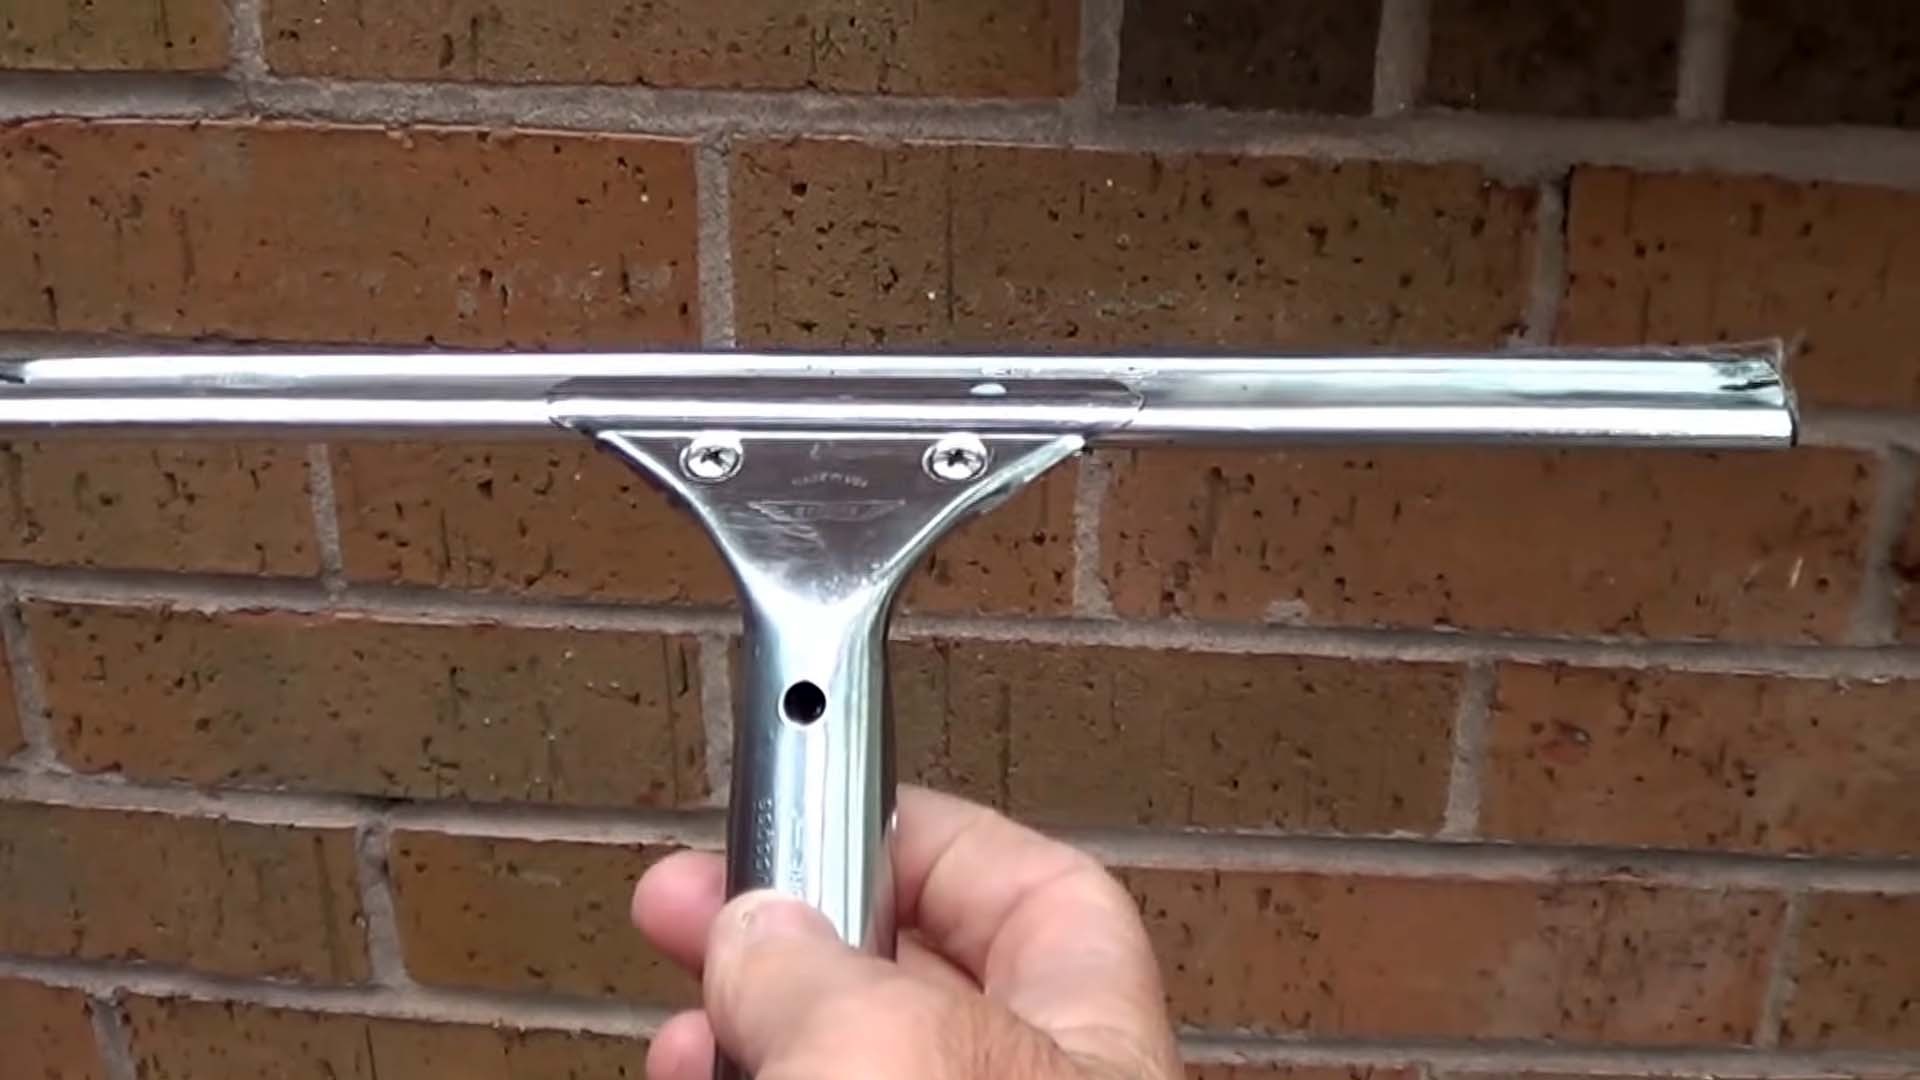
5. Using A Squeegee
If you have a small amount of water pooling on your shower floor and your bathroom has good ventilation, you can use a squeegee to push the water toward the drain. This will help prevent mold and mildew from growing on your shower floor.
To use this method, you must ensure your shower floor is well-sealed with a ready-mix sealer. And when it comes to selecting a sealer, silicone is your best bet. “Sealant” and “caulk” are often used interchangeably.
Caulk is typically made of latex and acrylic polymers. And, acrylic polymers make it vulnerable to shrinking when it comes into contact with water. Silicone sealer is more durable and waterproof.
It’s also crucial to watch for mold or a buildup of grout on your shower floor. And, if you notice any squelching sounds or if the floor feels soft or wet, you may need to remove the entire base and replace it.
6. Shower Base Replacement
If your ceramic shower floor has low spots that cause water to pool, you may need to replace the shower base entirely. While this may seem challenging and time-consuming, restoring your shower’s appearance and functionality is a surefire way. However, remember that this option can be costly and may need expert assistance.
But it’s worth the investment if you want to maintain the best appearance for your shower floor. By replacing the shower base, you ensure the new surface is level and consistent with the rest of your shower components. Additionally, if your shower floor initially lacked proper slope, now is the perfect opportunity to make the necessary corrections.
As I have mentioned above, replacing the shower base involves some demolition work and may require professional help. So, if you want to replace the base yourself, you may try these steps:
- First, you will need to remove the waterproof membrane, the wet bed, and all the tiles from the old shower base.
- Then, install a new shower base that is level and compatible with the rest of the shower.
- Finally, replace all the tiles around the new base and seal them with caulk or silicone.
Prevention Of Low Spots In Shower Floor
Prevention is better than cure. Thus, preventing low spots on a shower floor is essential to ensure proper drainage and prevent water pooling. When it comes to preventing low spots in a shower floor, I recommend the following tips:
- Properly Install The Shower Base
During the installation of the shower base or pan, it is crucial to ensure that it is level and properly sloped towards the drain. Follow the manufacturer’s instructions and use a level to check the slope before installing.
- Ensure Proper Subfloor Preparation
Before installing the shower floor, it’s crucial to ensure the subfloor is level and structurally sound. This is because any inconsistencies in the subfloor can lead to low spots on the shower floor. So, use a leveling compound or self-leveling underlayment, if necessary, to create a smooth and level surface.
- Use A Pre-Formed Shower Pan
Consider using a preformed shower pan. These pans are designed with the correct slope and shape to ensure proper water drainage and prevent low spots. Pre-formed shower pans are often recommended for their ease of installation and reliable performance.
- Hire An Experienced Tile Installer
If you plan to use tile for your shower floor, hiring an experienced tile installer is essential. Because, they will ensure that the tiles are installed correctly, with proper slope and minimal variation in height. A professional installer can help prevent low spots by creating a perfectly level, sloped shower floor.
- Perform Regular Inspections
Regularly inspect the shower floor for signs of low spots or water pooling. Look for areas where the water seems to collect or drain slowly. If you notice any issues, address them promptly to prevent further damage and ensure proper drainage.
- Follow Manufacturer Guidelines
Always follow the manufacturer’s instructions and guidelines for installing shower bases, pans, and other components. Because, manufacturers often provide specific instructions regarding the correct slope, installation techniques, and waterproofing requirements. Ultimately, adhering to these guidelines will help prevent low spots and ensure a successful installation.
FAQs
I think you already have a clear idea about the low spot in the shower floors and their fixes. If you are still unsure about something regarding this matter, the following questions might aid you:
Can I Fix The Low Spots On My Shower Floor Myself?
Yes, you can fix low spots on your shower floor yourself. Depending on the severity of the issue, you can use methods such as using a cement floor leveler, re-sloping the area by chipping out and re-installing tiles, filling the shower base with cement, re-flooring or re-tiling, using a squeegee to manage small amounts of water, or replacing the shower base entirely. However, some methods may require professional assistance.
How Do I Know If My Shower Floor Has Low Spots?
Look for signs such as standing water that does not drain completely, mold or mildew growth in wet areas, cracked or loose tiles, grout discoloration or cracking, damp flooring, and an uneven feel on the shower floor.
How Do I Determine The Right Slope For My Shower Floor?
To determine the right slope for your shower floor, start by measuring the distance between the drain and the furthest corner of the shower using a tape measure. Then, divide that distance in feet by 4 or that distance in inches by 12 to calculate how much slope you need. This will ensure that water drains properly and doesn’t pool on the floor.
Conclusion
Low spots on a shower floor can compromise the functionality and appearance of your bathroom. So, fixing low spots in your shower floor is crucial to maintain proper water drainage, preventing mold growth, and ensuring a safe bathing environment.
Ignoring low spots can lead to water damage, mold and mildew growth, damaged tiles and grout, and slip and fall hazards. It’s essential to take immediate action to rectify these issues to avoid costly repairs and ensure a pleasant showering experience.
Also read:- cleaning shower floor with oven cleaner